
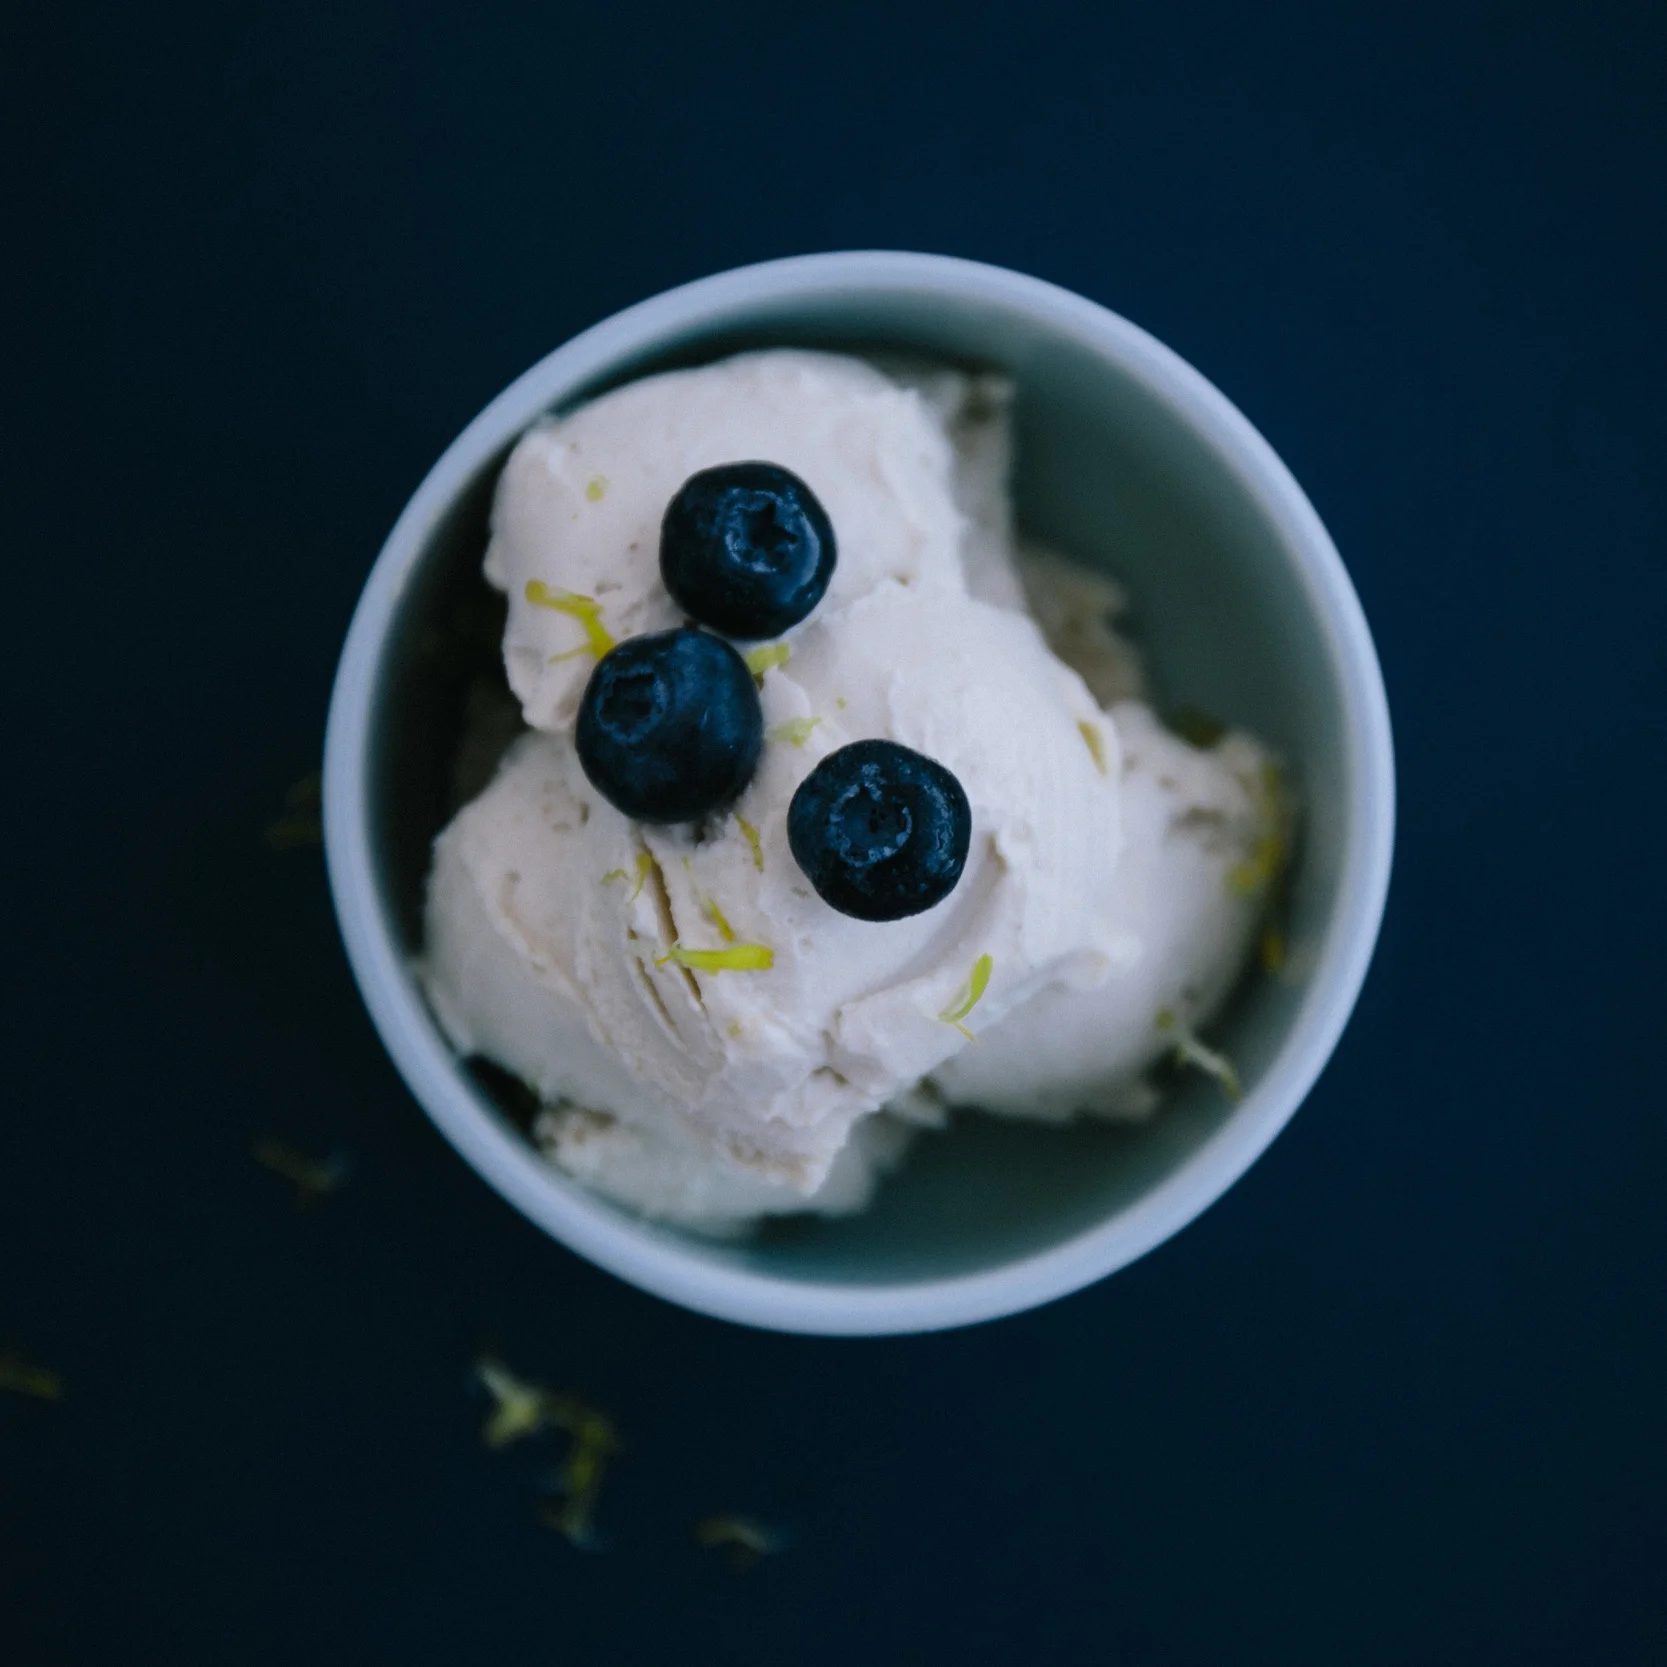
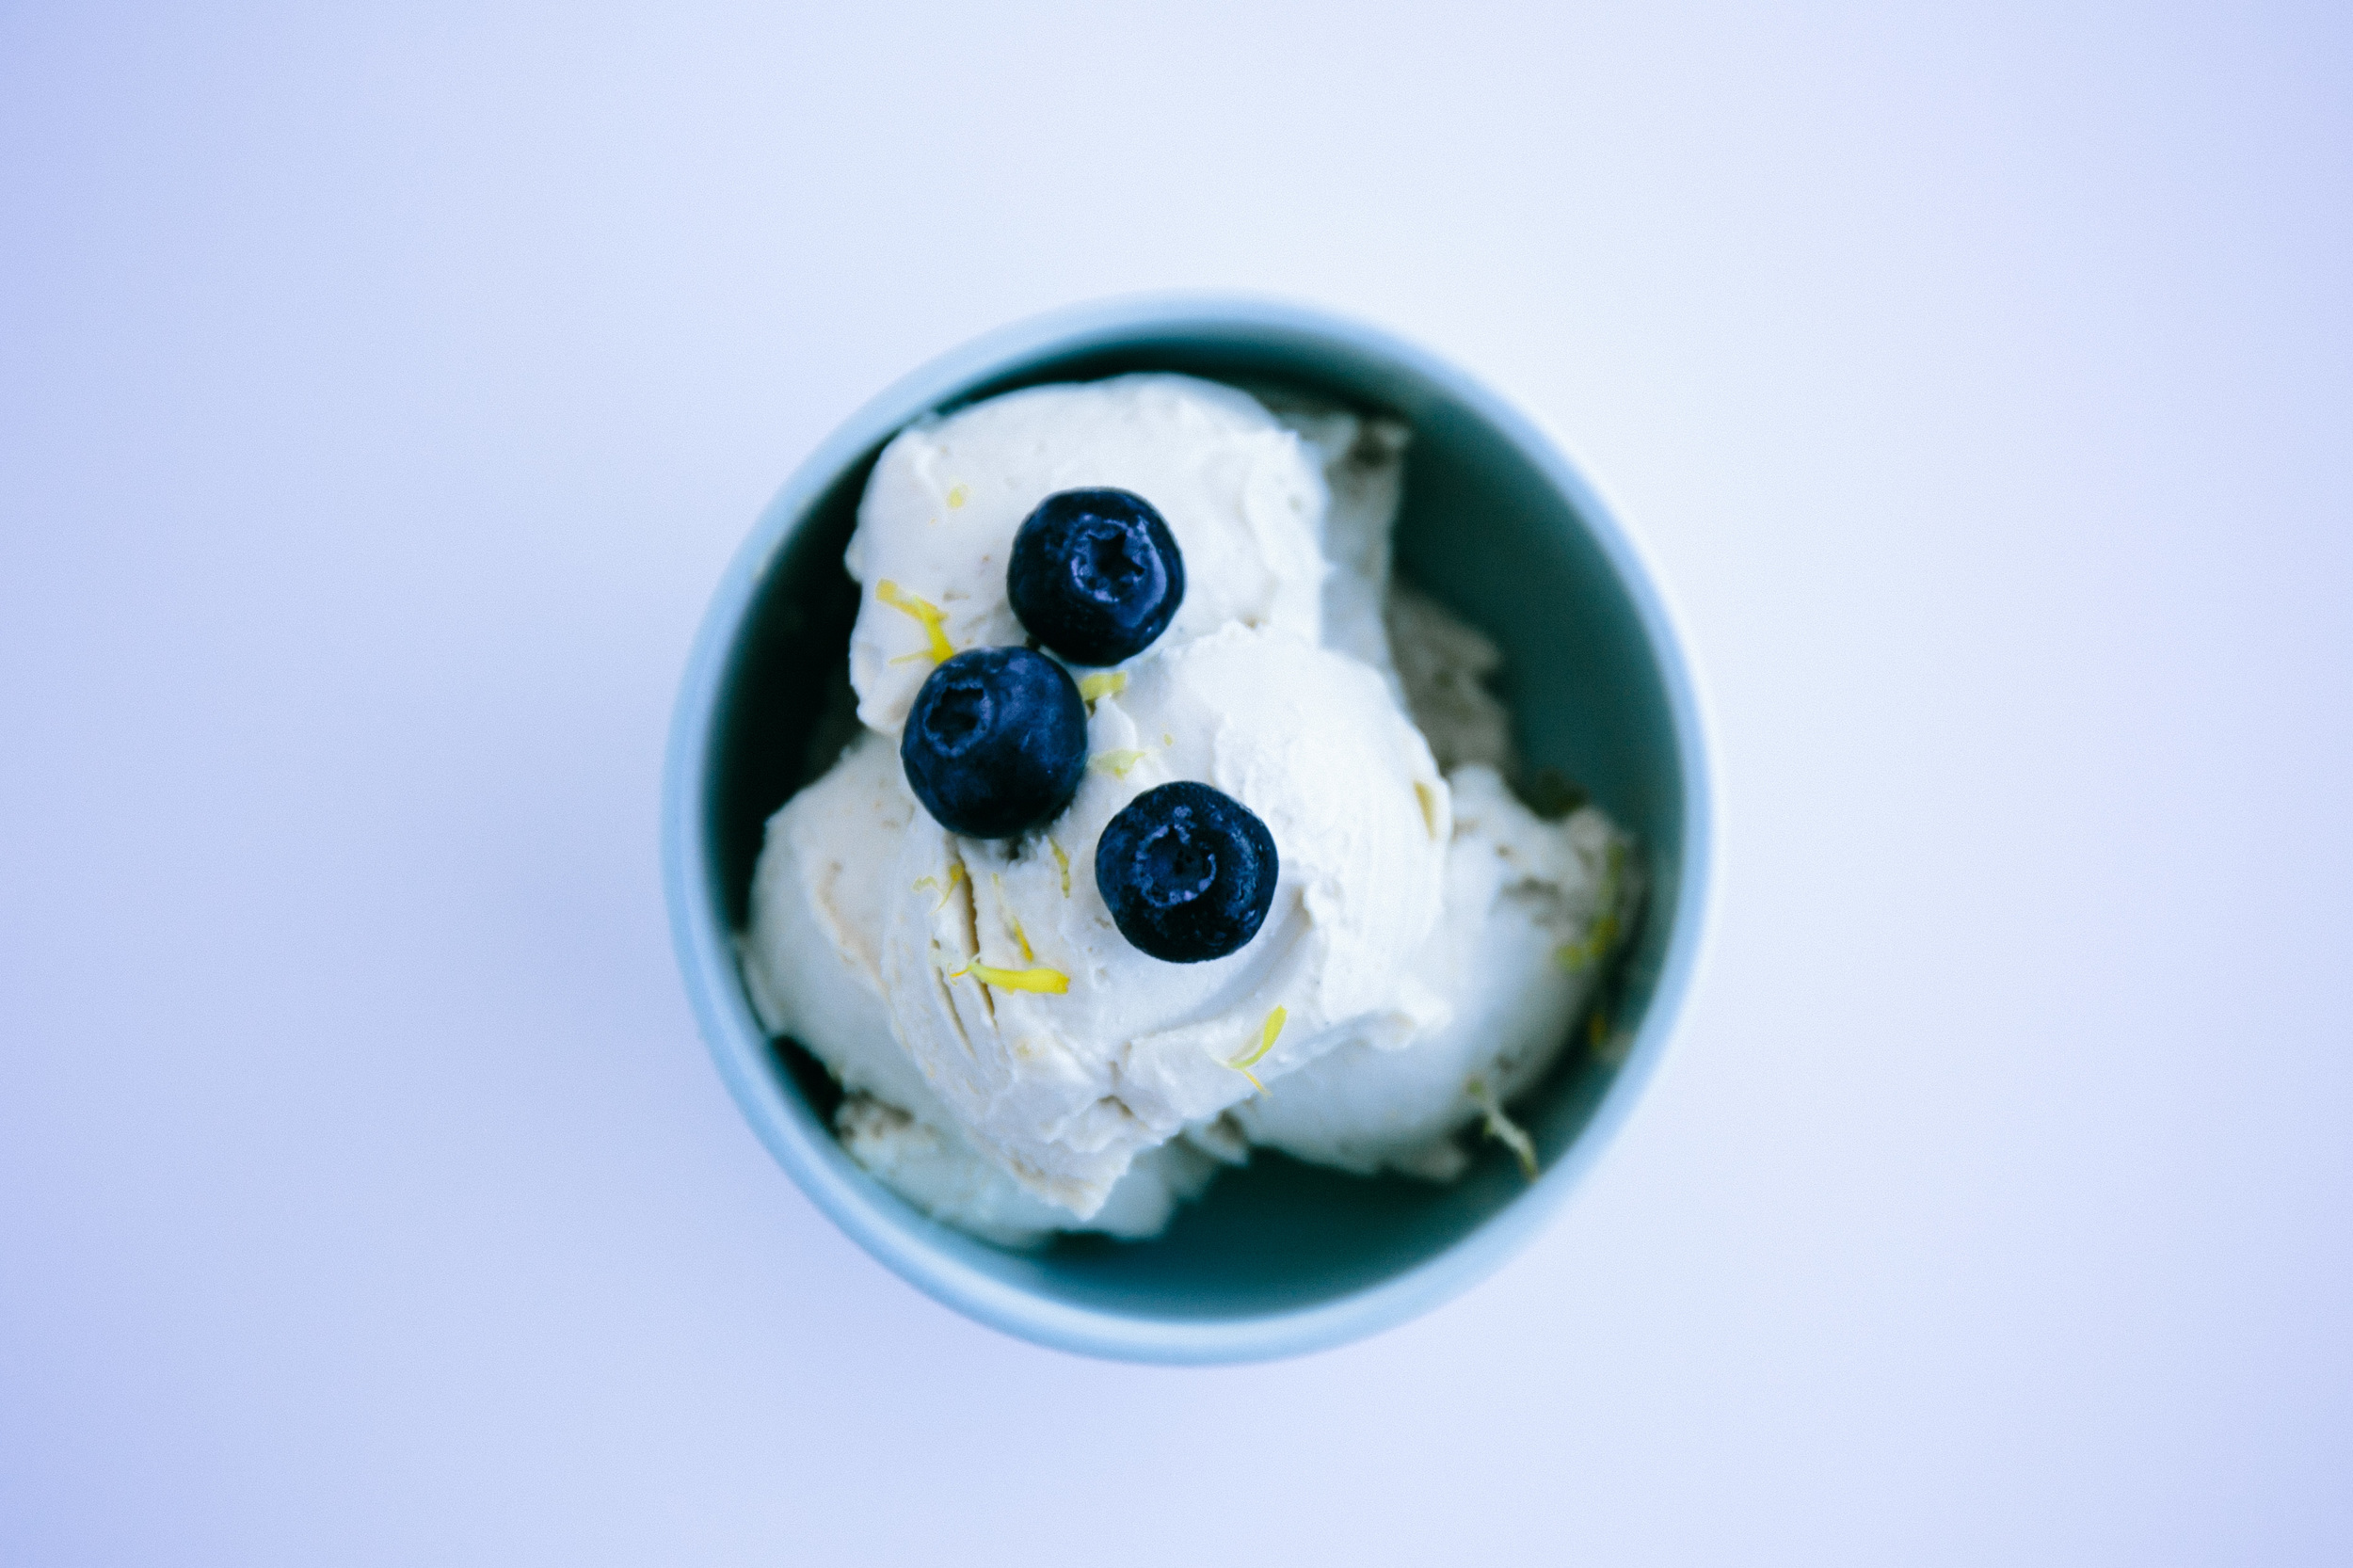
meyer lemon & 'cream cheese' vegan ice cream

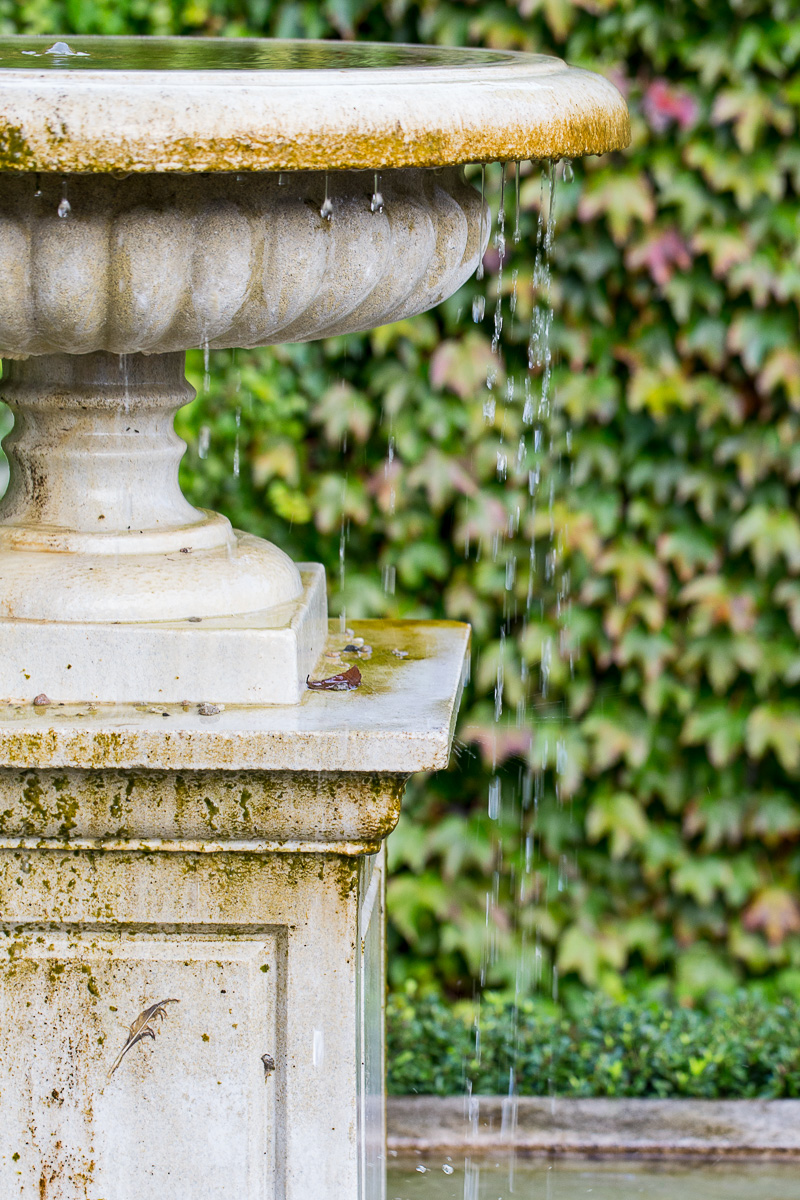
The present moment:
What is photography? For me, I think it is a reflection of what I see through my soul... if my soul had eyes.
The words below I wrote a couple of days ago, and now 2 days later the feeling inside is different. More confident. Happy. I sat so nervously waiting to hand my photographs over to Christina Force for her opinion on my photography portfolio. But the outcome was beyond 'hope'. I struggle so much with my lowly self-confidence. Find it so hard to take on board praise without thinking people are just being kind. It's something deep inside that I've come to live with but it can be so debilitating at times. But as Christina looked through my photographs, I got that cliched feeling that time slowed down. She said that my photographs were 'beautiful'. She said that she loved them and could put them on her kitchen wall. I had been so afraid of the opposite reaction that when those comments met my insecurities it really did feel like a dream - an answer to all those moments when I wonder who I am and what I am doing. Like the reassuring feeling of letting out a long held breath.
Tuesday morning:
The fog is starting to clear - hurrah! That's what it feels like at least. The past few months have been incredibly hectic but i'm finally starting to feel that my scattered brain is slowing... Tonight I'll be showing my work to one of the founders of a prominent photography agency here in New Zealand - the final test on the final night of my scholarship at Kingsize studios. My photographs are all printed and ready to go, so now i'm just waiting nervously for some feedback...

And a flashback which we never ended up posting:
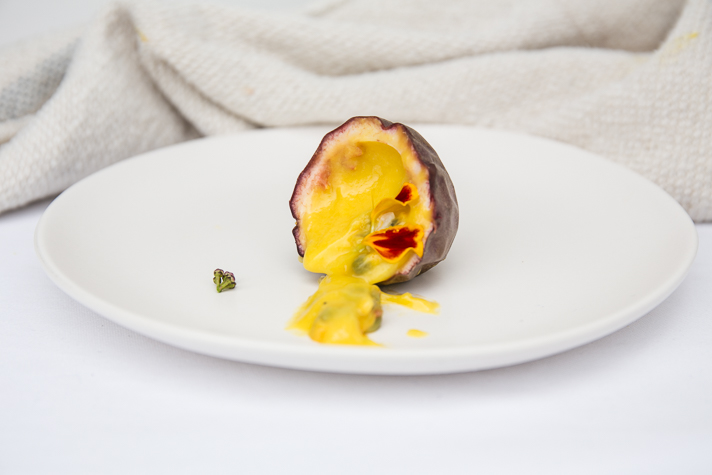
This vegan 'cream cheese' ice cream was originally intended for some carrot cake cup cakes I was intent on making. The process takes a little bit of time, because first you have to soak (“activate”) the cashews, blend them with probiotics and allow them to ferment overnight which allows the “cream cheese” flavors to develop. Unfortunately yesterday in the midst of a photography catastrophe, I needed a pick-me up (as can happen), in order to ease my frustration. So the cream cheese icing (which was waiting patiently in the freezer for its cup cake compadraes), instead turned into this bowl of ice-cream. And it was divine… just what was needed. This change in direction also resulted in the best photos we have taken (we are just learning you see!). Just another reminder that sometimes when you intend on things happening in a certain way a twist of events can change the direction of our paths. And while this may result in something completely different, it may be even better!
Note: This recipe is from last summer in New Zealand, just after we bought our camera. Fredrik and I were so happy with these photographs as they were the first ones that actually looked good in the back of the camera! (There were a lot of fails back then!). The base of the recipe we made was fermented cashew nuts. In order to simply the recipe however, we've removed this process and added nutritional yeast as a substititute. Nutritional yeast is often used in raw cuisine to make tree-nut cheeses and in other recipes to add a cheesey flavour. It is a source of B12, an important vitamin the levels of which can be hard to maintain on a vegan diet. So in short - get your daily dose of B12 (or a part of it!), by eating this ice-cream. Yum!

lemon & cream cheese vegan ice cream
Serves 4
- 1 cup of cashew nuts soaked for 2 hours
- 1/2 cup of coconut meat
- 1/2 cup of agave syrup
- 1 1/4 cups of almond milk
- 2 Tbsp of meyer lemon juice and zest of 1/2 to 1 meyer lemon (adjust according to taste)*
- 1 Tbsp nutritional yeast
- 1 Tbsp vanilla extract
- 1/4 tsp sea salt or himalaya mountain salt
- 1/4 cup of coconut oil melted
* can be substituted for normal lemon
how to:
- Melt coconut oil over a water bath.
- Blend all ingredients except for the coconut oil and lemon zest, until smooth in a high speed blender.
- While blender is running on low speed, slowly pour in the coconut oil.
- Fold in lemon zest and place in freezer.
- During the freezing process, stir the mixture a few times which will improve the consistency.
- Prior to serving remove the ice-cream from the freezer and leave to soften for 10 minutes or more. Raw ice-creams become really hard so another good idea once softened, is to pop the mixture back into the blender and blend until you reach a smooth ice-cream texture.
garnish
With blueberries and additional lemon zest. Enjoy!

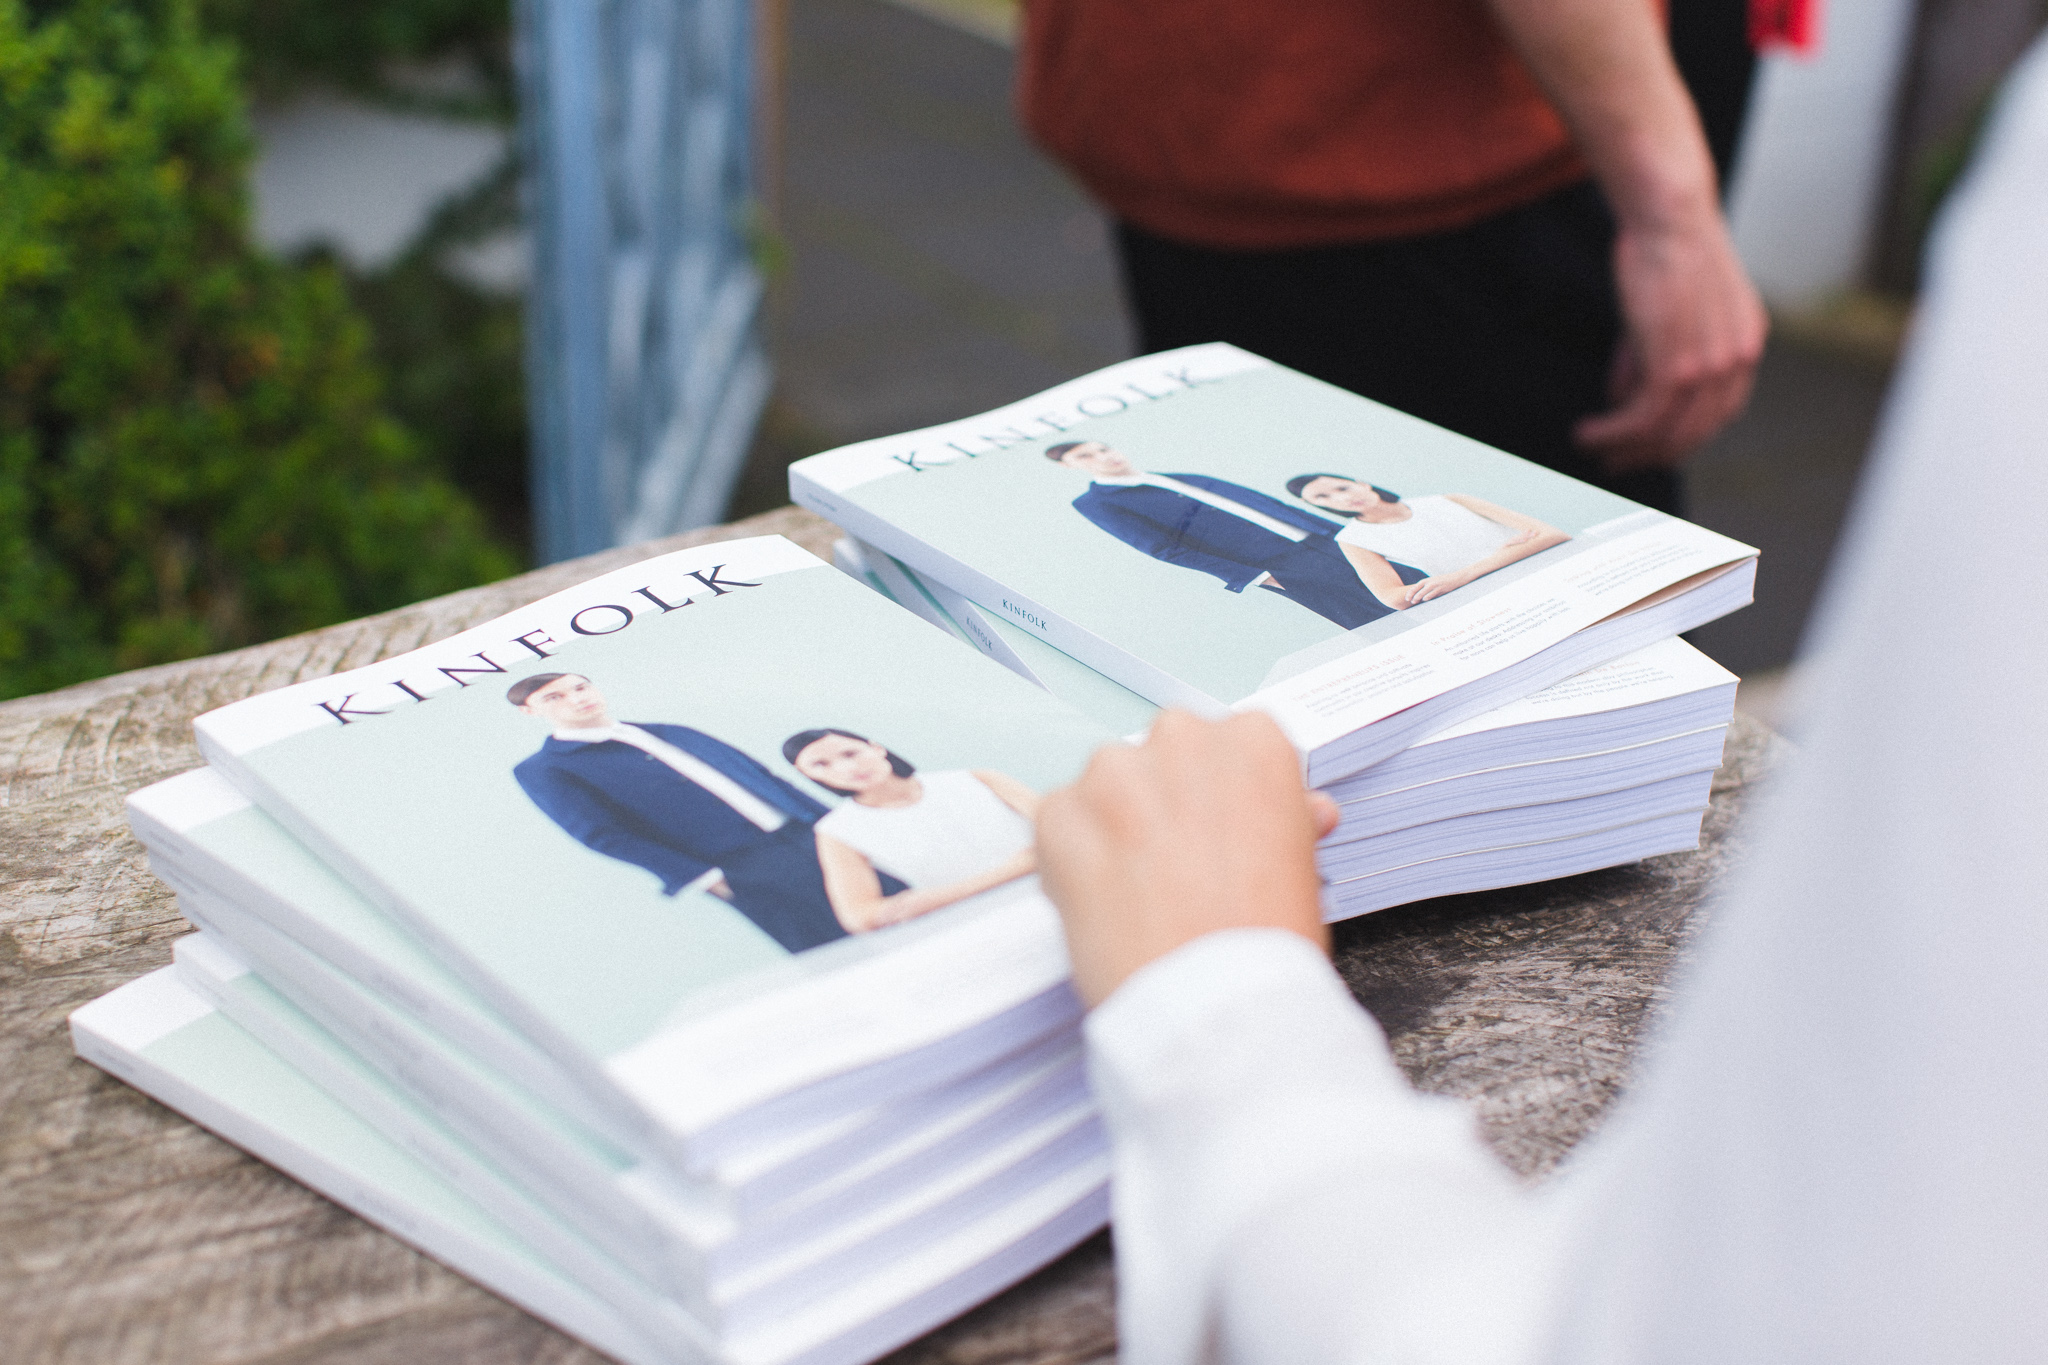
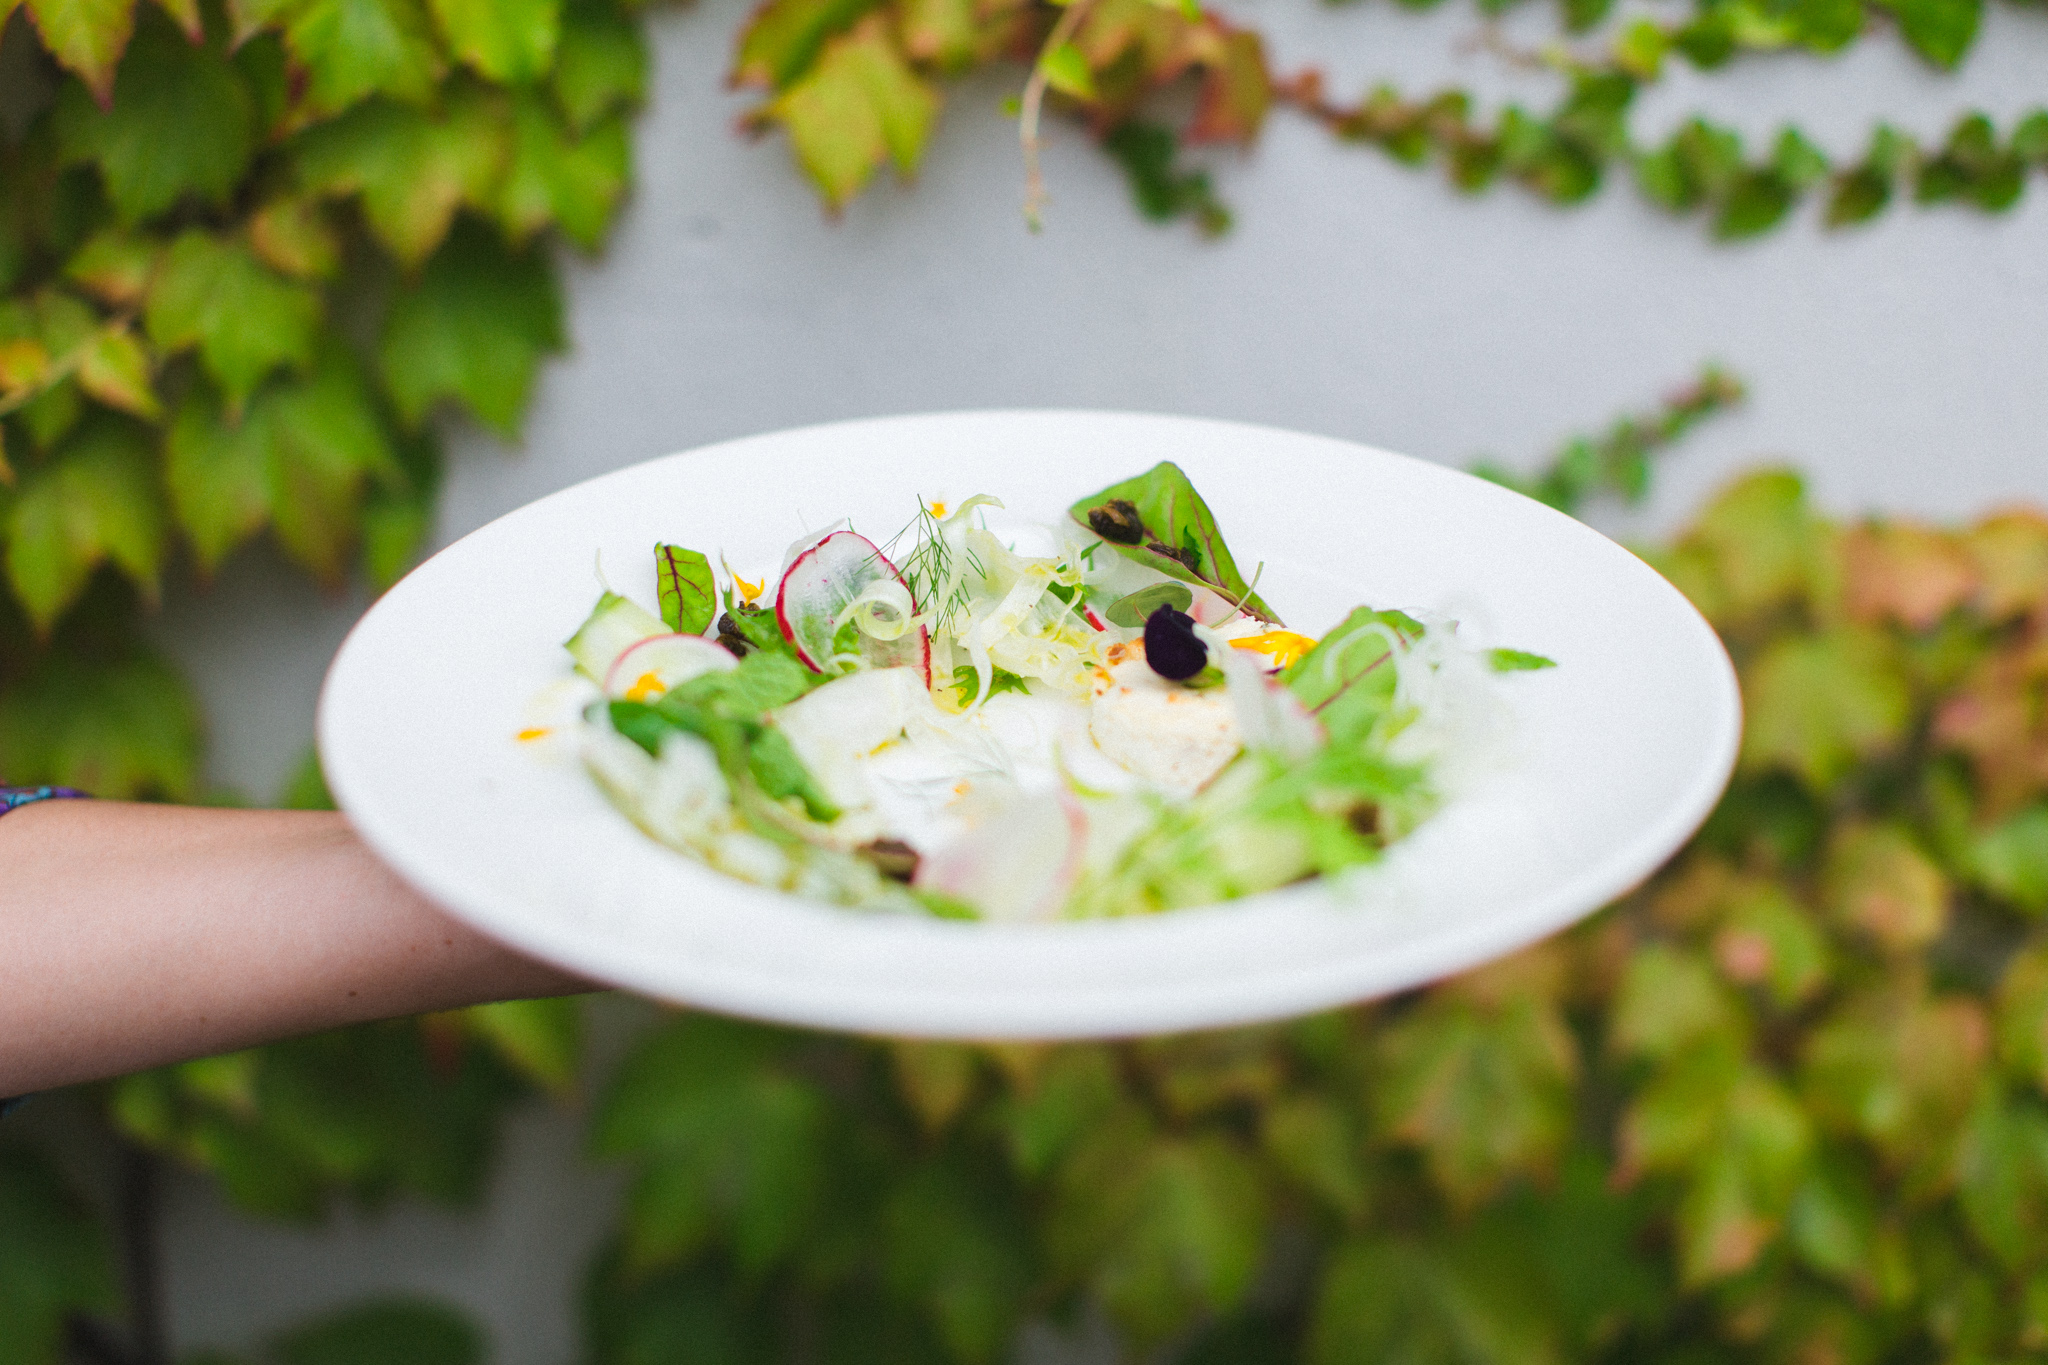
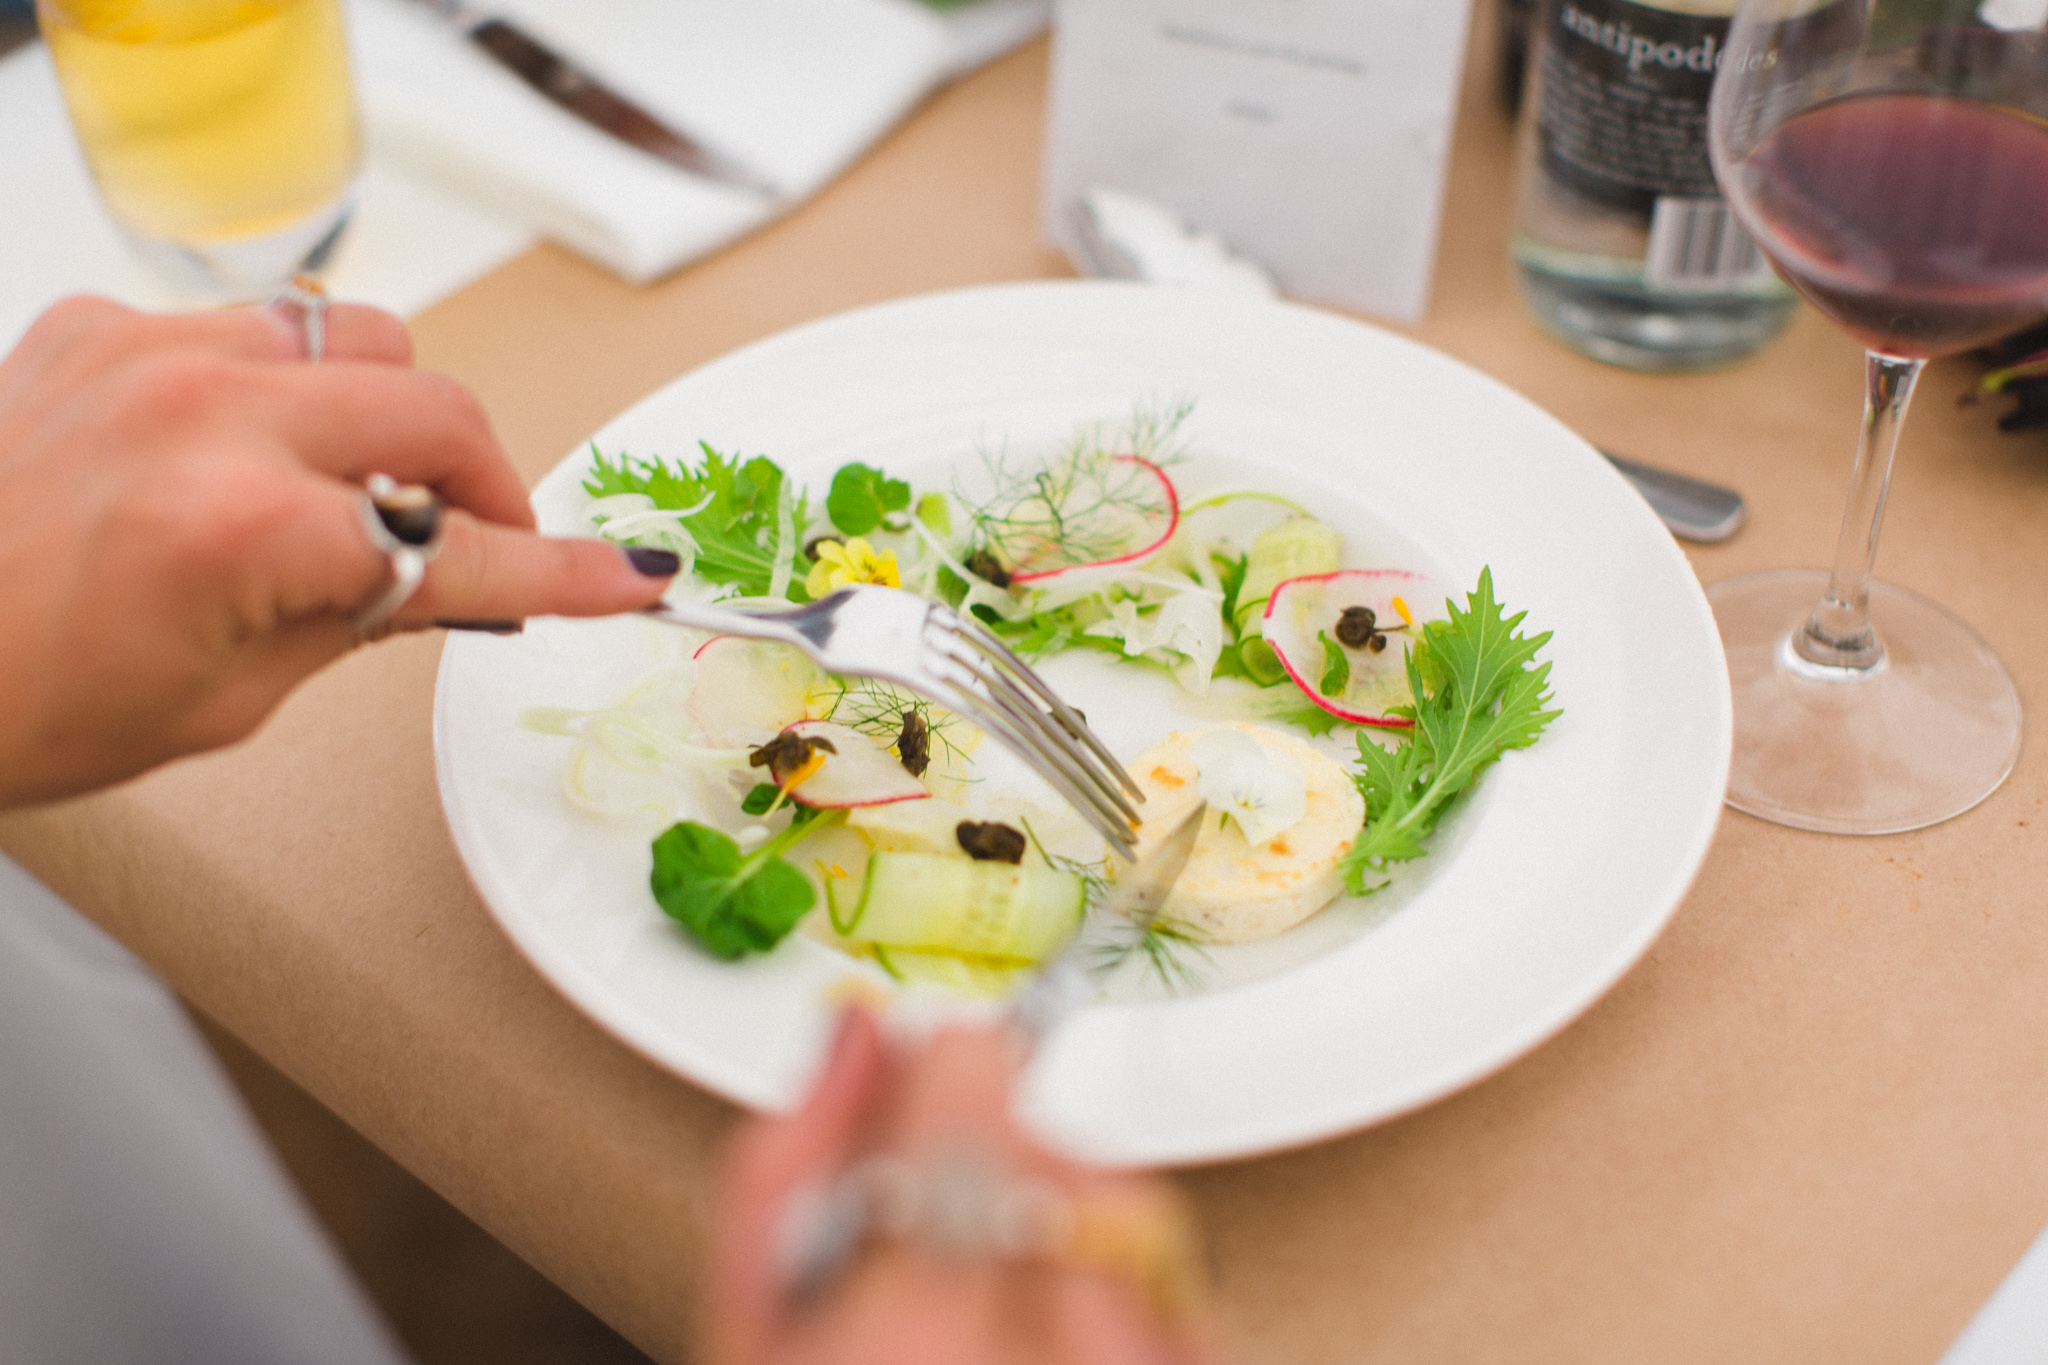
kinfolk, fennel & radish
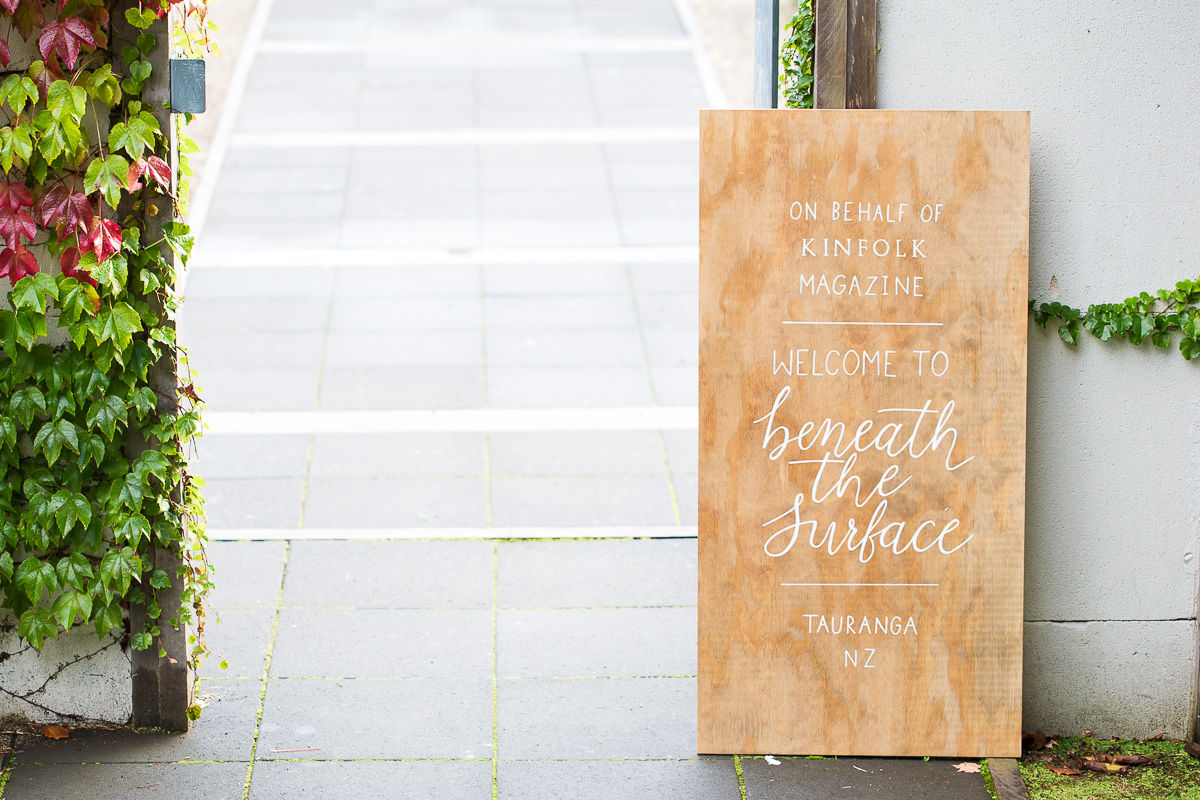
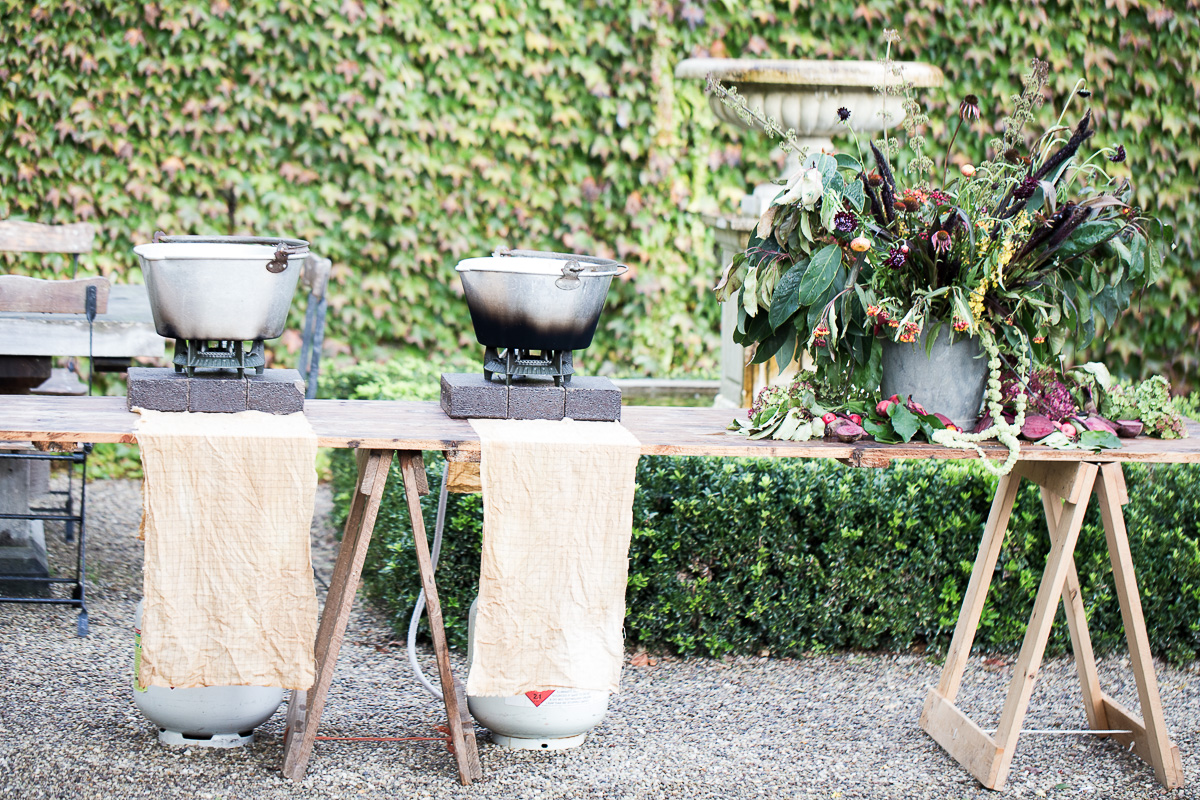
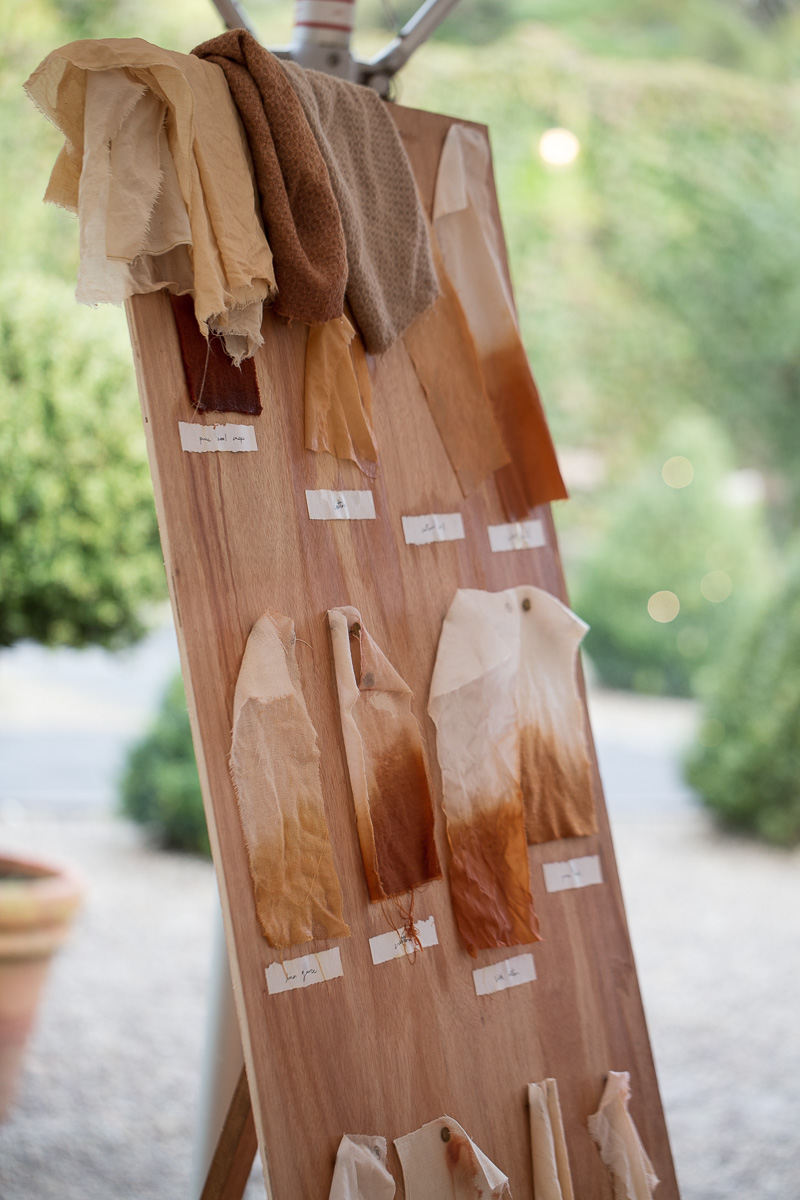
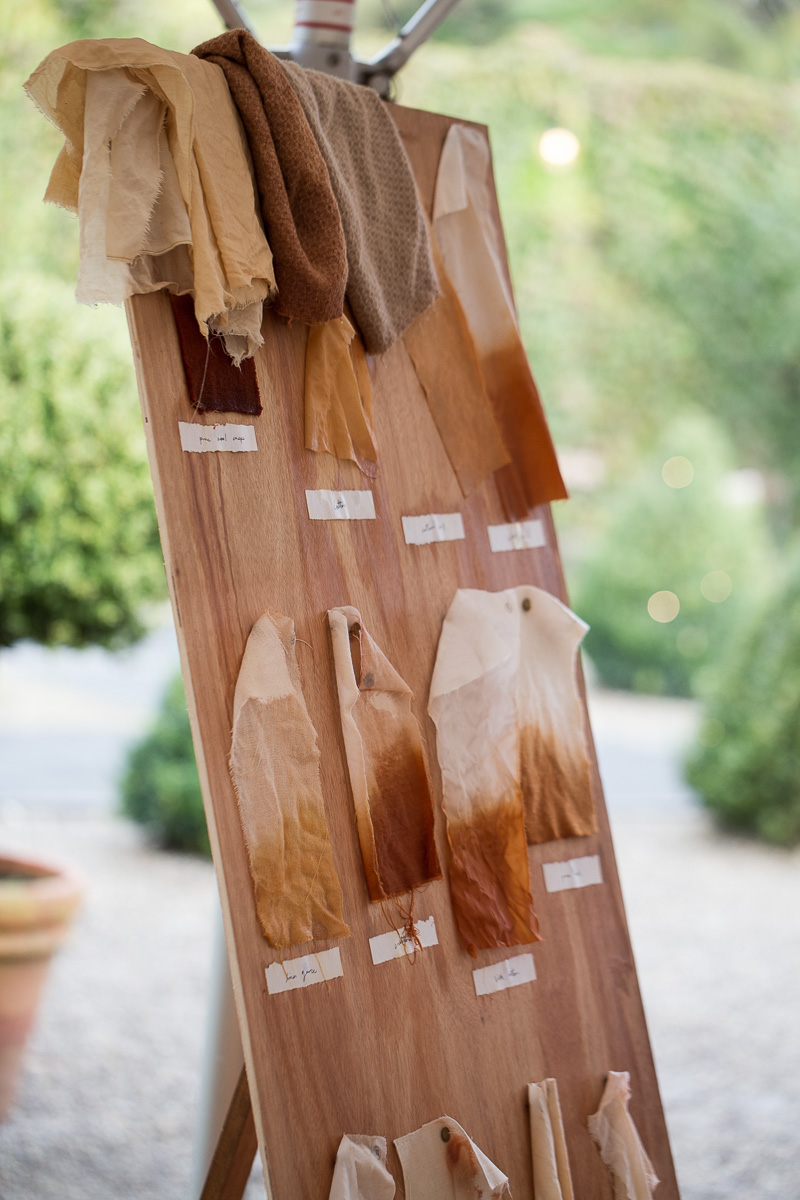
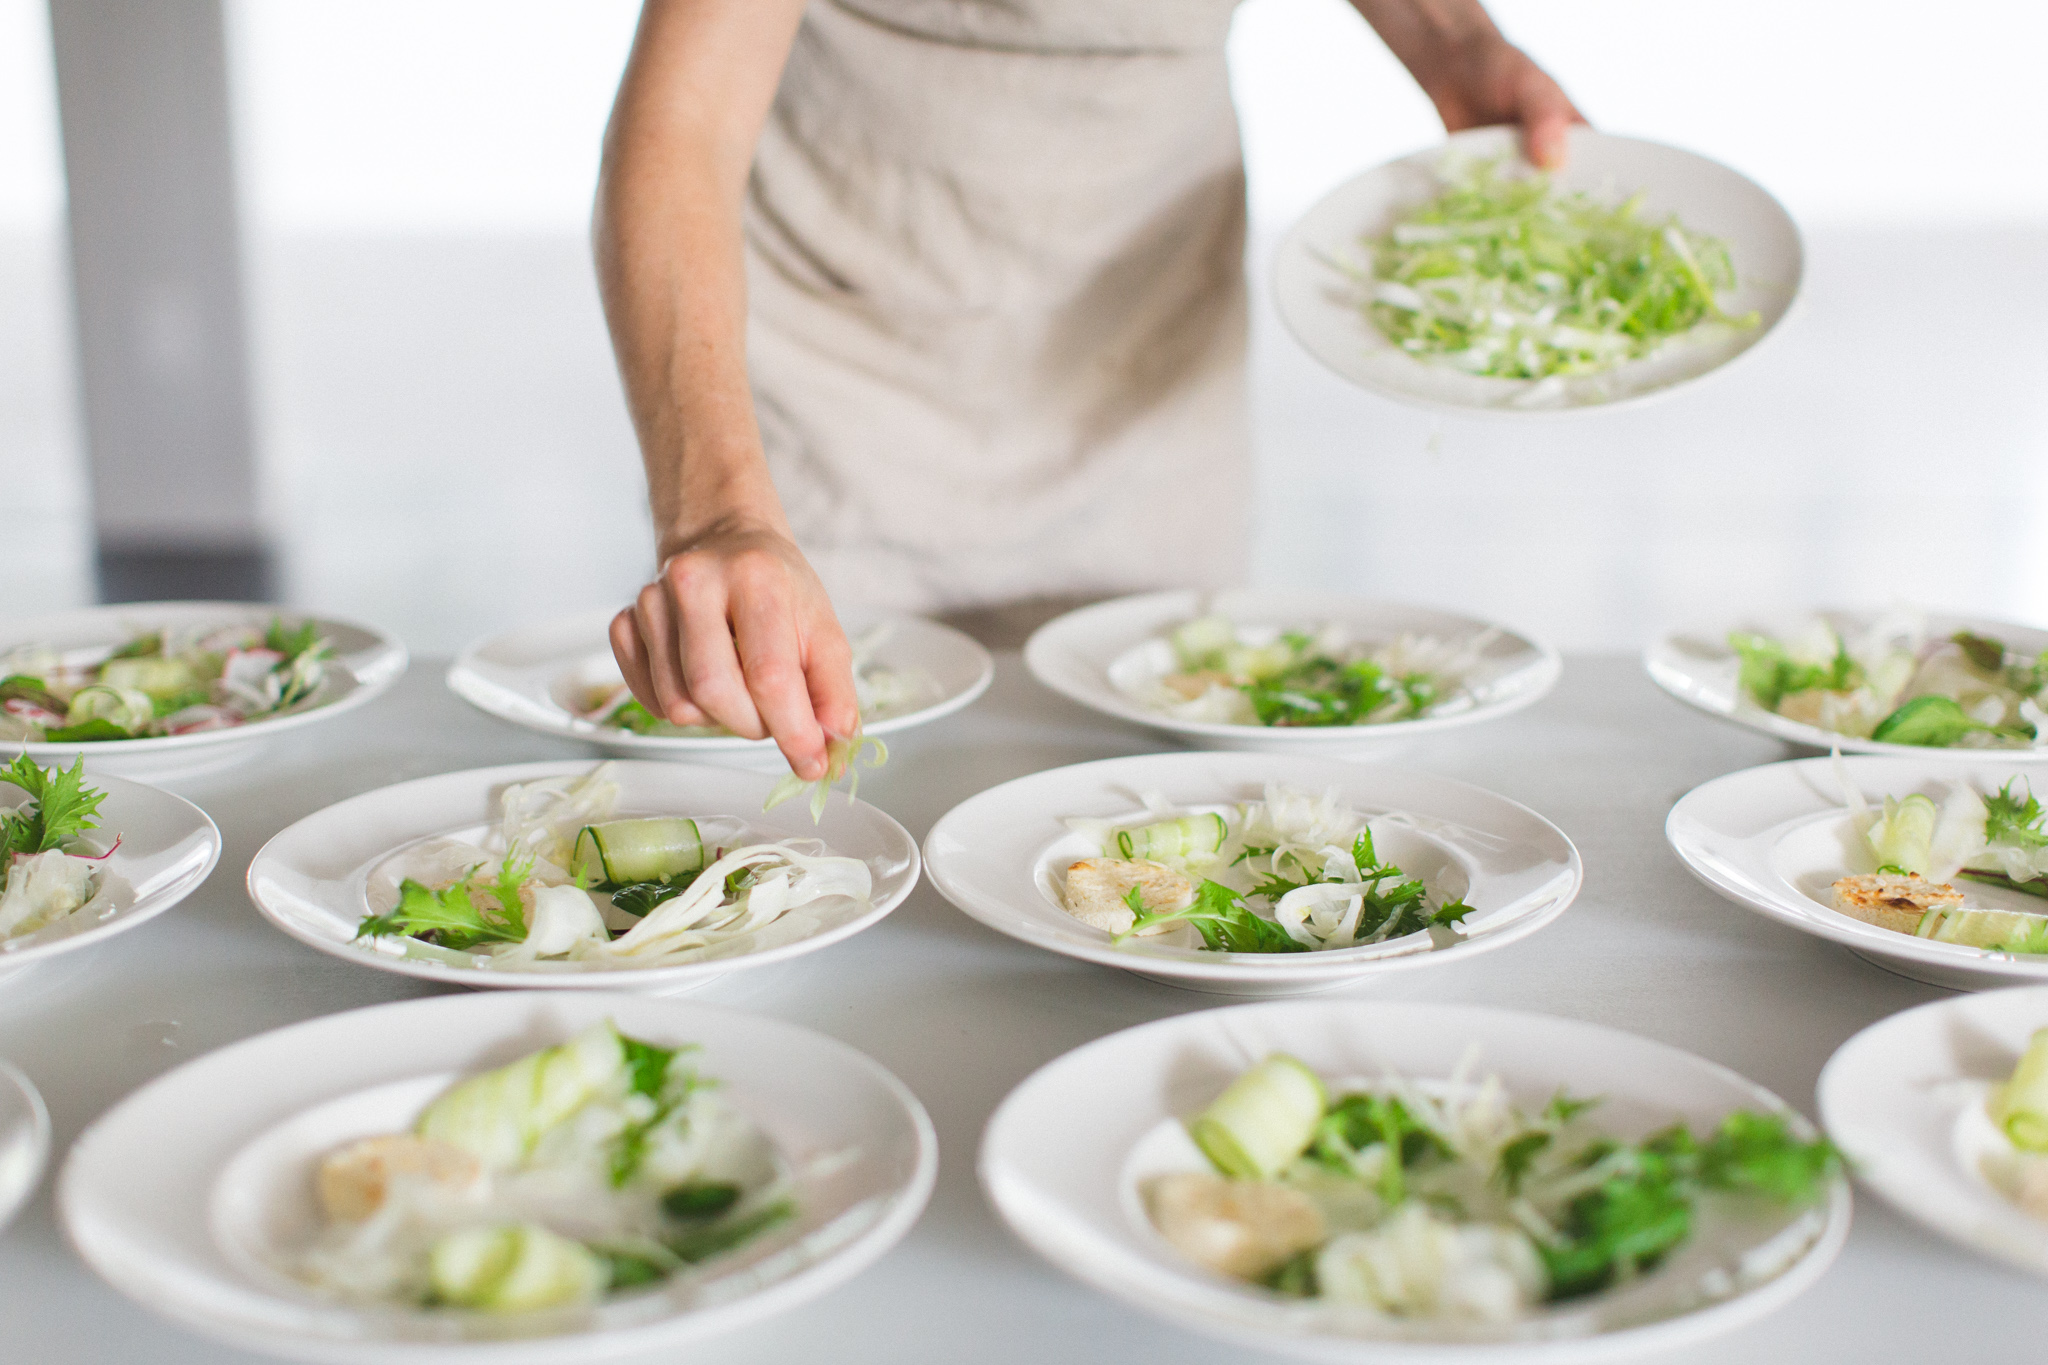
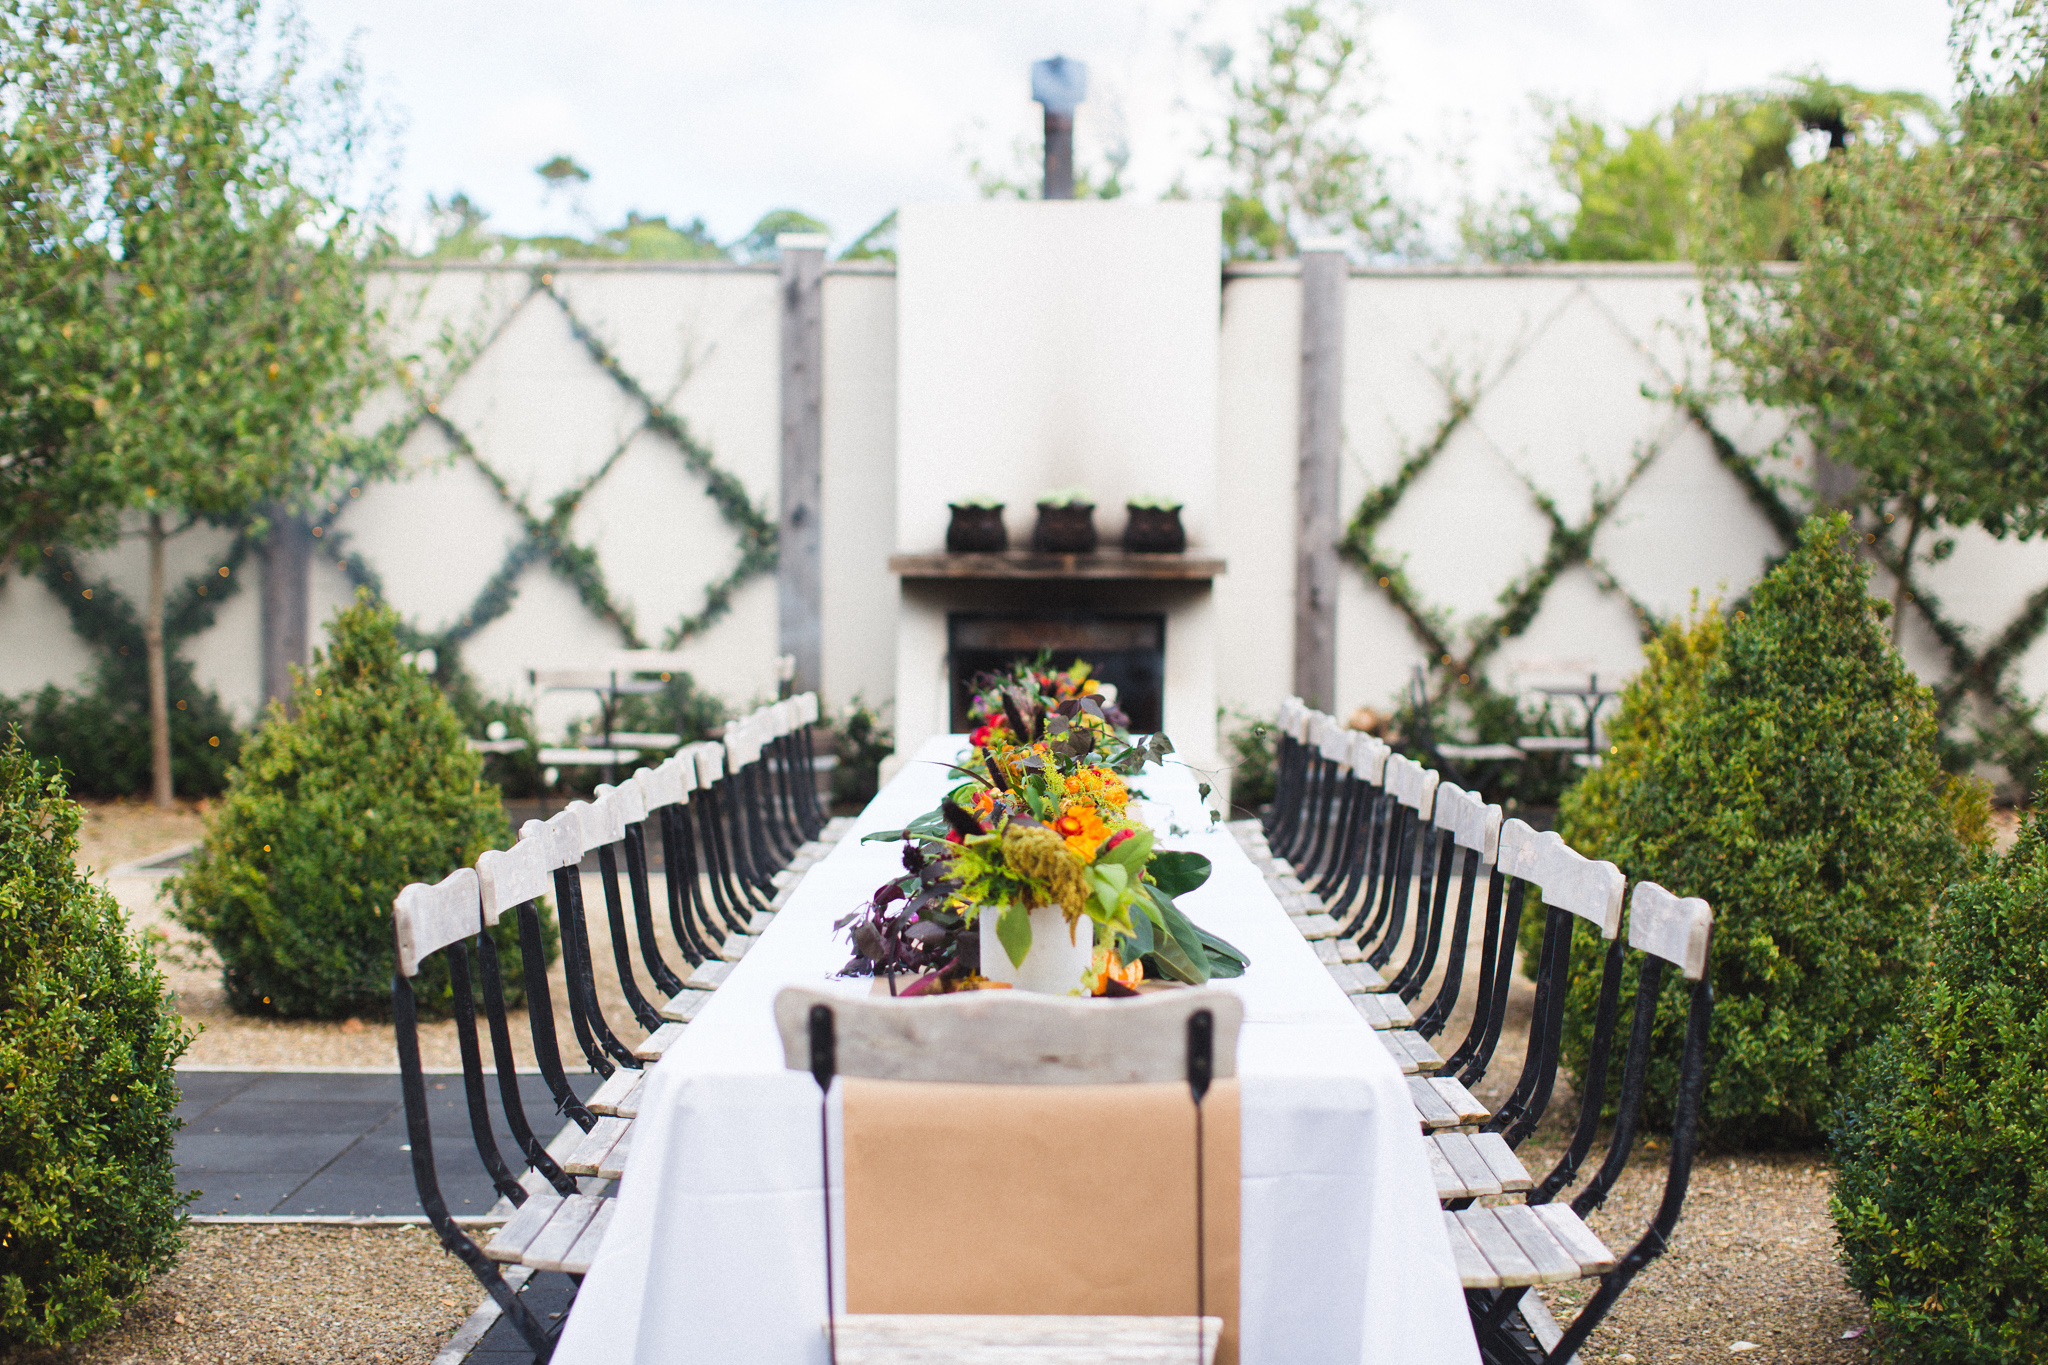
A celebration of all things "Beneath the surface". Here is some beautiful imagery (provided by talented Steph and Robin of Bubblerock, plus a few of my own), and a recipe from the Tauranga Kinfolk gathering at Ataahua Garden Venue a few Sundays ago. The gathering came together as a collaboration of talented creatives headed by the beautiful Shaye of 'On my hand' (also responsible for the stunning table styling). I styled four of the five course menu put together by Nadine of Devour Catering, while Dannielle of Spongedrop provided the lavish gingerbeer dessert. Blackbird Gem put on a fabric dying workshop using onion skins between courses. Oh what a day it was!


I'm so incredibly grateful to have been a part of all that you see in these stunning photos. Kinfolk came about when times were low, and I am honest in saying that it was in part my saving grace. A week before the event I suffered a misscarriage. Following this I spent the ensuing days sat on our living room floor with a plate from Houston Design co, planning how to style the radish salad and dandelion root main. Taking the time for myself to create something beautiful with ingredients I love, couldn't have been a better comfort to take my mind away from the circumstances.


Working together with the ladies I've mentioned above, was also an experience I will cherish. There is nothing quite like the power of a combination of passions coming together to create something special. I'm still starting out in my food adventure and so establishing new contacts, and making new friends.gave me a sense of belonging and confirmed that this is something I want to keep doing . Yay!

The salad I am compiling here and sharing with you is called 'radish'. It was the third course and chef Nadine's intention was for a light, refreshing palate cleanser between the main event 'dandelion root' and the scallop and kombu broth (pictured above). She captured this well with the cooling flovours of the radish, fennel and cucumber, married withthe zingy citrus dressing
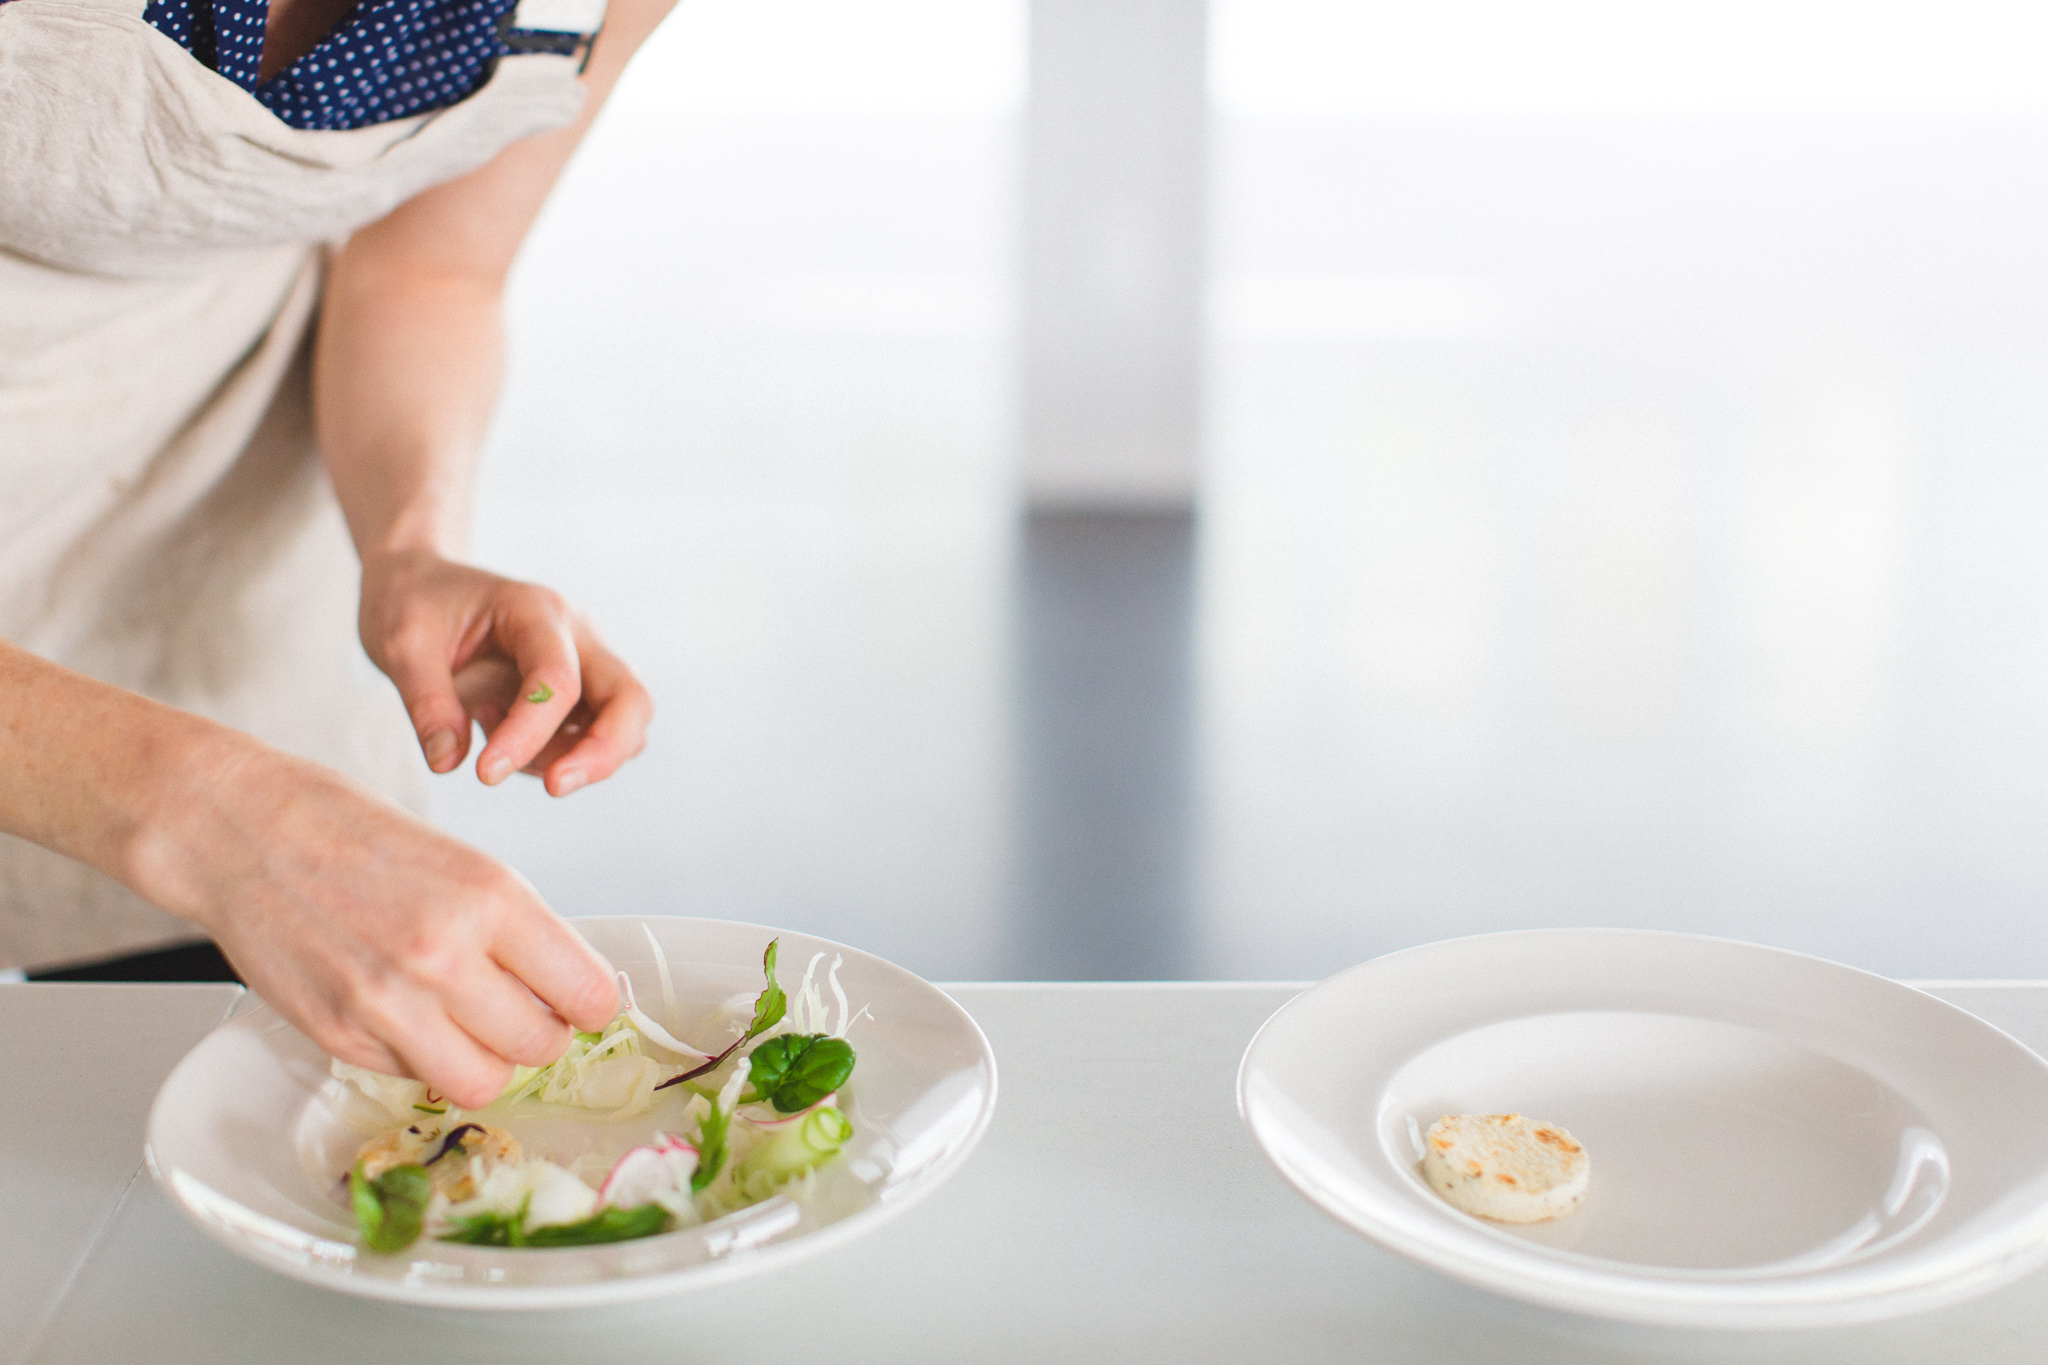
The secret to making the salad look stunning is to mandolin the fennel and radishes thinly lengthways, and to place them in iced water prior to plating. This gives them the beautiful curl which you hopefully can see in the pictures. The same applies to the spring onion which I cut thinly cut on the bias (i.e. on an angle).
The other secret is vibrant leafy greens which make the salad ping in front of your eyes. I used an organic mesculin mix, handpicking mizuna and beet leaves for their pretty colours and shape.
I've made a few further adjustments to the recipe, compared with what is pictured. To make the dish dairy-free, I replaced the baked ricotta with avocado. I've also replaced fried capers, with dried cranberries for a burst of sweetness, and added activated pine nuts for a nutty crunch.

In my next post I plan to share more Kinfolk scenes, plus a vegan take on one of the delicious "Ottolenghi" style dips we served as a starter. Until then, have a lovely week and feel free to bombard me with any questions or to just say hi! =)


fennel & radish salad
serves 1
- 1/2 fennel bulb sliced thinly on a mandolin length ways
- 1 radish thinly sliced lengthways (about 2 mm thick)
- 1/4 -1/2 spring onion cut thinly on the bias
- 1/2 avocado
- a handful of pretty leafy greens for e.g. a mesculin mix with beet leaves, mizuna, baby spinach etc
- 10cm length of cucumber sliced on mandolin (approx 2 mm thick)*
- small handful of dried cranberries**
- 2 tsp activated pine nuts ***
- small handful of radish sprouts (optional)
how to
Mandolin fennel and radish lengthways and place in iced water for 10 mins or until the vegetables start to curl. Cut spring onion thinly on the bias and place in iced water with the fennel and radish. Mandolin cucumber and roll into curls as shown in the photos above. Remove the half avocado carefully from it's skin and place on the inside edge of a shallow bowl. Compile the rest of the components of the salad around the inside edges of the bowl (so the salad and avocado has the aesthetic of a wreath shape). Drizzle with citrus dressing and garnish.
*2 - 4 rolls of cucumber will be sufficient, you may have a few pieces left over.
** choose organic dried cranberries and be sure to check that they are not the sort injected with a lot of sugar =)
*** 'activated' pine nuts means that I have soaked the nuts overnight, and then dehydrated them in a dehydrator. This step brings the nuts 'to life' and makes for easier digestion (yay!), but can be omitted if preferred.
citrus dressing
- 1 Tbsp lemon juice
- 1 Tbsp red wine vinegar
- 1/4 cup olive oil
- 1 tsp manuka honey
- 1 tsp chopped shallot
- pinch of himalaya mountain salt or sea salt
garnish
edible flowers, fennel fronds, small mint leaves
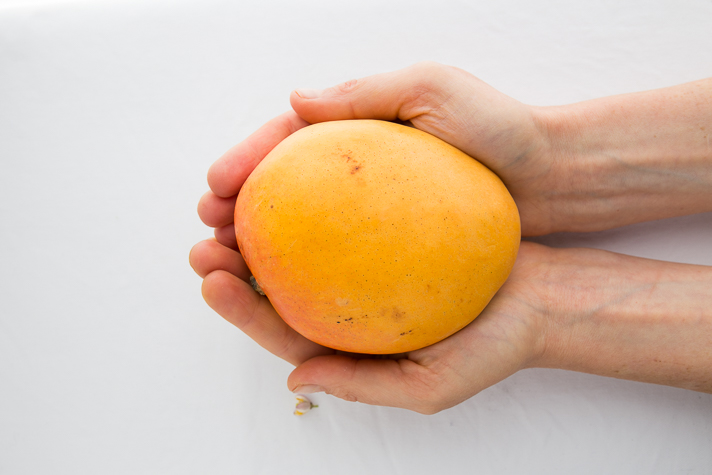
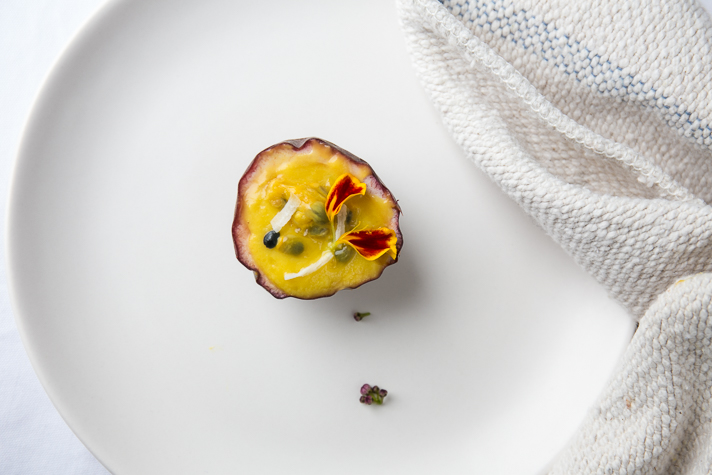
mango & kaffir lime mousse pops

From mango coulis on a chia pudding... to mango mousse in a cup... to mango mousse pops... to mango mousse in passion fruit cups… This recipe can be enjoyed all of the above ways and I have tested them all in getting to this post! My problem is that a simple mango mousse in a cup (the sensible and easiest option) seemed a bit ho hum to take pictures of (despite my Nanna’s beautiful crystal glass). I have a bit of a nervous twitch you see, in that I like to be a bit different… but still finding that balance between simple and beautiful vs too flowery and over the top. Anyway, the end result is mango mousse pops and I think they look quite beautiful. I hope you do too!

how to
Freezing the mousse pops in moulds is not all that tricky.The moulds I have (which came from 'The Warehouse' for those in New Zealand), come in two identical pieces (see below). To make mousse pops, divide the mousse mixture in two and fill corresponding sides of the moulds. The key here is that the mousse lies flush on top, and that you fill the correct moulds, (I learnt this by doing it wrong the first time!). Press the moulds together and place in freezer.

When ready to serve, take the moulds out of the freezer and insert sticks. Garnish and serve directly as mousse pops become melty like ice-cream!


presentation & styling variations

mango mousse pops
Makes approximately 4 mousse pops or serves 1 to 2 as a traditional mousse
- 1 large mango
- juice of 1 lime
- 1 Tbsp coconut butter (I used Artisana brand)
- 1 Tbsp maple syrup
- 1/2 kaffir lime leaf *
- pinch of himalaya mountain salt or sea salt
* Kaffir lime leaves come in two pieces as shown above. For this recipe I used only 1 of the two leaves. ** Optional - add 1/2 a frozen banana to the mixture before blending. My mousse pops are made without banana as I'm not much of a banana smoothie person =) Bananas and mango do however work as a classic flavour combination.
Mix all ingredients excluding the kaffir lime leaf, in a a blender. Once blended, add the kaffir lime leaf to give small bursts of green (in colour and in flavour!). For mousse pops, freeze mousse mixture in moulds (see above). Once frozen, remove top mould and insert sticks when preparing to serve.
Garnish with passionfruit pulp drizzled on top and organic shredded coconut.
spiced ginger macadamia nuts
If you are going for a traditional mousse, I like to garnish with spiced ginger macadamia nuts. The crunch in these provides a nice off-setting texture to the soft mousse. Prepare by soaking 1/4 cup of macadamias overnight. Rinse in filtered water and then marinate in 1 tsp of maple syrup, 1/2 tsp ginger powder, a small squeeze of lemon or lime juice, and a pinch of salt. Dehydrate in a dehydrator for 24 hours or until the nuts become crunchy.