
little bird, grown & gathered & Megs raw caramel brownie

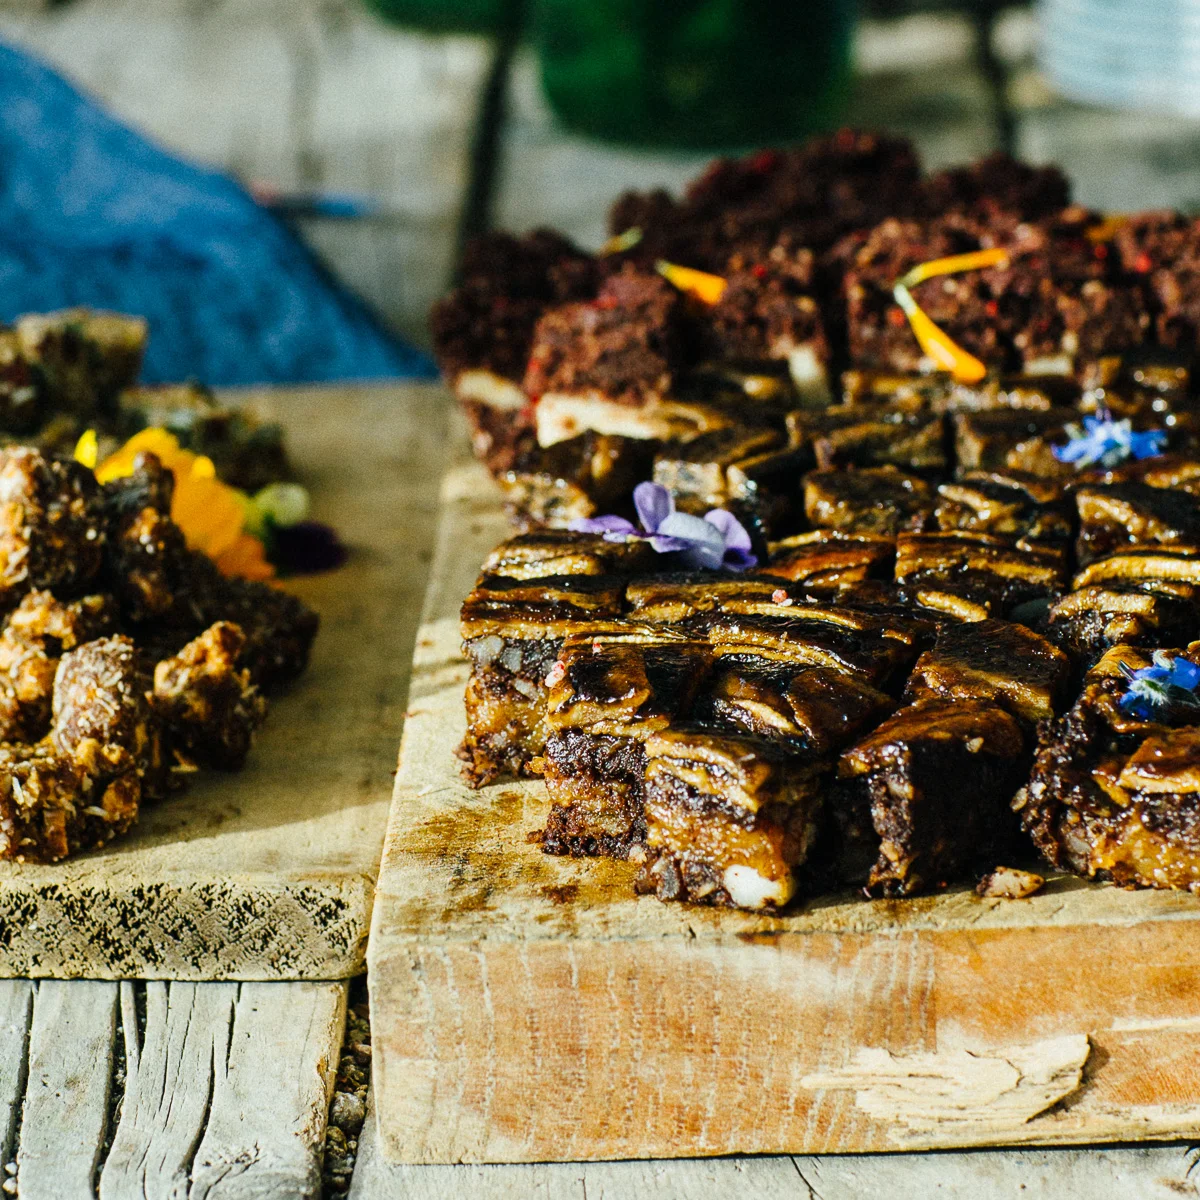
Meg and little bird organic's raw caramel & banana brownie, and apricot logs.
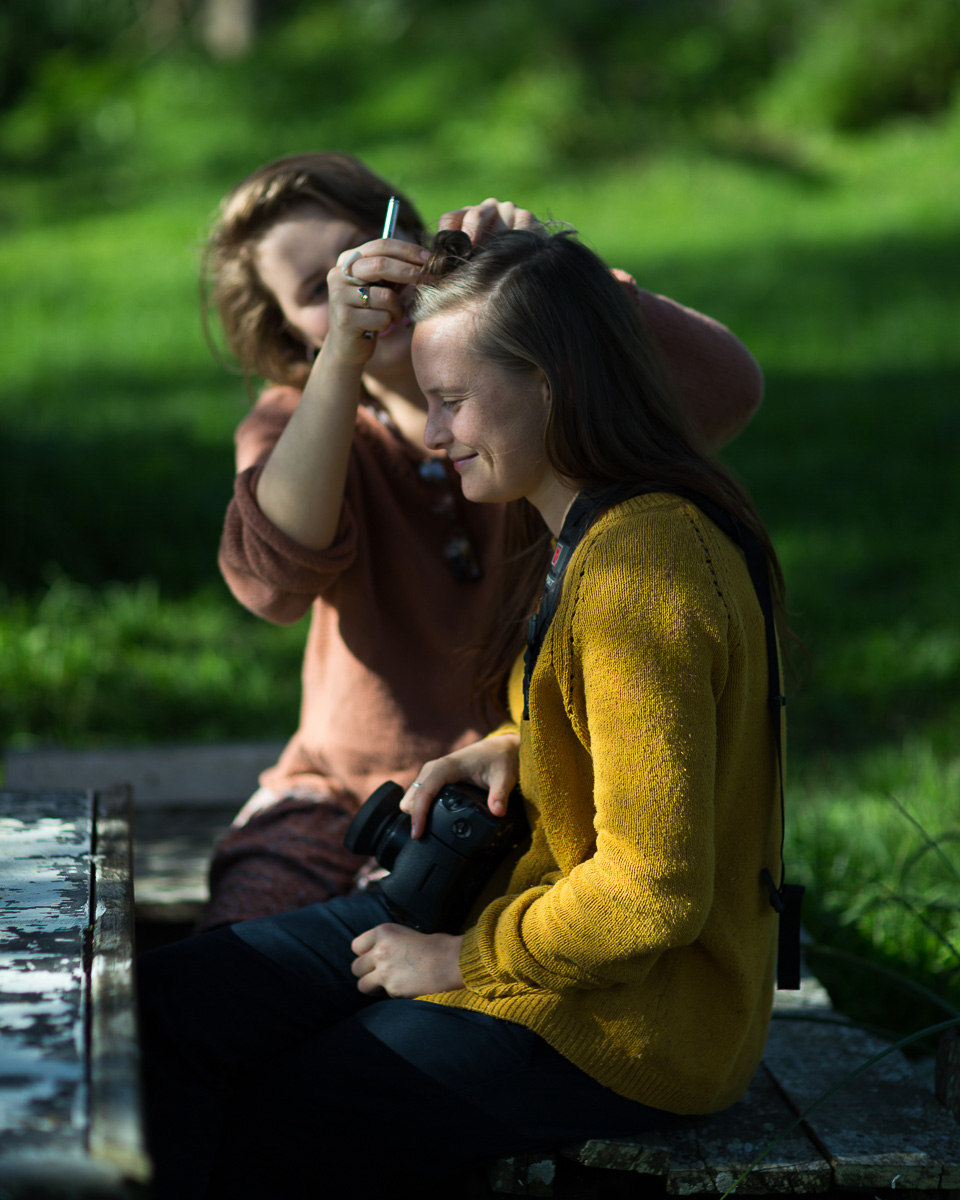
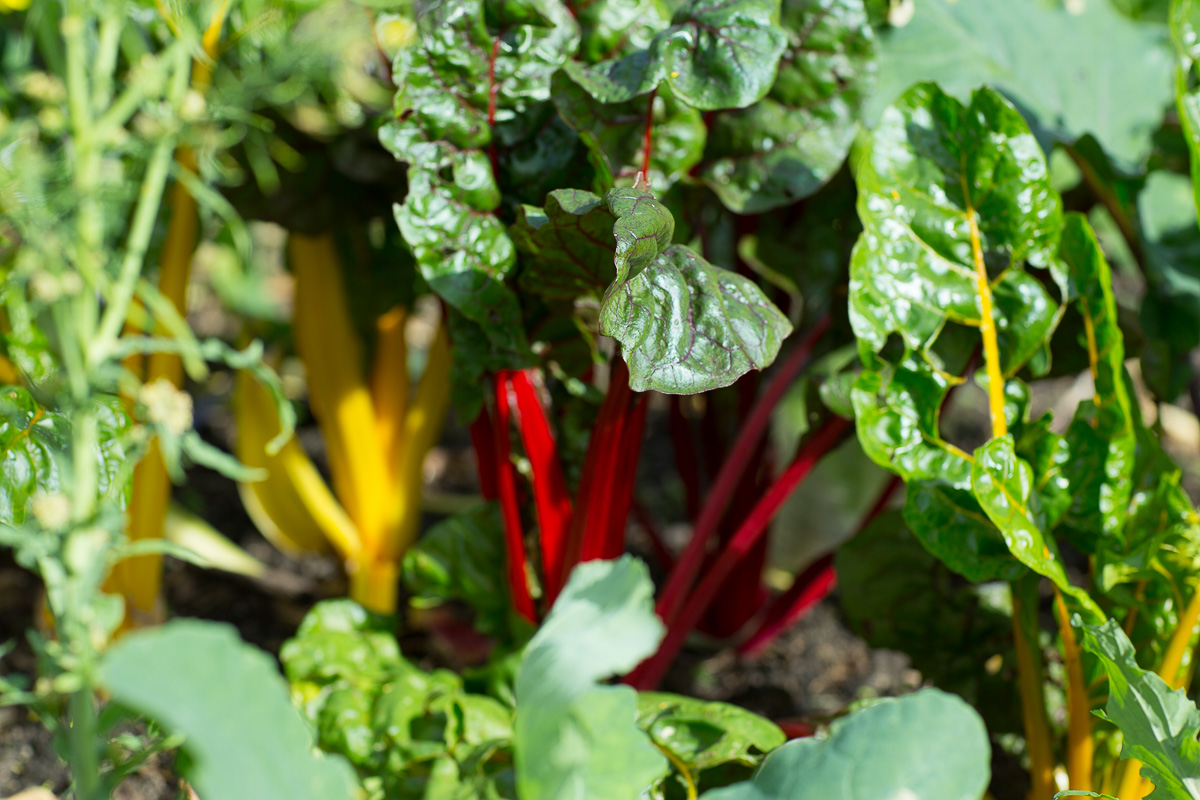
Some more pictures from the Grown and Gathered year round harvest workshop with little bird organics, at Kelmarna organic city farm in Auckland. Also, Meg's raw caramel and banana brownie recipe from the Unbakery cookbook, which was enjoyed by workshop goers on the day. Truly delicious. Enjoy!

Herbal teas of kawakawa and nettle - why not brew direct from nature?
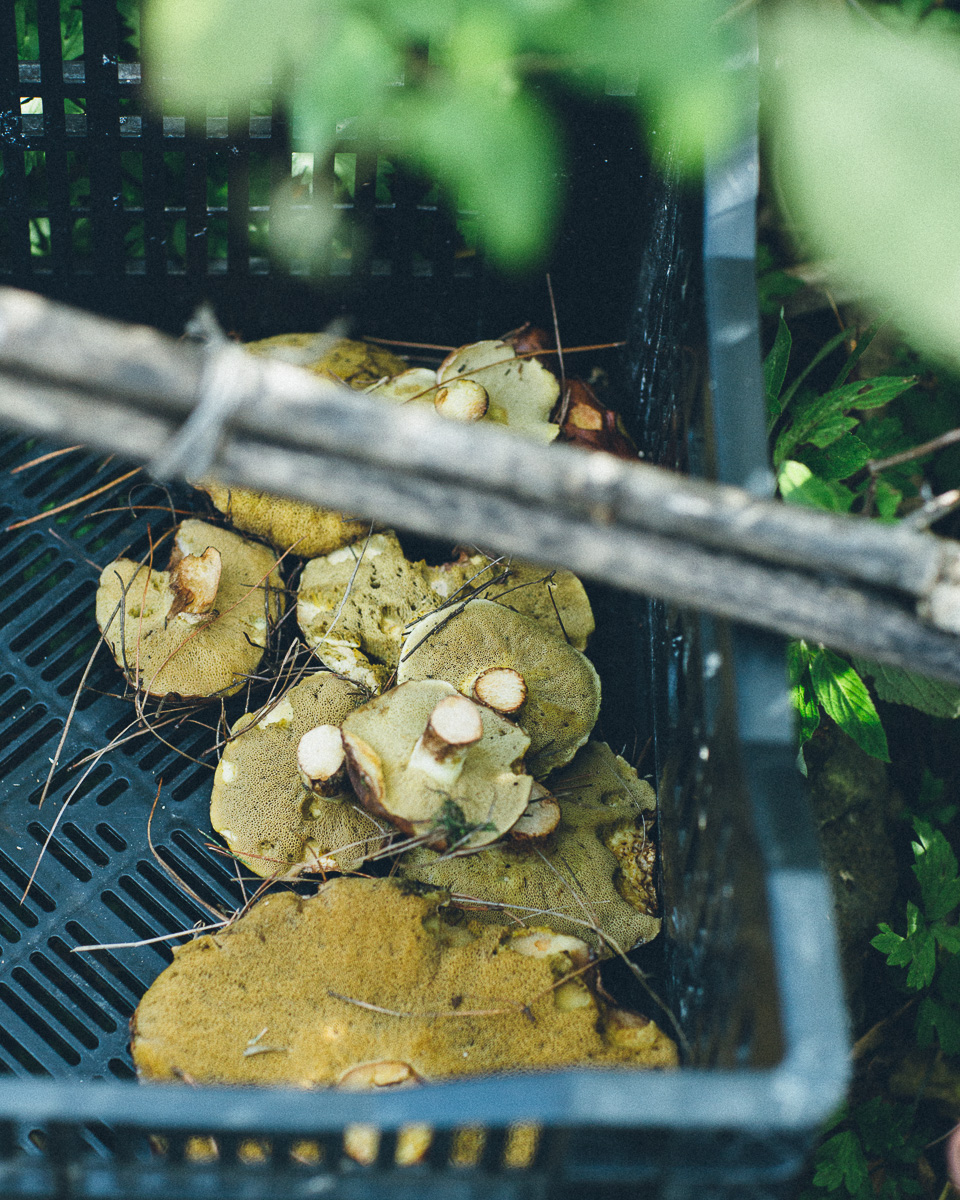
Wild mushrooms foraged by Matt & Lentil.
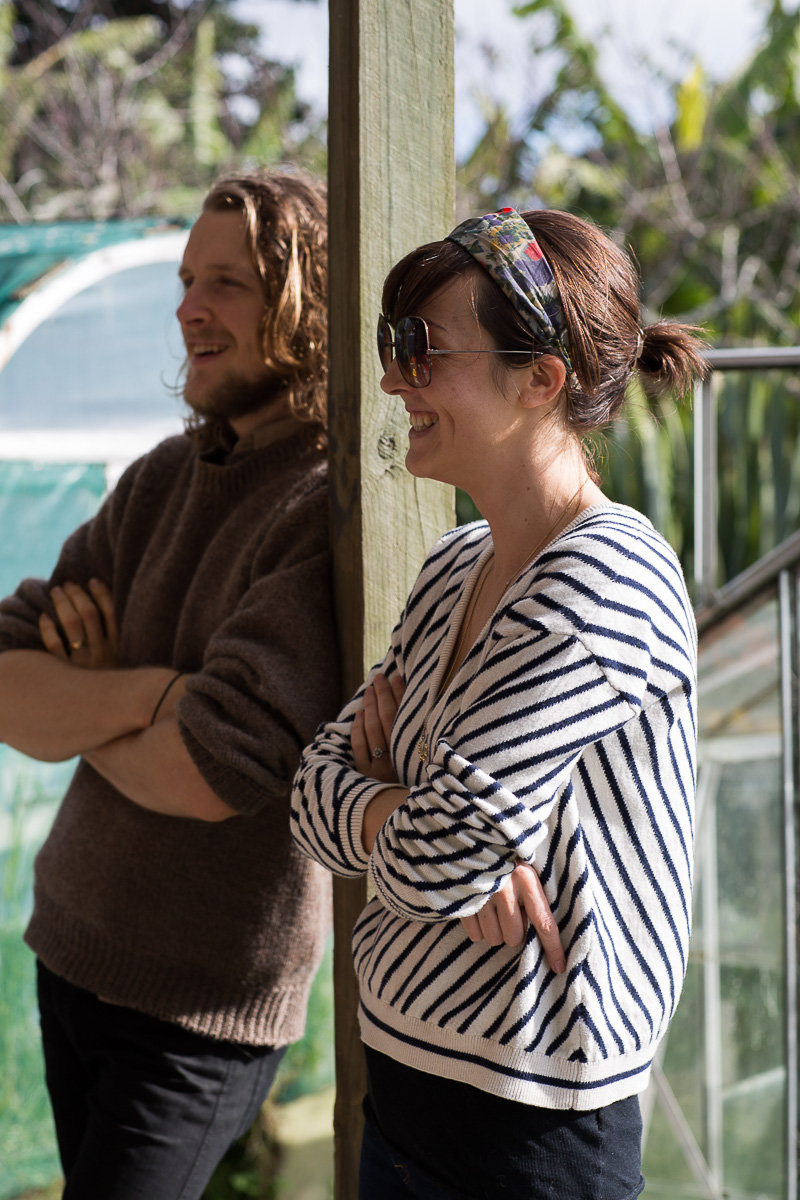
Meg and Matt


Foraged wild flowers for trading


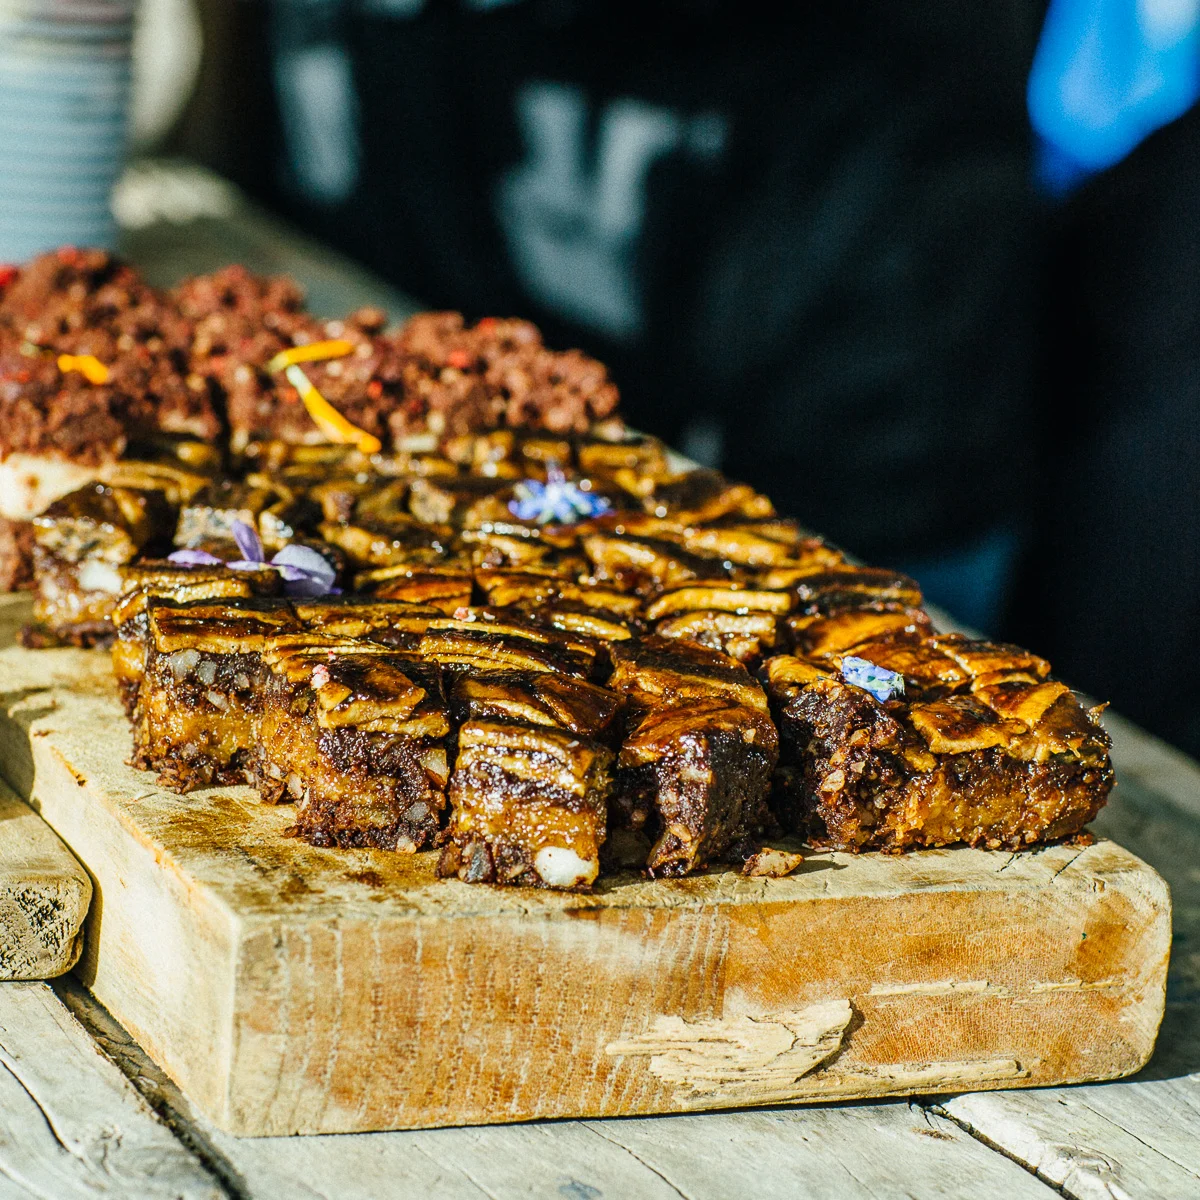


Little bird caramel & banana brownie
From the Unbakery cookbook by Megan May - makes 15 brownies
Caramelised bananas (optional)
Start with the caramelised bananas if including this step.
- 3 ripe bananas
- 3 Tbsp lemon juice
- 1/4 cup coconut sugar
- Slice bananas horizontally to get 5mm slices (approx 4 to 6 slices per banana).
- Place the slices on a dehydrator sheet and drizzle with lemon juice, then sprinkle with coconut sugar.
- Dehydrate for 6 hours at 46 degrees celsius.
Raw caramel
- 1/2 cup pecans
- 1 1/2 cups pitted dates
- 1 tsp vanilla extract
- 1/2 cup maple syrup/raw agave/coconut crystals or raw honey
- pinch sea salt
- Mix the pecans into a flour in your food processor and set aside.
- Process the dates and vanilla extract until they form a paste. Scrape the dates from the side as you go.
- Add sweeter and blend until you get a lighter coloured mixture.
- Add the pecan flour and blend until combined. Set aside, while you make the base.
Base
- 3 1/4 cups brazil nuts
- 1 1/4 cups cacao powder
- pinch sea salt
- 2 cups pitted dates
- 1 1/2 avocado
- 2 tsp vanilla extract
- Mix brazil nuts into a coarse flour in a food processor - there should still be some nut chunks.
- Place in a bowl and mix with the cacao powder and sea salt. Set aside.
- Blend dates into approximately 5mm chunks in a food processor. Add the avocado and vanilla and blend again until there are no chunks of avocado to be seen.
- Add the brazil nut and cacao mixture and pulse until well combined (be careful not to over-mix, you want the mixture to be coming together whilst still retaining some of the texture from the brazil nuts).
Assembly:
- Line a 20 cm slice tin with plastic wrap. Press 3/4 of the base mixture into the tin - you want to make lengthways indentations, creating lines like waves so that the caramel can be set in between the 'waves'.
- Fill the indentations with the caramel using a spoon or piping bag. Cover with the remaining base mixture, making sure you can't see any of the caramel. Layer the caramelised bananas on top, pressing them in lightly to the mixture.
- Cover with plastic wrap and refriderate for 4-6 hours.
- Remove from the refrigerator and cut into approximately 15 square slices. The brownie will keep for 1 week in an airtight container in the refrigerator.
meyer lemon & 'cream cheese' vegan ice cream

The present moment:
What is photography? For me, I think it is a reflection of what I see through my soul... if my soul had eyes.
The words below I wrote a couple of days ago, and now 2 days later the feeling inside is different. More confident. Happy. I sat so nervously waiting to hand my photographs over to Christina Force for her opinion on my photography portfolio. But the outcome was beyond 'hope'. I struggle so much with my lowly self-confidence. Find it so hard to take on board praise without thinking people are just being kind. It's something deep inside that I've come to live with but it can be so debilitating at times. But as Christina looked through my photographs, I got that cliched feeling that time slowed down. She said that my photographs were 'beautiful'. She said that she loved them and could put them on her kitchen wall. I had been so afraid of the opposite reaction that when those comments met my insecurities it really did feel like a dream - an answer to all those moments when I wonder who I am and what I am doing. Like the reassuring feeling of letting out a long held breath.
Tuesday morning:
The fog is starting to clear - hurrah! That's what it feels like at least. The past few months have been incredibly hectic but i'm finally starting to feel that my scattered brain is slowing... Tonight I'll be showing my work to one of the founders of a prominent photography agency here in New Zealand - the final test on the final night of my scholarship at Kingsize studios. My photographs are all printed and ready to go, so now i'm just waiting nervously for some feedback...

And a flashback which we never ended up posting:
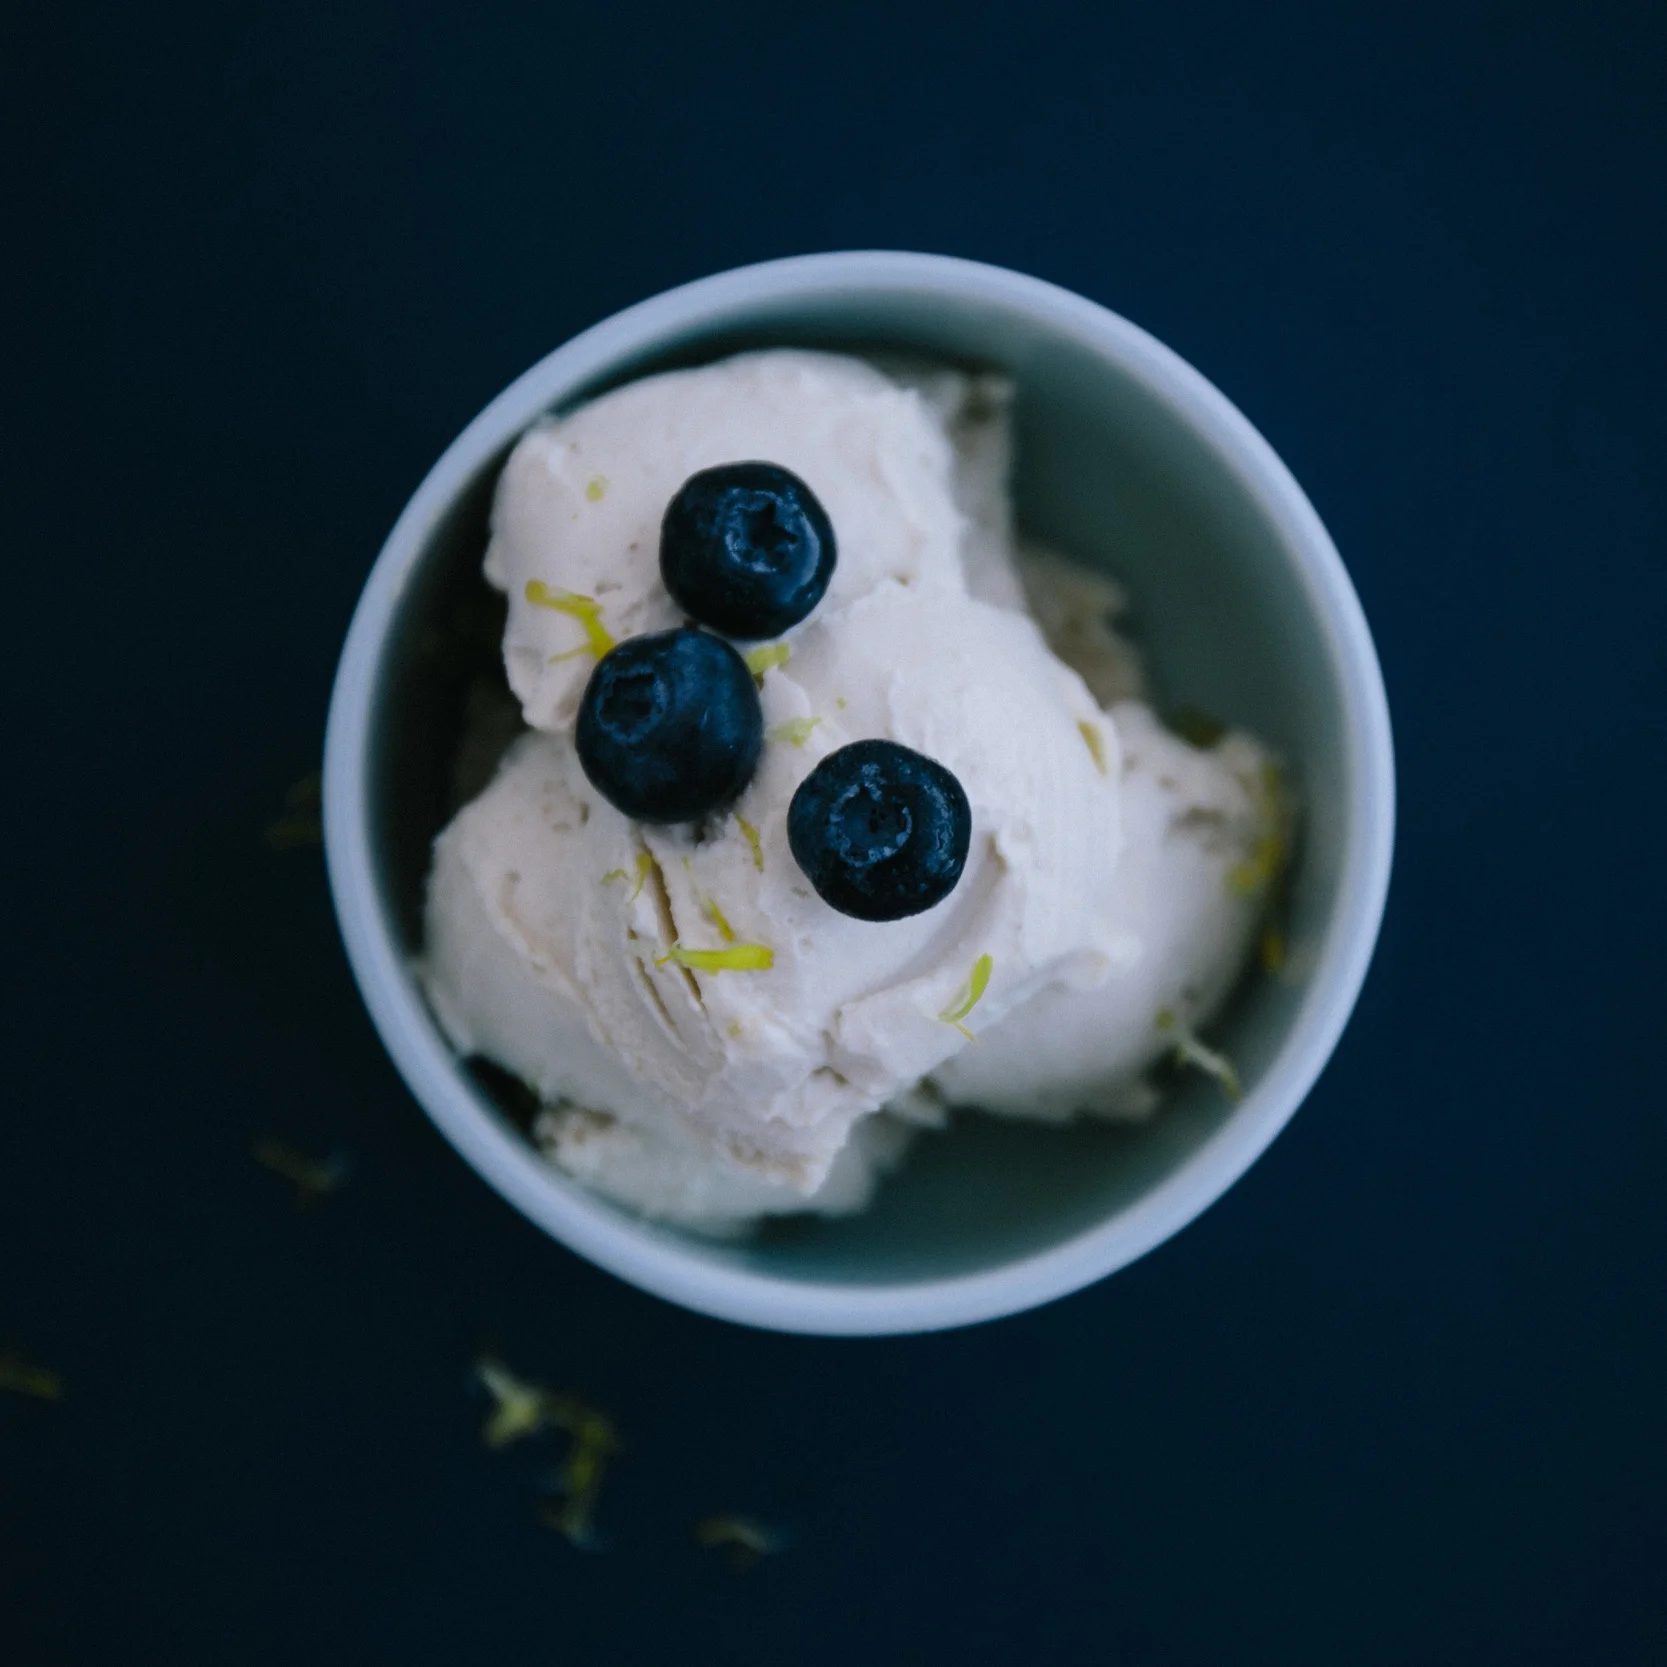
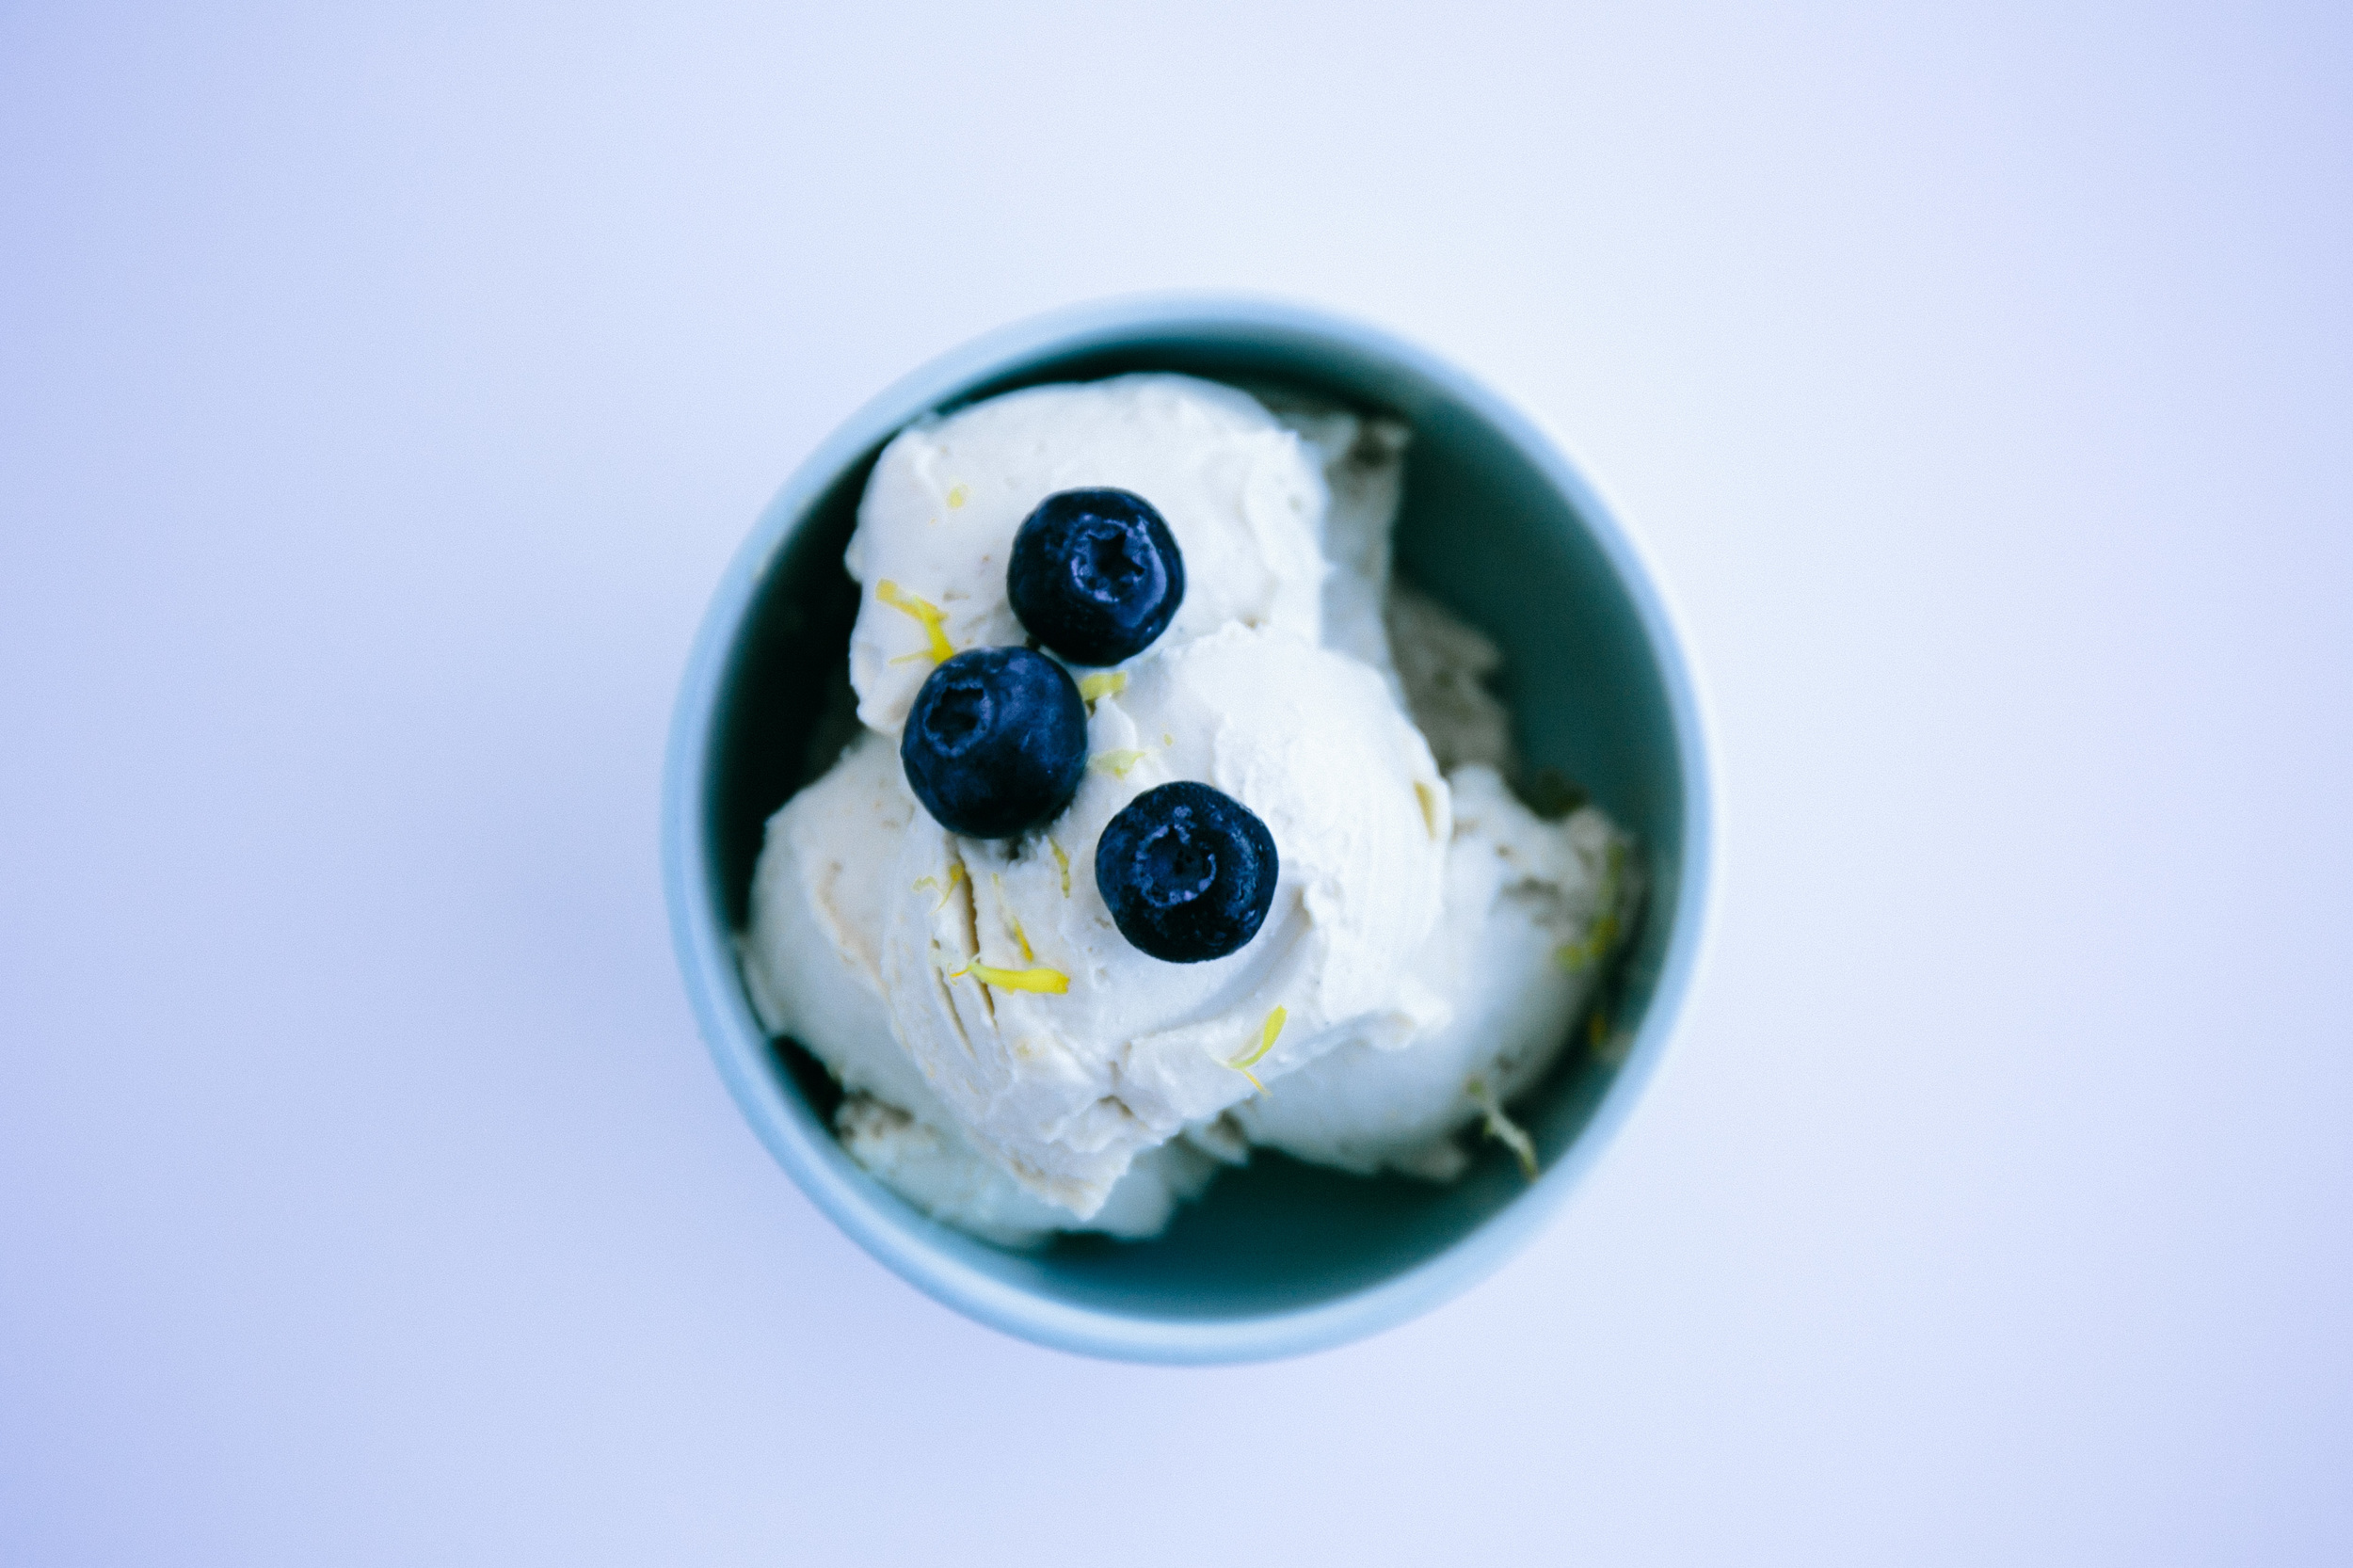
This vegan 'cream cheese' ice cream was originally intended for some carrot cake cup cakes I was intent on making. The process takes a little bit of time, because first you have to soak (“activate”) the cashews, blend them with probiotics and allow them to ferment overnight which allows the “cream cheese” flavors to develop. Unfortunately yesterday in the midst of a photography catastrophe, I needed a pick-me up (as can happen), in order to ease my frustration. So the cream cheese icing (which was waiting patiently in the freezer for its cup cake compadraes), instead turned into this bowl of ice-cream. And it was divine… just what was needed. This change in direction also resulted in the best photos we have taken (we are just learning you see!). Just another reminder that sometimes when you intend on things happening in a certain way a twist of events can change the direction of our paths. And while this may result in something completely different, it may be even better!
Note: This recipe is from last summer in New Zealand, just after we bought our camera. Fredrik and I were so happy with these photographs as they were the first ones that actually looked good in the back of the camera! (There were a lot of fails back then!). The base of the recipe we made was fermented cashew nuts. In order to simply the recipe however, we've removed this process and added nutritional yeast as a substititute. Nutritional yeast is often used in raw cuisine to make tree-nut cheeses and in other recipes to add a cheesey flavour. It is a source of B12, an important vitamin the levels of which can be hard to maintain on a vegan diet. So in short - get your daily dose of B12 (or a part of it!), by eating this ice-cream. Yum!

lemon & cream cheese vegan ice cream
Serves 4
- 1 cup of cashew nuts soaked for 2 hours
- 1/2 cup of coconut meat
- 1/2 cup of agave syrup
- 1 1/4 cups of almond milk
- 2 Tbsp of meyer lemon juice and zest of 1/2 to 1 meyer lemon (adjust according to taste)*
- 1 Tbsp nutritional yeast
- 1 Tbsp vanilla extract
- 1/4 tsp sea salt or himalaya mountain salt
- 1/4 cup of coconut oil melted
* can be substituted for normal lemon
how to:
- Melt coconut oil over a water bath.
- Blend all ingredients except for the coconut oil and lemon zest, until smooth in a high speed blender.
- While blender is running on low speed, slowly pour in the coconut oil.
- Fold in lemon zest and place in freezer.
- During the freezing process, stir the mixture a few times which will improve the consistency.
- Prior to serving remove the ice-cream from the freezer and leave to soften for 10 minutes or more. Raw ice-creams become really hard so another good idea once softened, is to pop the mixture back into the blender and blend until you reach a smooth ice-cream texture.
garnish
With blueberries and additional lemon zest. Enjoy!

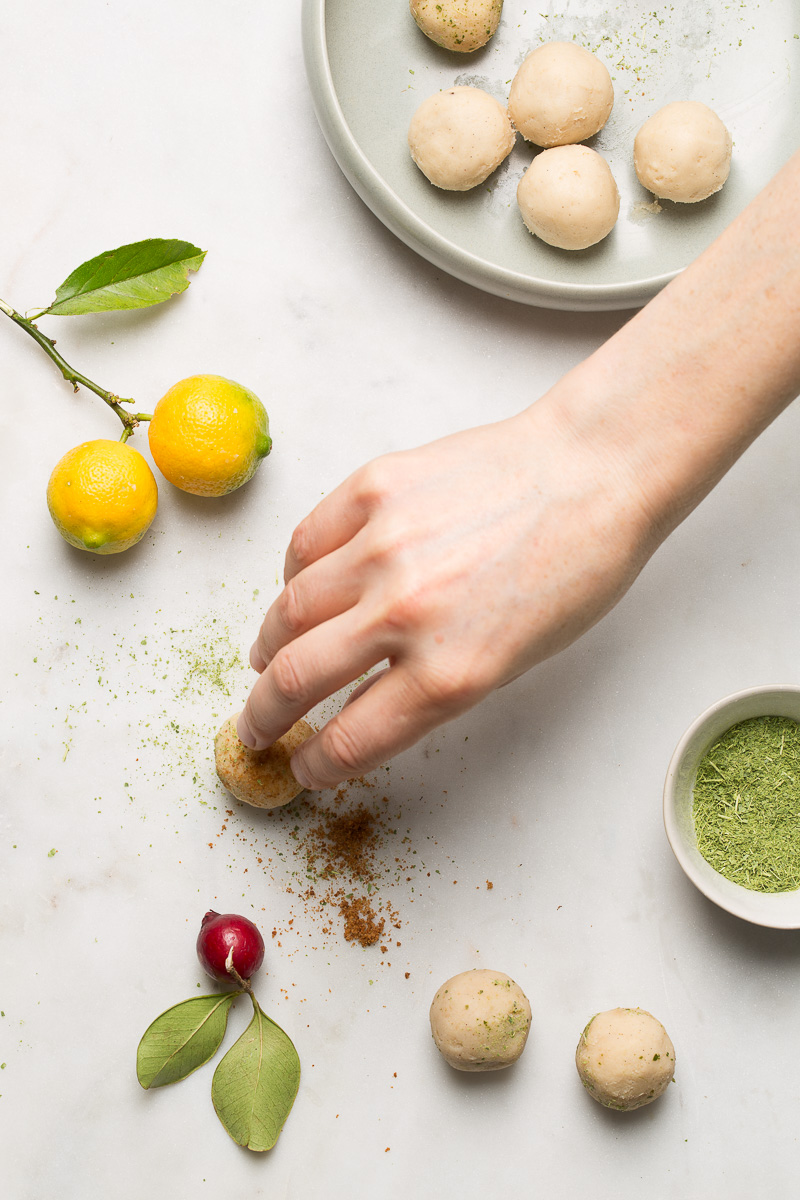
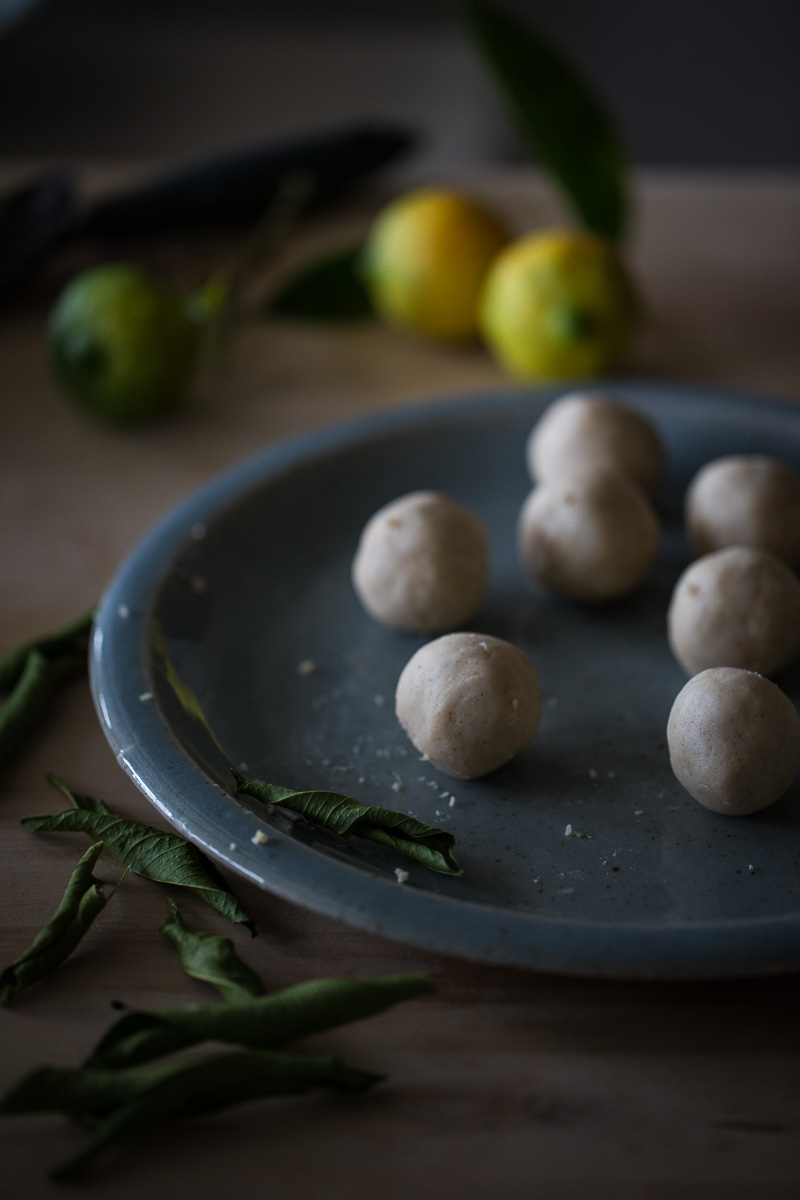
raw white chocolate & citrus truffles

We've been talking a lot about styling and 'finding' your own style at Kingsize recently. It's something a lot of us find difficult.

When I think about my own style I know that there are certain styles that speak to me. Certain photographs that capture my eye (whether it be the styling of food on a plate, or a piece of furniture in a room), while others go by unnoticed. Photographs that reach out and touch me and convey a feeling in an understated way. In the hunt for my own individual style it s about capturing these same emotions I am drawn to, yet injecting a piece of me to the recipe. Words that come to mind when I think about this aspiration, are organic, simple and beautiful. Even elegant in a sense, but in a rustic, not overly styled way. Just a few components. Sometimes I achieve this, but many times not =).

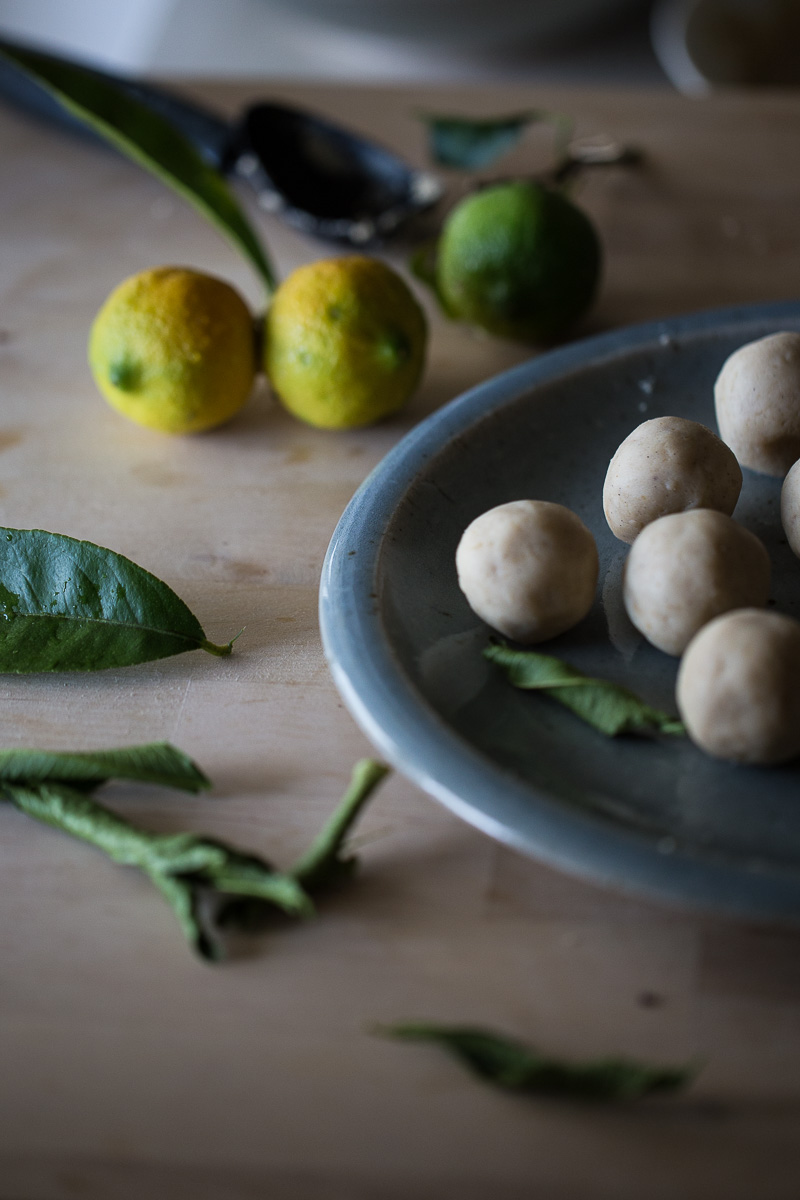
In relating these words to this post, I made these raw white chocolate truffles for a photography project at Kingsize. Throughout the course of the assignment I took a number of shots of these truffles in different settings, with the aim of also being able to use them in my blog. In natural light after I made them, and stylised as if in a magazine in the studio. The shot that I chose as the main shot for this post, is from the studio, on an old wooden board before changing to my marble slab. It was one of the first few shots I took (the third one actually). One of those shots when you're not thinking - just setting up the camera. It's funny because this has happened to me many times before. I'll take a lot of photos, moving the plate a cm to the left, to the right, up and down, trying to style things just right. Often though, when looking at the camera roll, I'll find that the ones I like best are those first 'unthinking' ones (making me wish I put the camera down an hour earlier!). I guess this little reality is a a subliminal message to just go with it and not 'over think' things in life too.

I find social media an interesting thing too as I can find that the photographs I am least proud of (but post anyway for want of filling a void), are those that can be the most liked. It is a challenge not to be swayed by this - to keep pursuing your own vision.
At the end of the day though, and what I've often heard, is to pursue and photograph what you love. Which essentially is what this blog is all about. By keeping true to this, I'm sure my style will just 'happen'. My hope is that it it will evolve in a way that encapsulates my both my visions and those emotions that speak to me from the great artists I admire and the subjects I find beautiful. Have a lovely week x
raw white chocolate & citrus truffles
Makes approximately 12 truffles
- 1 cup of cashew nuts (soaked for a minimum of 2 hours in filtered water)
- 1/2 cup of maple syrup
- 1 1/2 tsp vanilla extract
- 1/2 a vanilla bean scraped
- 1/4 cup of coconut butter
- juice of 1 lime
- 1/4 tsp himalaya mountain salt or sea salt
- 1/2 cup of cacao butter melted
- 1/4 of raw coconut butter
- 1/4 cup of coconut oil melted
- 1 Tbsp coconut sugar and zest of 2 limes for garnish
- Rinse soaked cashew nuts before blending with maple syrup, coconut butter, lime juice, vanilla extract, vanilla beans and salt. Blend until smooth.
- Melt cacao butter and coconut oil and slowly add to the mixture while blending on a low speed.
- Once blended, stir in 1 Tbsp of coconut sugar for added texture.
- Pour mixture into a bowl and refrigerate for 1/2 an hour or until the mixture is firm enough to mould.
- Scoop mixture with a small ice cream scoop or spoon and roll into small balls.
garnish
Roll balls in lime zest and a sprinkling of coconut sugar.
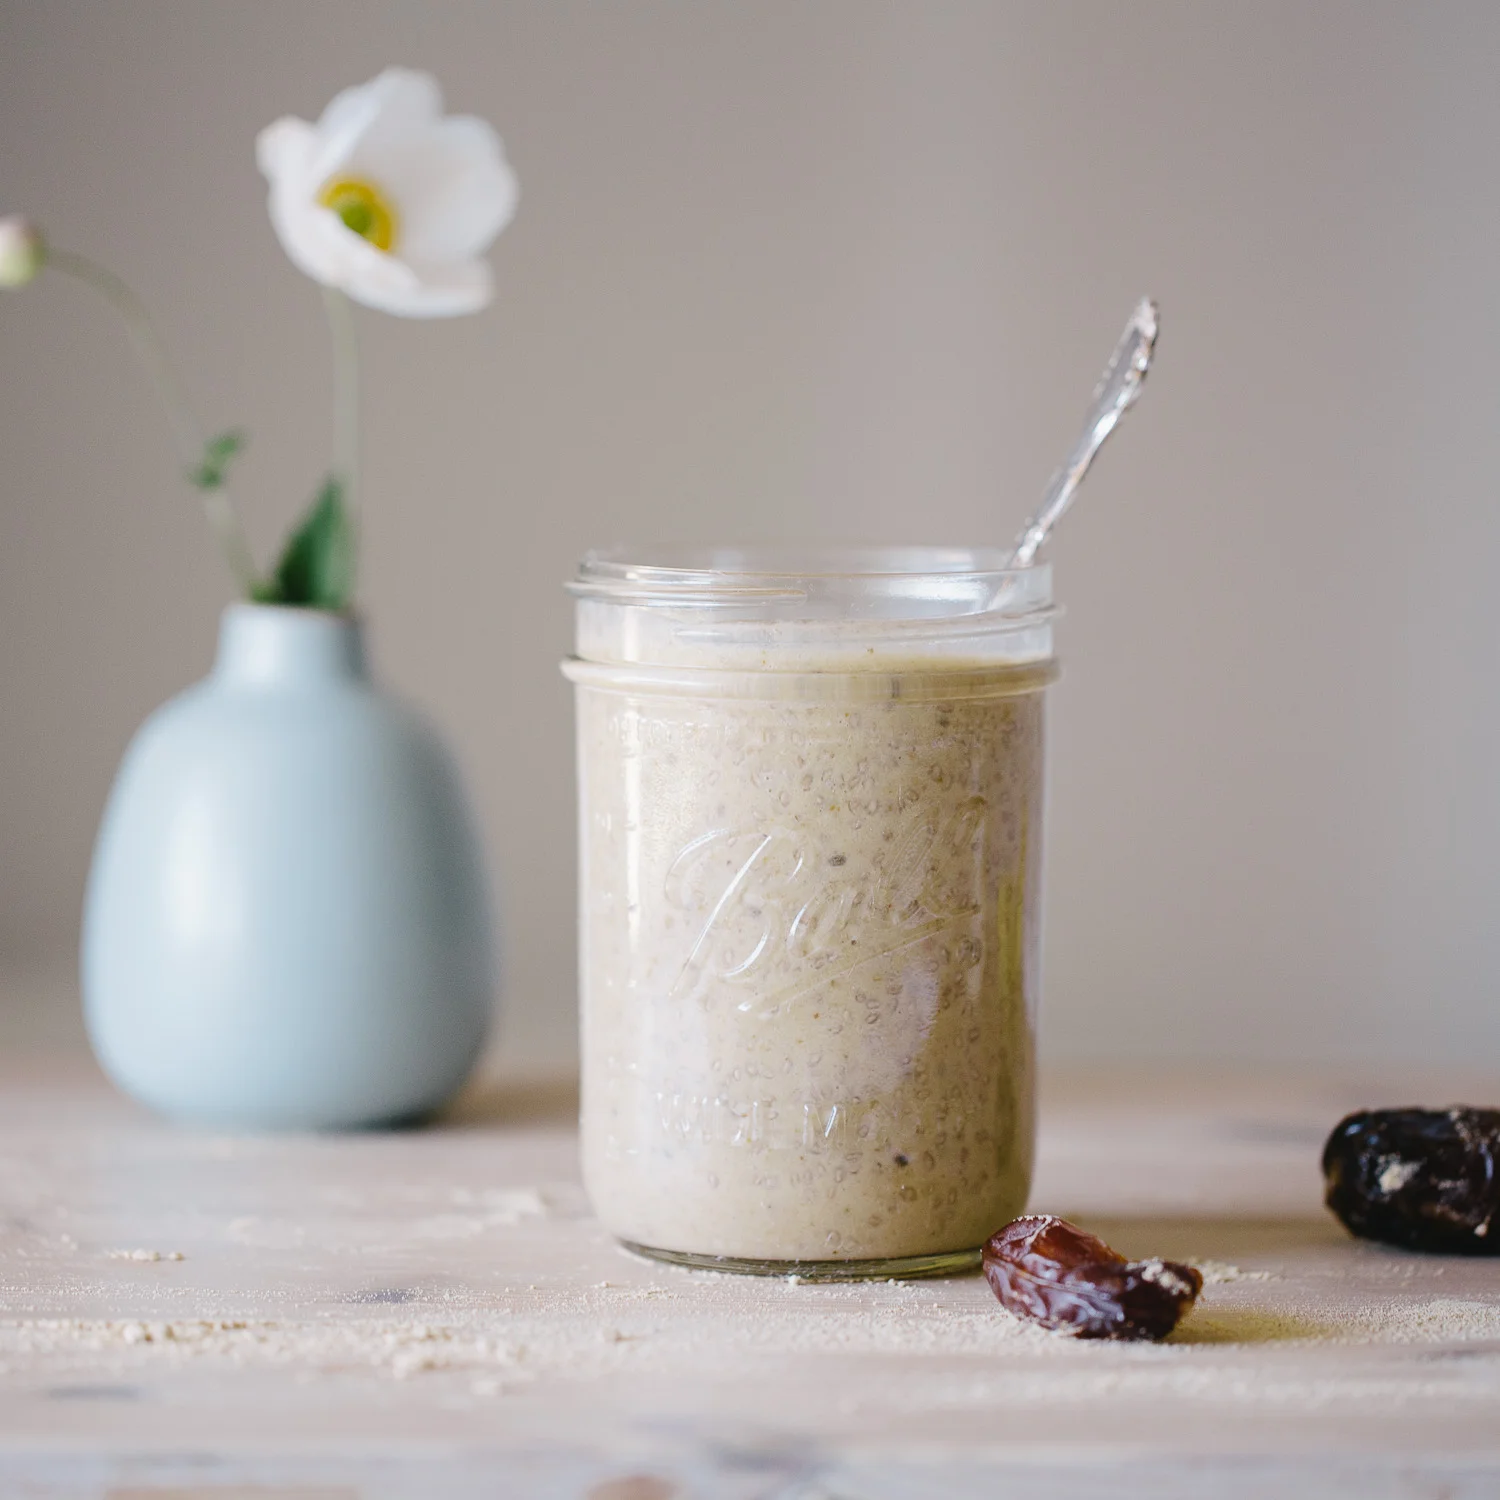
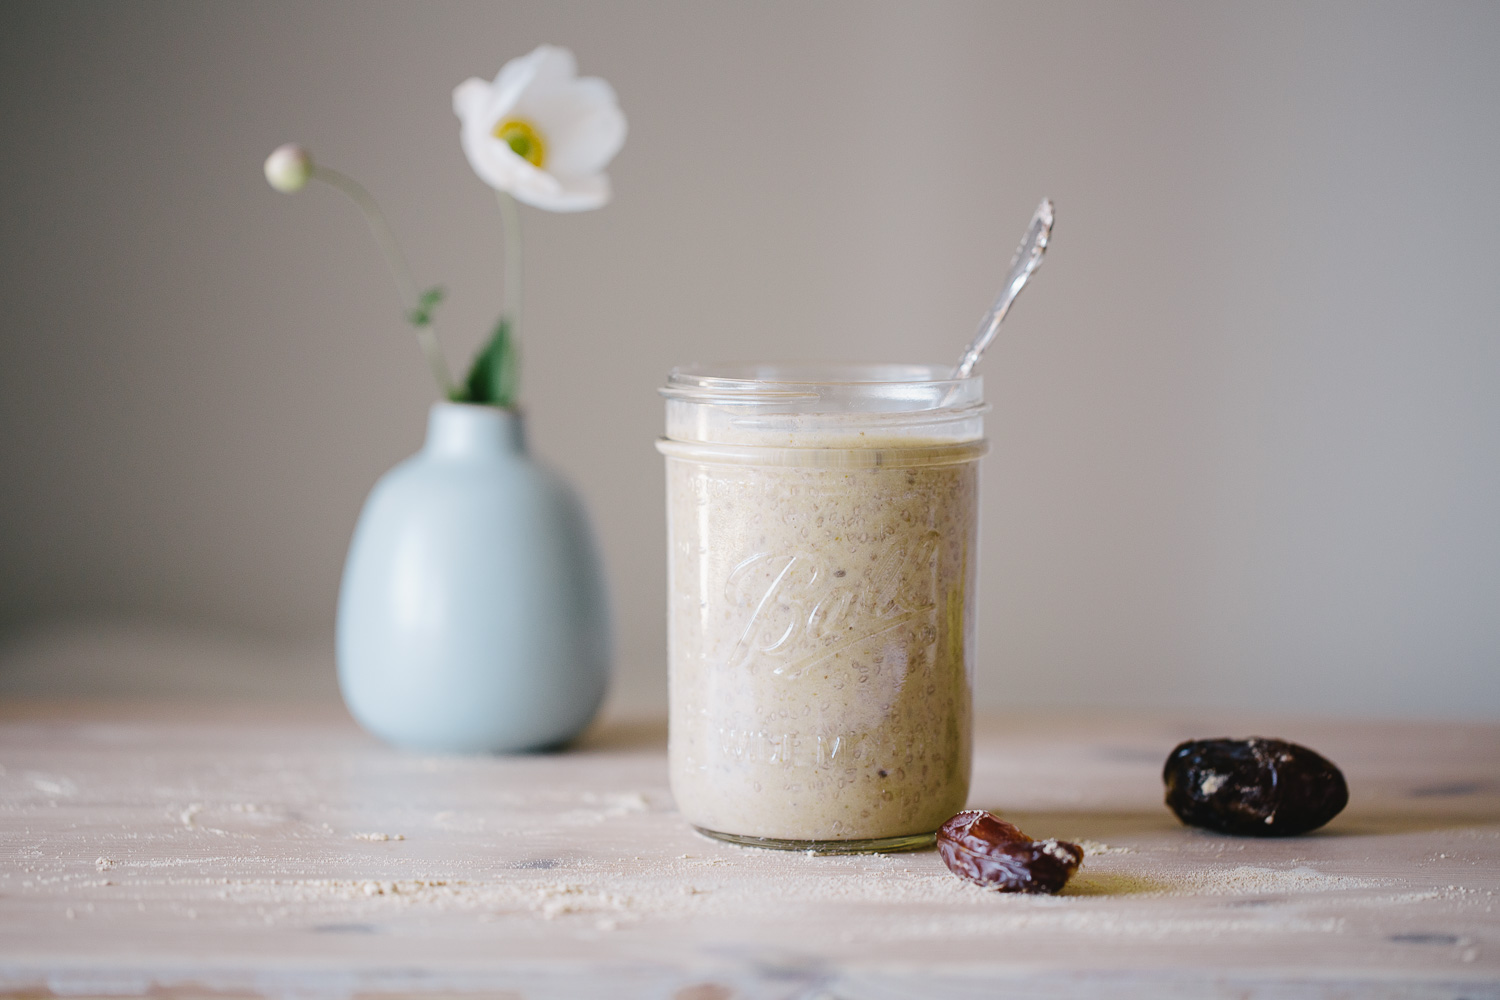
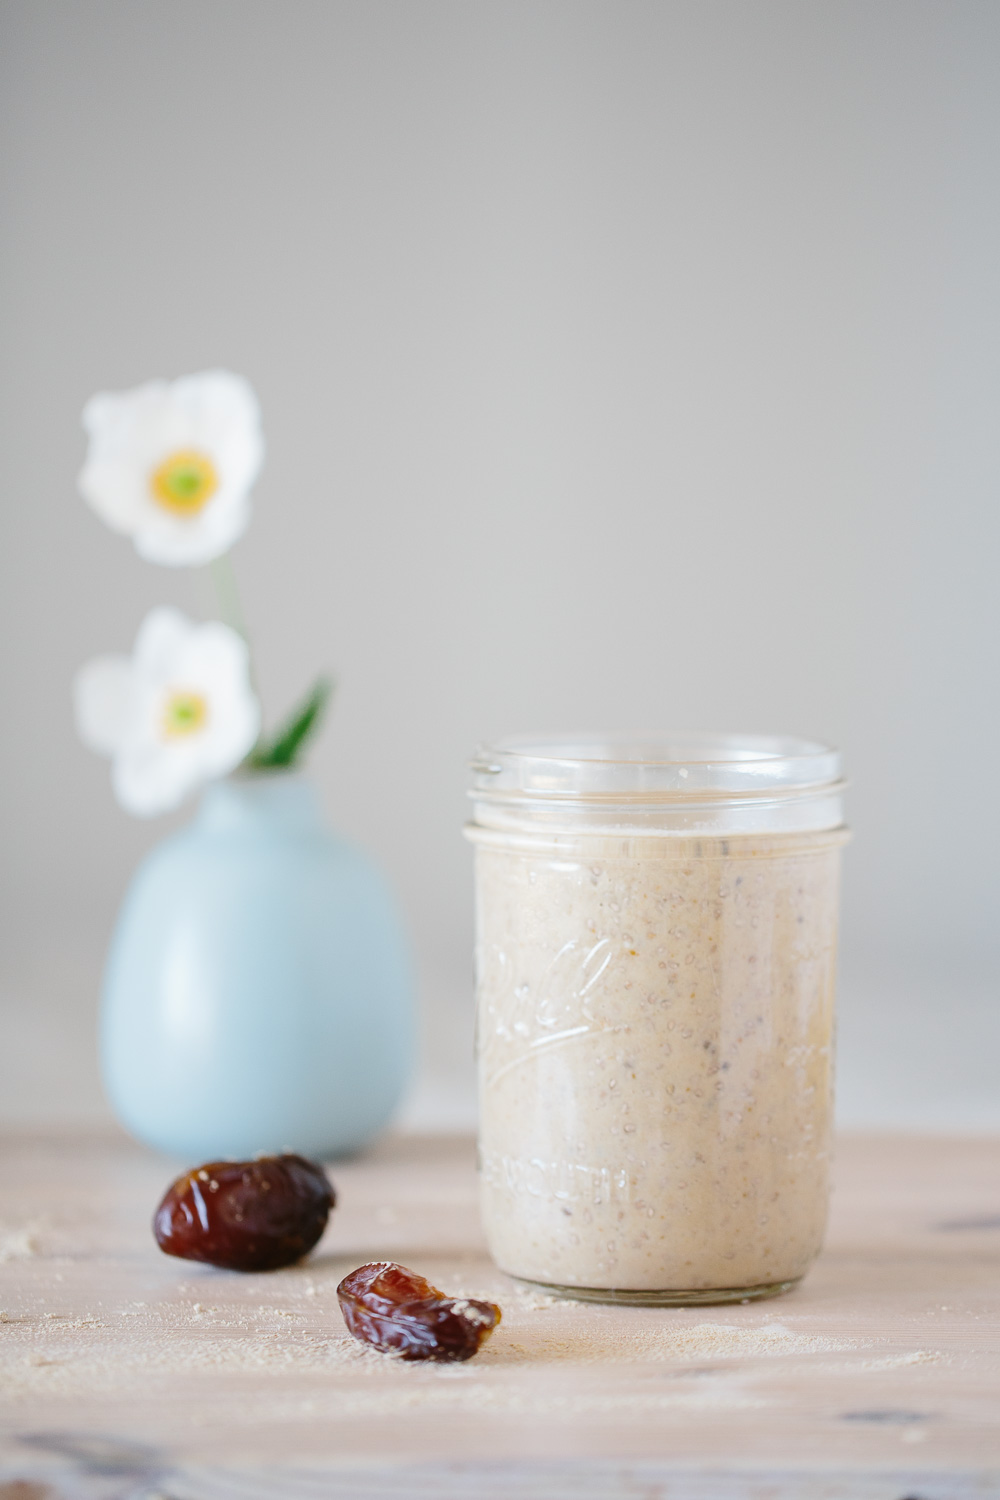
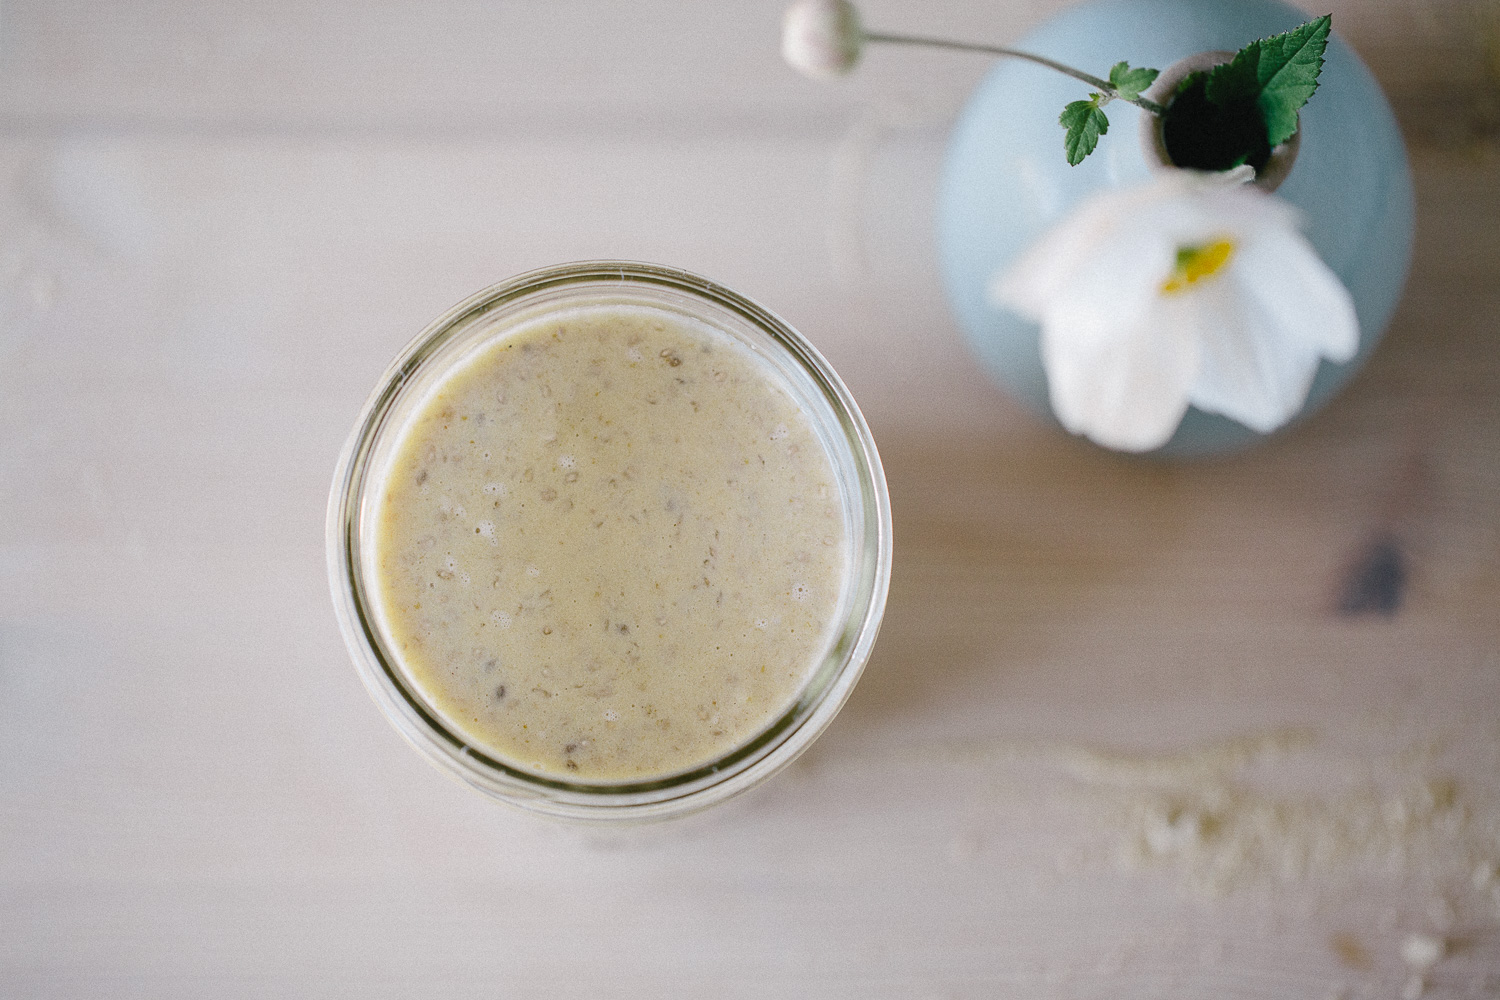
caramel chia & kingsize
I’ve been swept up in a whirlwind of something new. Something I thought was wildly beyond my reality. A place I’d be in my dreams, gone the instant I opened my eyes. However this is not a dream. This is real and I'm still pinching myself.
I’ve earned a spot in the Kingsize studios 2015 scholarship programme. 'Kingsize' is New Zealand's largest stills-video gear hire and rental studios - a kind of hub for New Zealand's leading photographers and amateurs like me alike. The programme means I'll be attending photography classes for the next three months, meeting renowned photographers and embarking on challenging assignments using different lighting techniques.
I think about the chain of events that got me to this place. The smallest of actions, which, if not for them, life might be very different right now...
February. A haircut and I’m early. A magazine in the waiting area. I turn a page and there's an advertisement for a summer school photography programme at a place called Kingsize. Perfect - only I’m two weeks too late. An apprehensive phone call anyway, and a welcoming voice. Biting the bullet and saying yes to a week long intensive course just for me. Apprehension – my first day. Learning what the most basic buttons on my camera mean. Switching from ‘auto’ to ‘manual’ mode for the first time. Yes this was not much more than 2 months ago. And now here I am. Surrounded by the most talented creative individuals and I have earned a spot among them. How did that happen??
I won’t waste my time in wondering (there’s too many other things to learn right now). I’ll just marvel at the fact that life can be pretty darn wonderful… xx

caramel chia
Makes 1 large or 2 small servings
- 1 cup of homemade almond or pecan nut milk
- 1/2 a frozen banana
- 2 medjool dates (pitted)
- 2 tsp mesquite powder*
- 2 tsp maca powder*
- 1/2 tsp vanilla extract
- a pinch of himalaya mountain salt or sea salt
- 1/4 cup of chia seeds
how to:
- Start by soaking chia seeds in 3/4 - 1 cup of water and leave to sit for 1/2 an hour minimum. You will need to stir once or twice during the half hour. The chia will form a thick gel like substance but shouldn't be dry.
- Once ready, blend all other ingredients (excluding chia mix) in a high speed blender, until smooth.
- Turn blender to it's lowest setting and add soaked chia seeds. Pulse very gently 2-3 times to mix in the seeds, making sure to keep them intact. (If you blend too strongly and break the seeds you will end up with a thick sludge - not such a nice consistency on the tongue =)). Alternatively you can stir in with a spoon.
- Serve directly.
variations
If you prefer a straight up smoothie, omit the chia seeds and increase to one and a half frozen bananas.
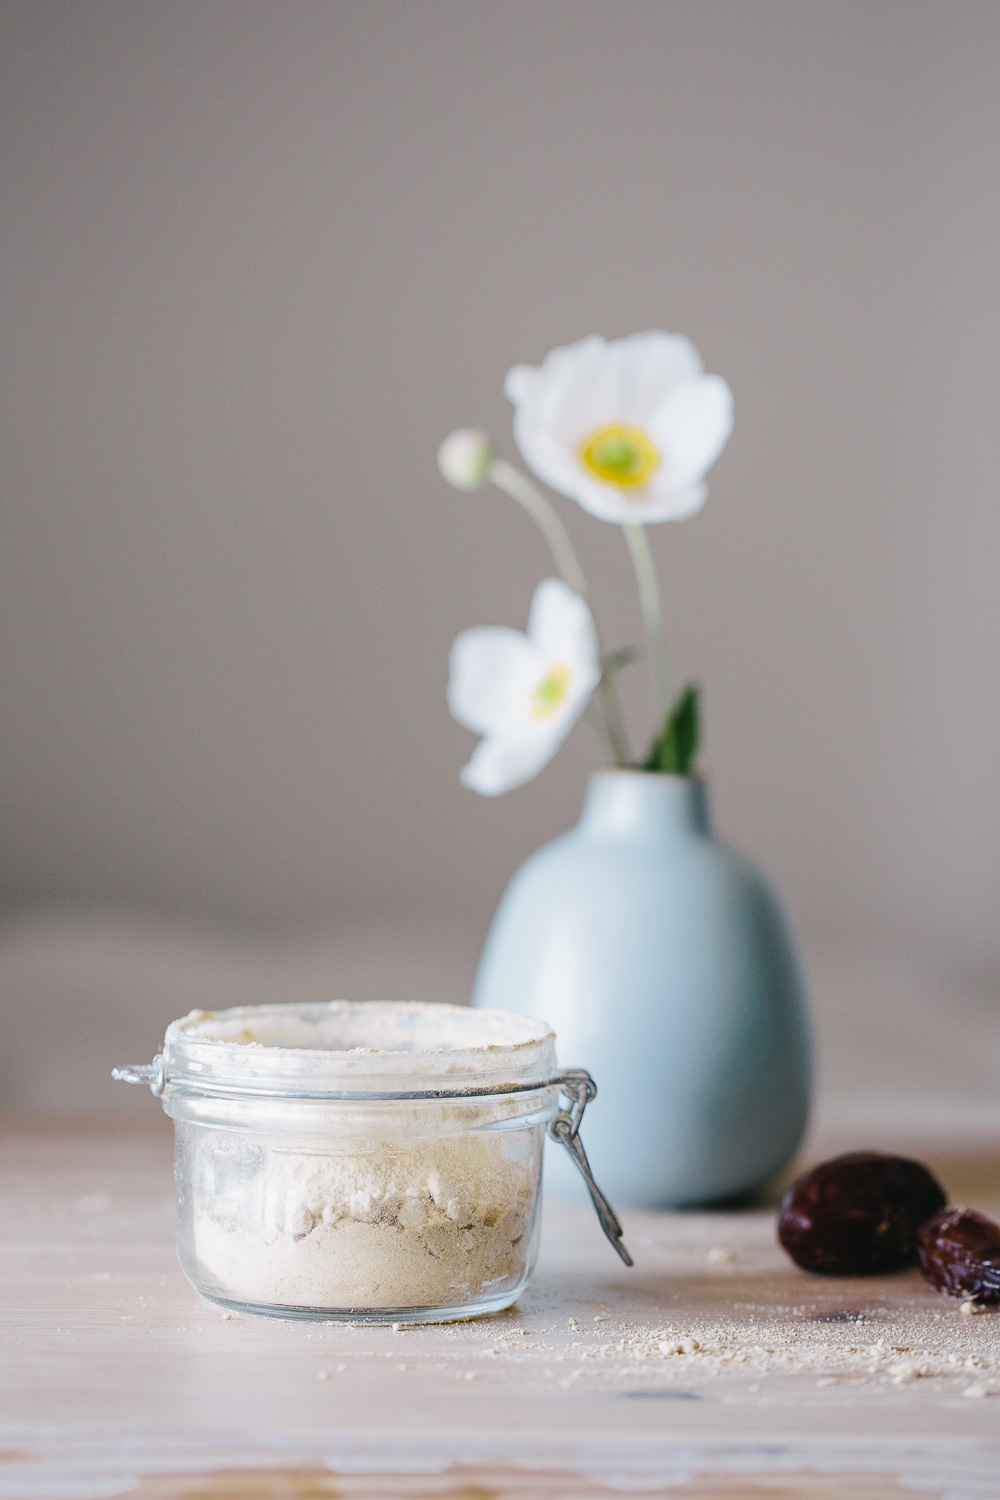
*mesquite & maca
I'm sorry, this blog is supposed to be about food, however my life stories seem to be taking over. Oops! For those of you who aren't familiar with mesquite and maca, they are both superfood powders originating from Peru, which can be purchased in your local organic shop.
Mesquite has a distinct caramel flavour making it a perfect addition to the flavour profile of this recipe. It's high in protein, calcium and magnesium, and is well known for having a balancing affect on blood sugar levels. Maca (the one I accidentally tipped upside down whilst doing this shoot), on the other hand, has a distinct malty flavour which matches mesquite in a lovely way. It is well known for it's hormone balancing affects as well as being rich in a number of vitamins and minerals (including vitamins B, C and E, calcium, zinc, iron, magnesium, phosphorus and amino acids). In short mesquite + maca = thumbs up!
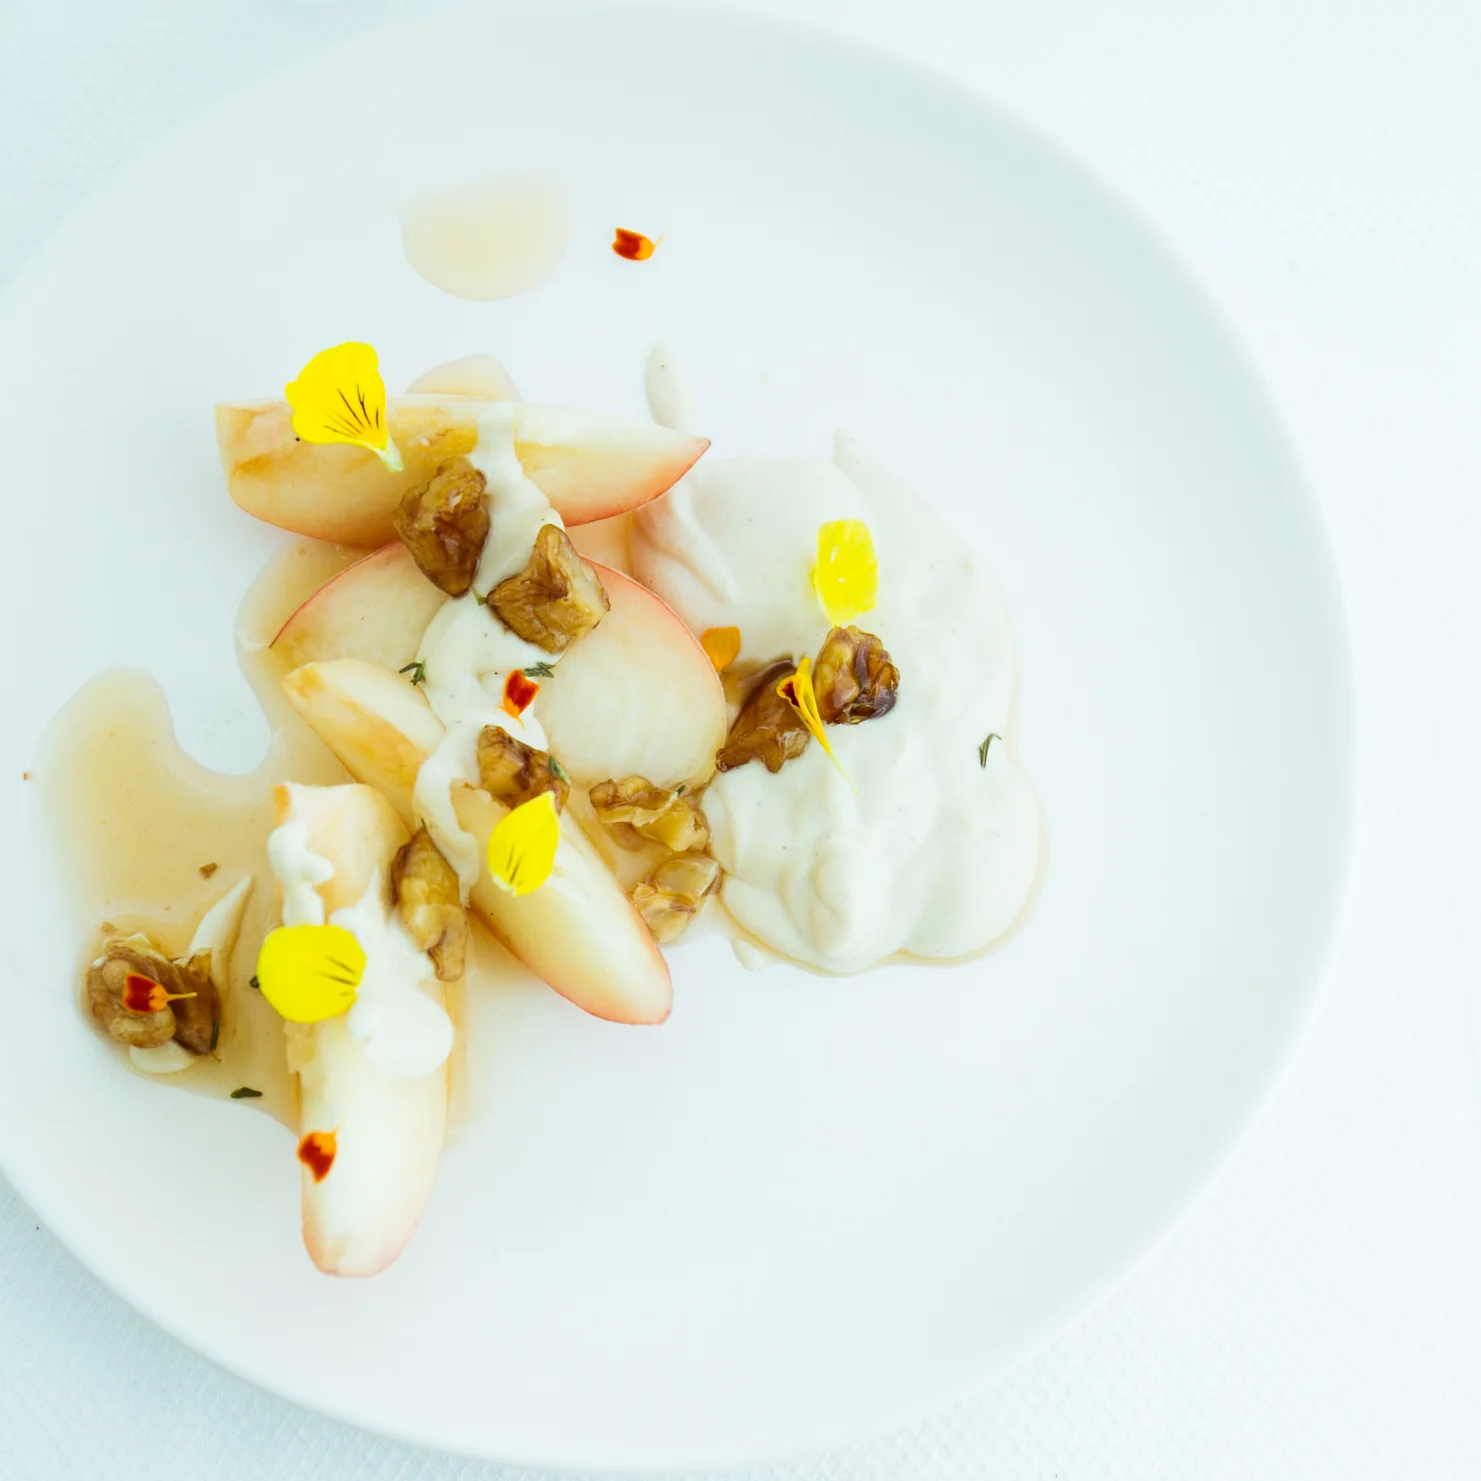
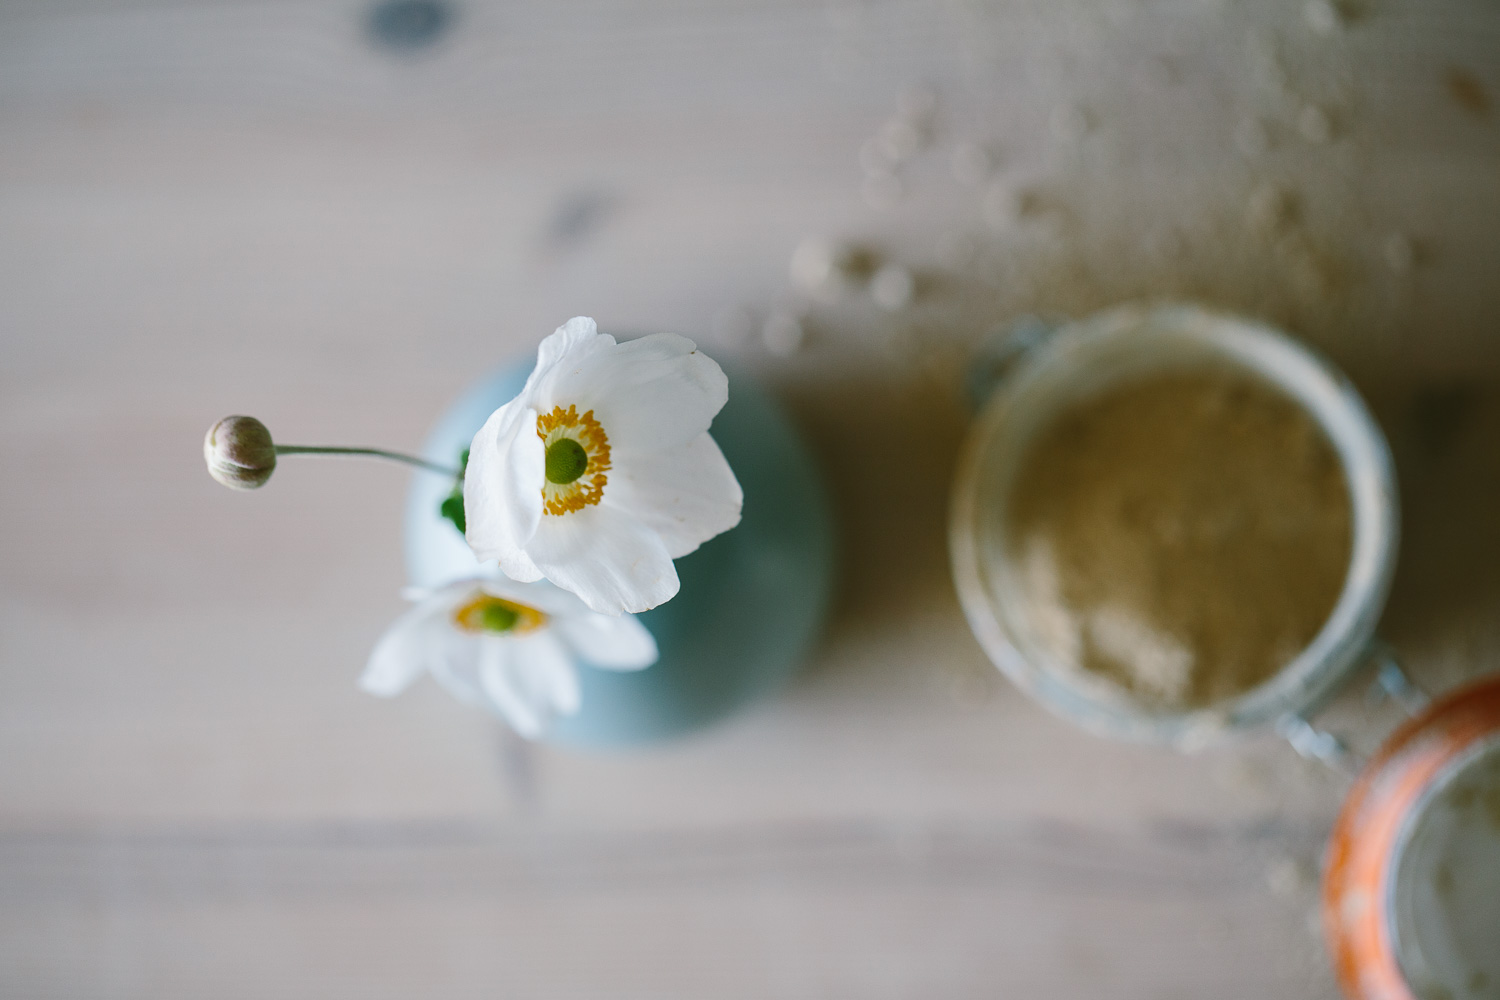
peaches in earl grey & vanilla
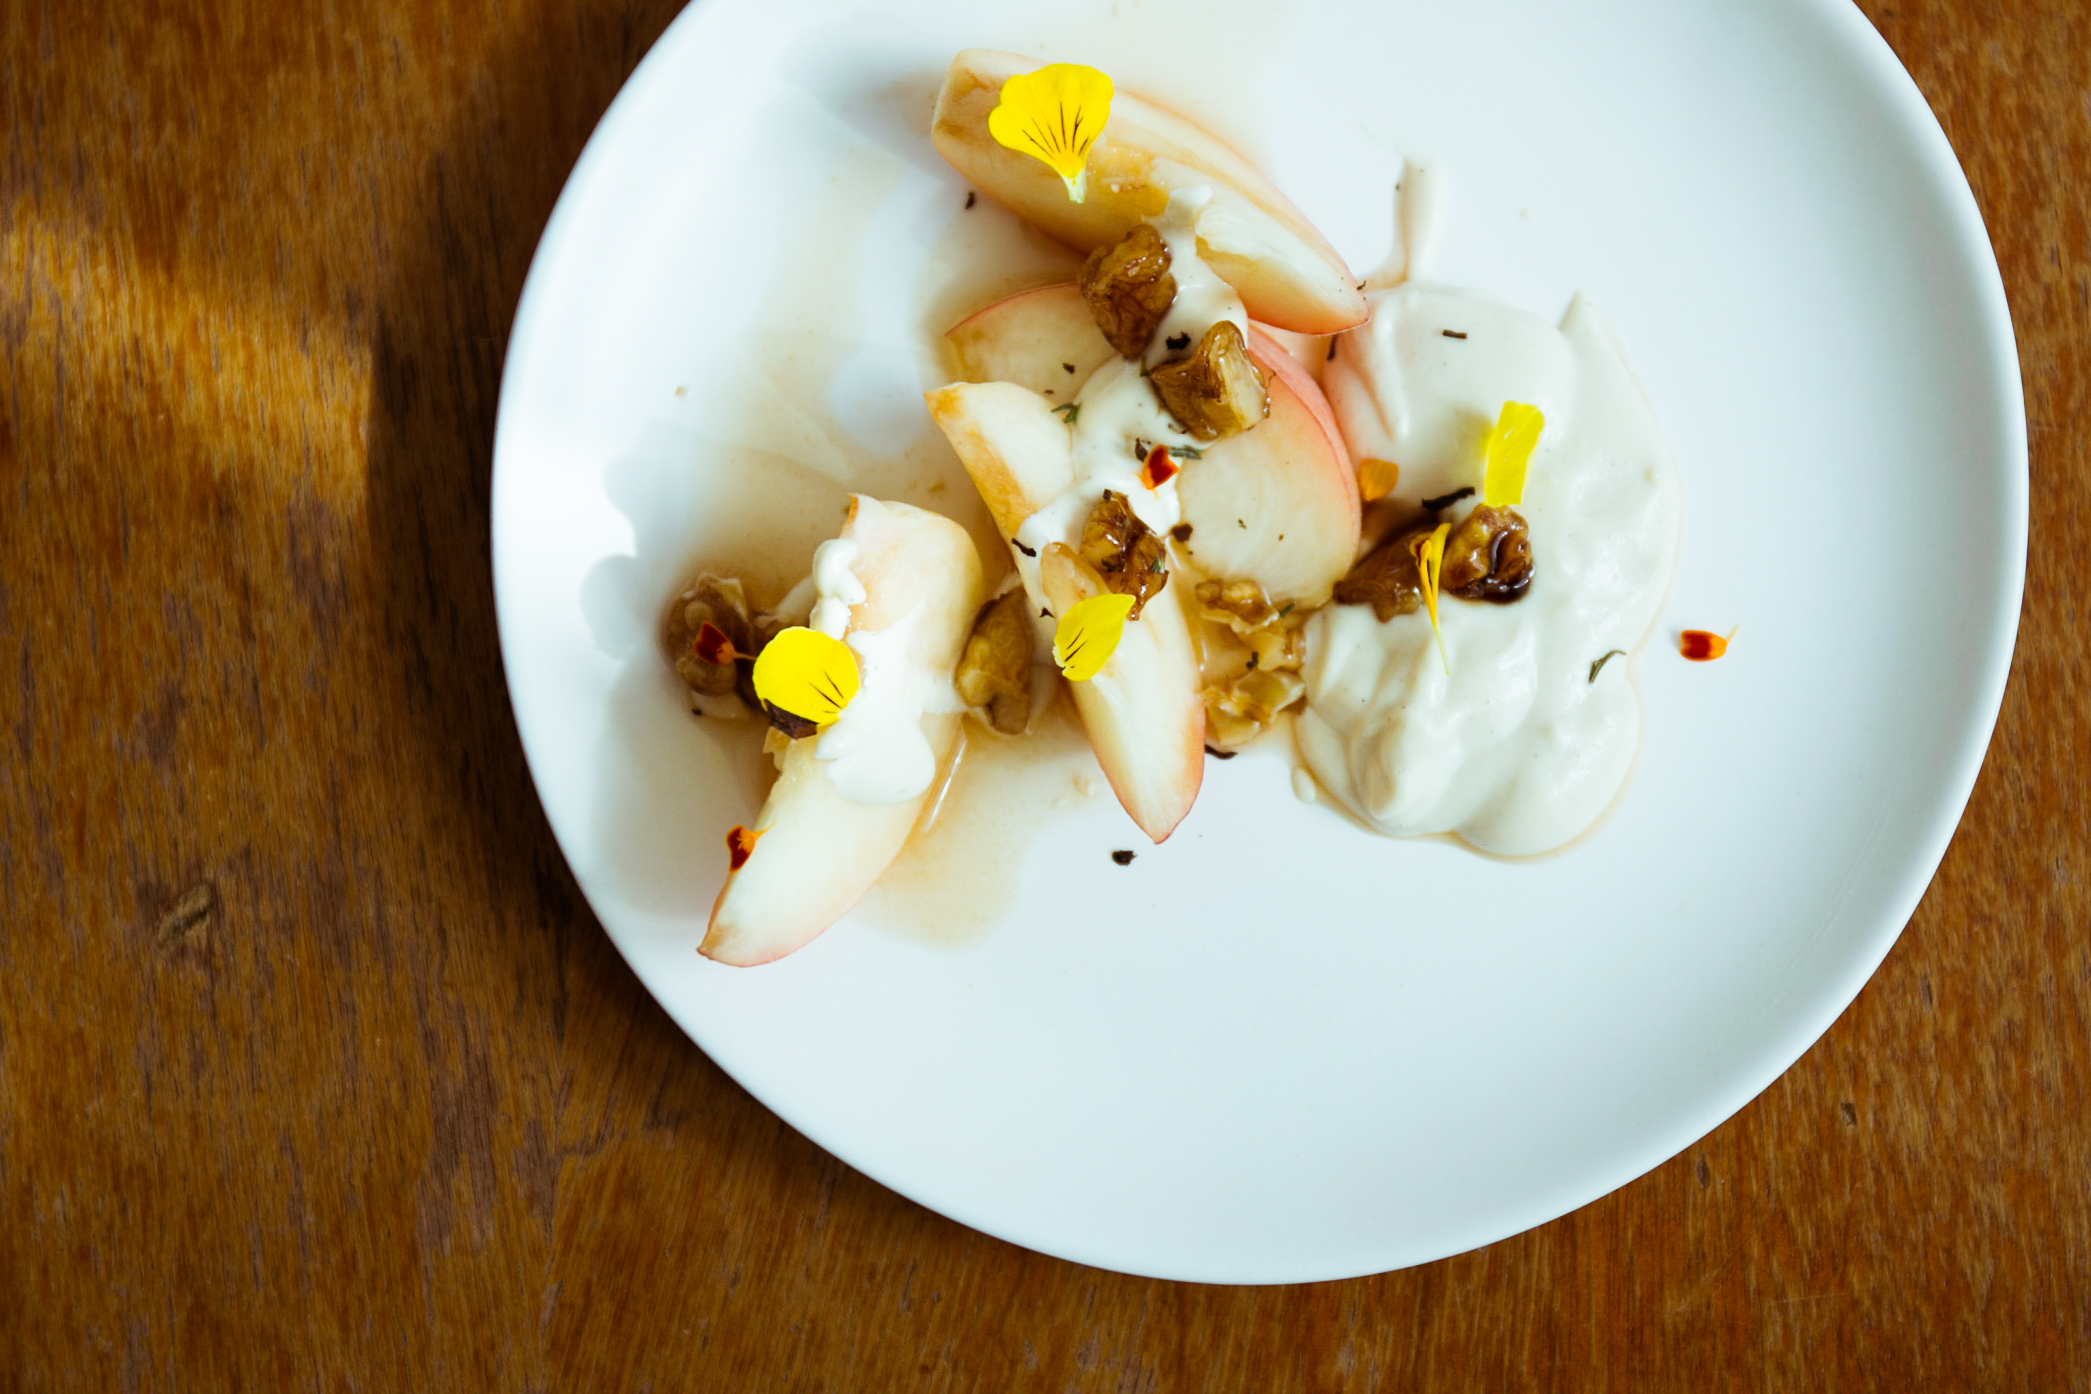
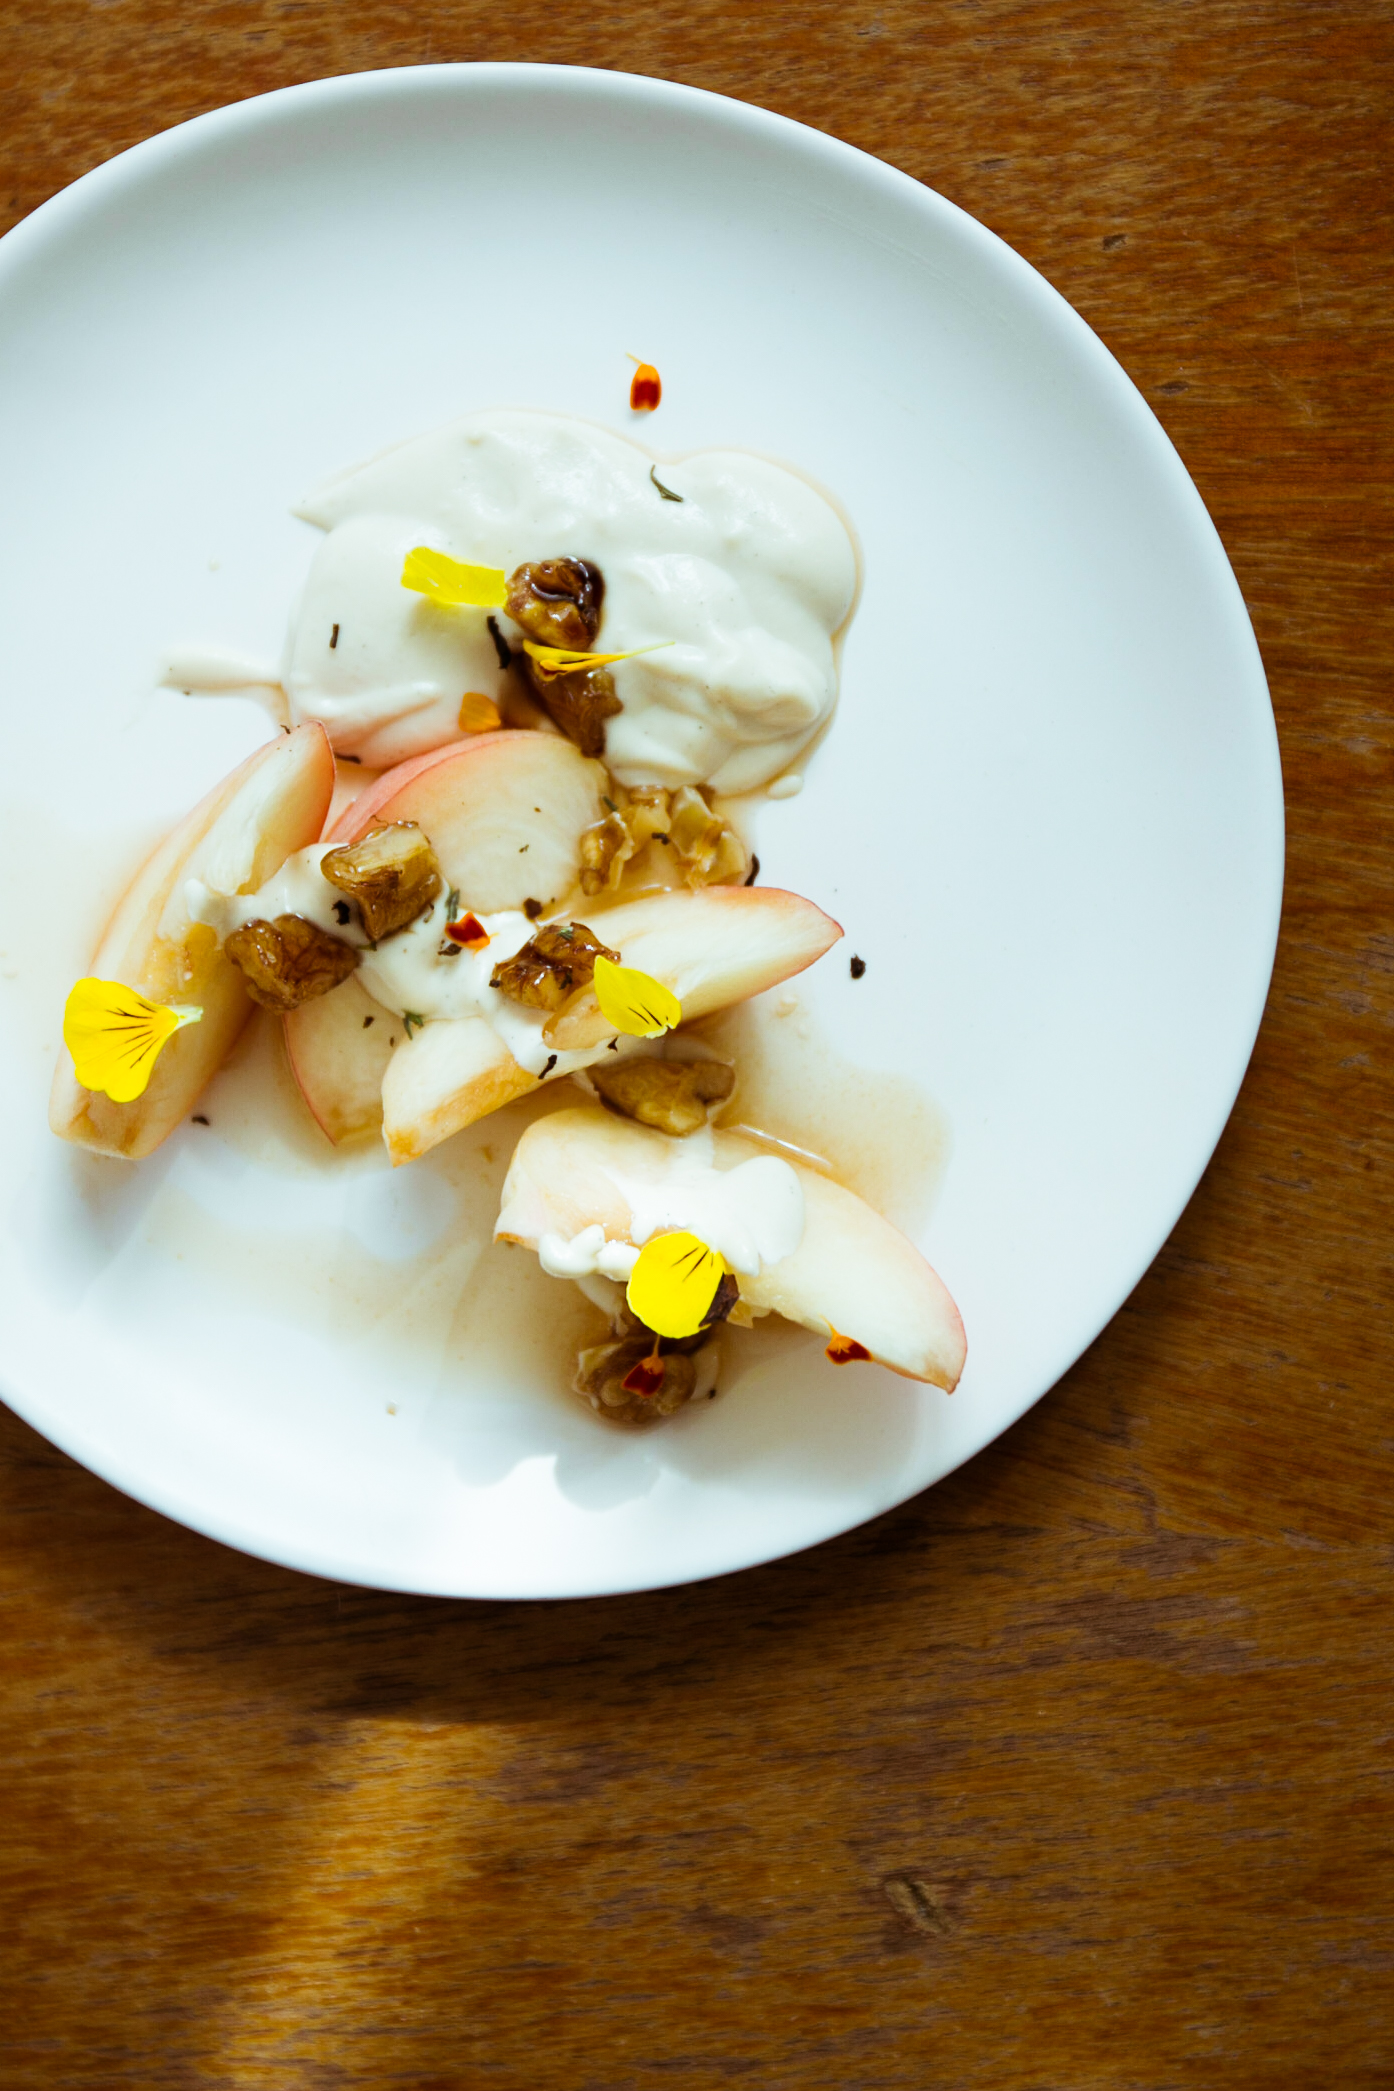
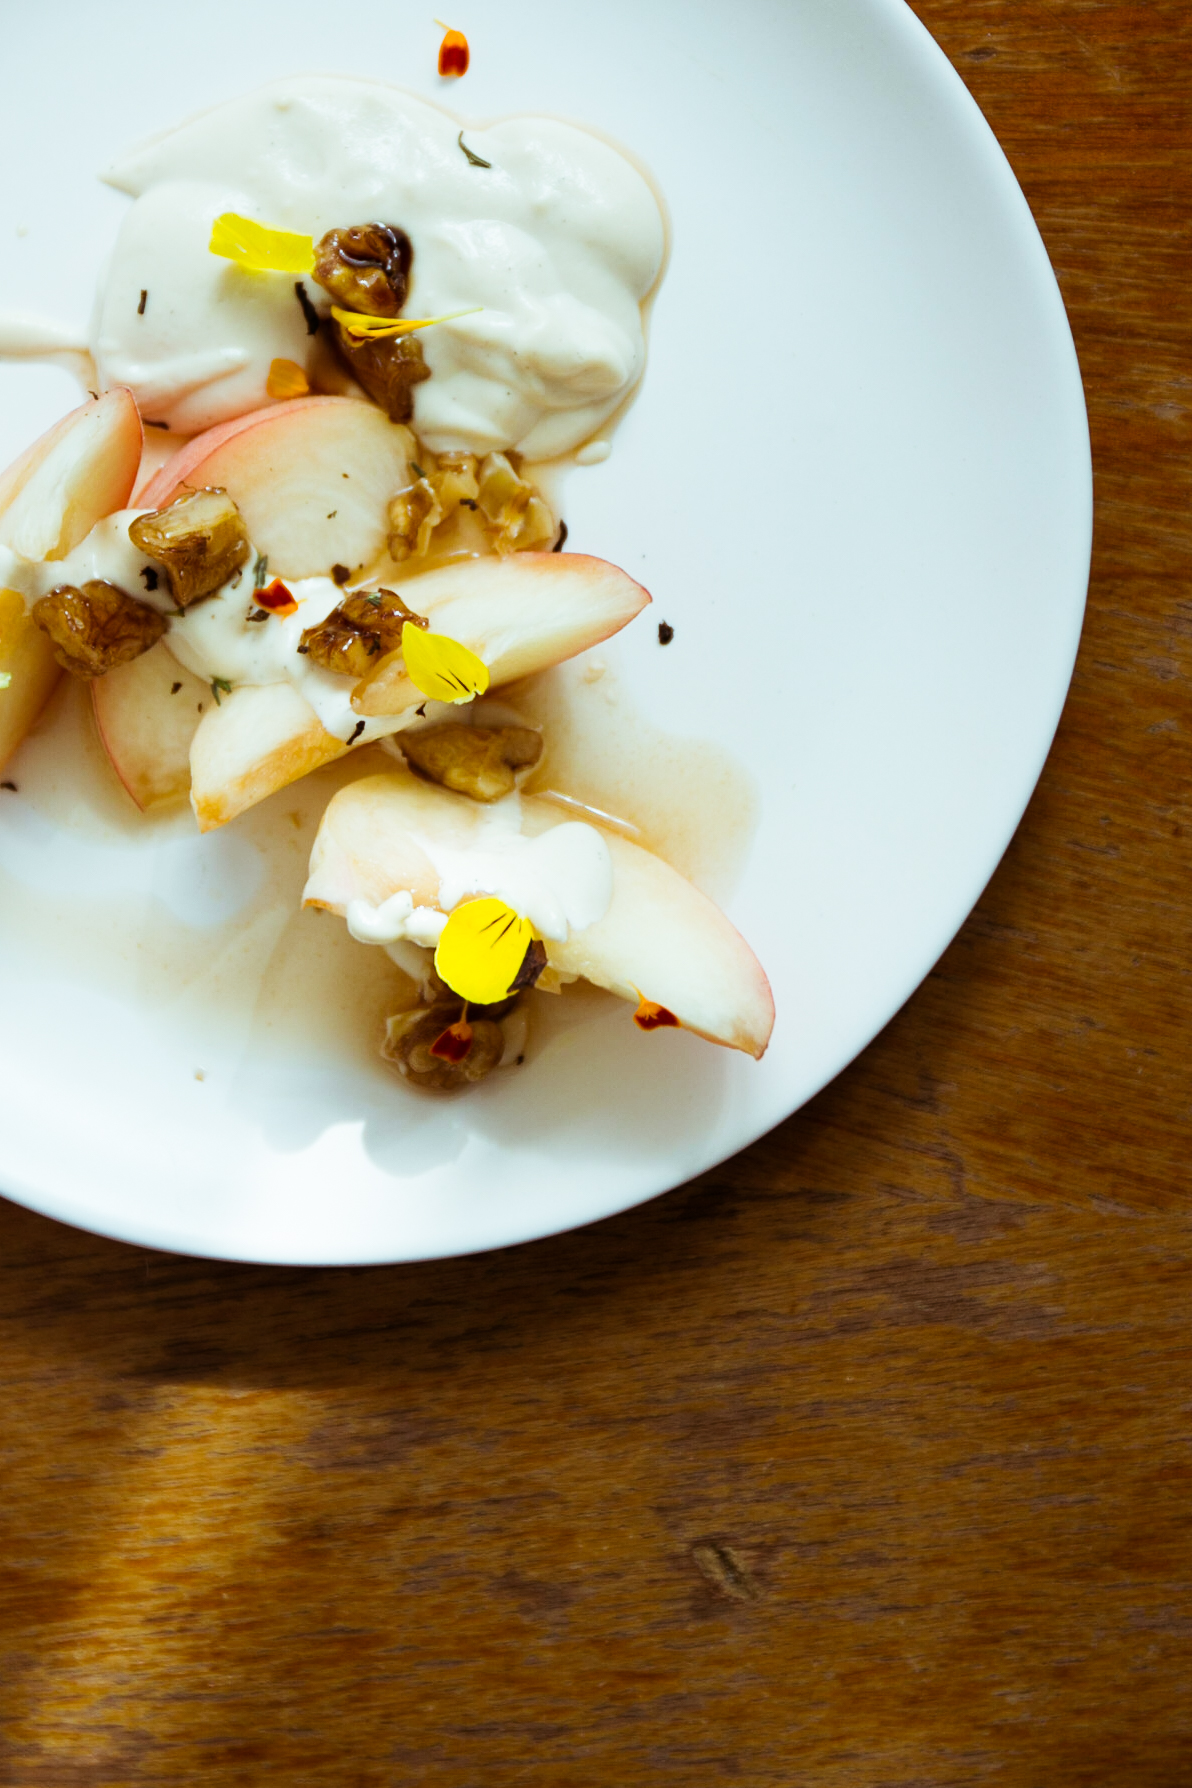
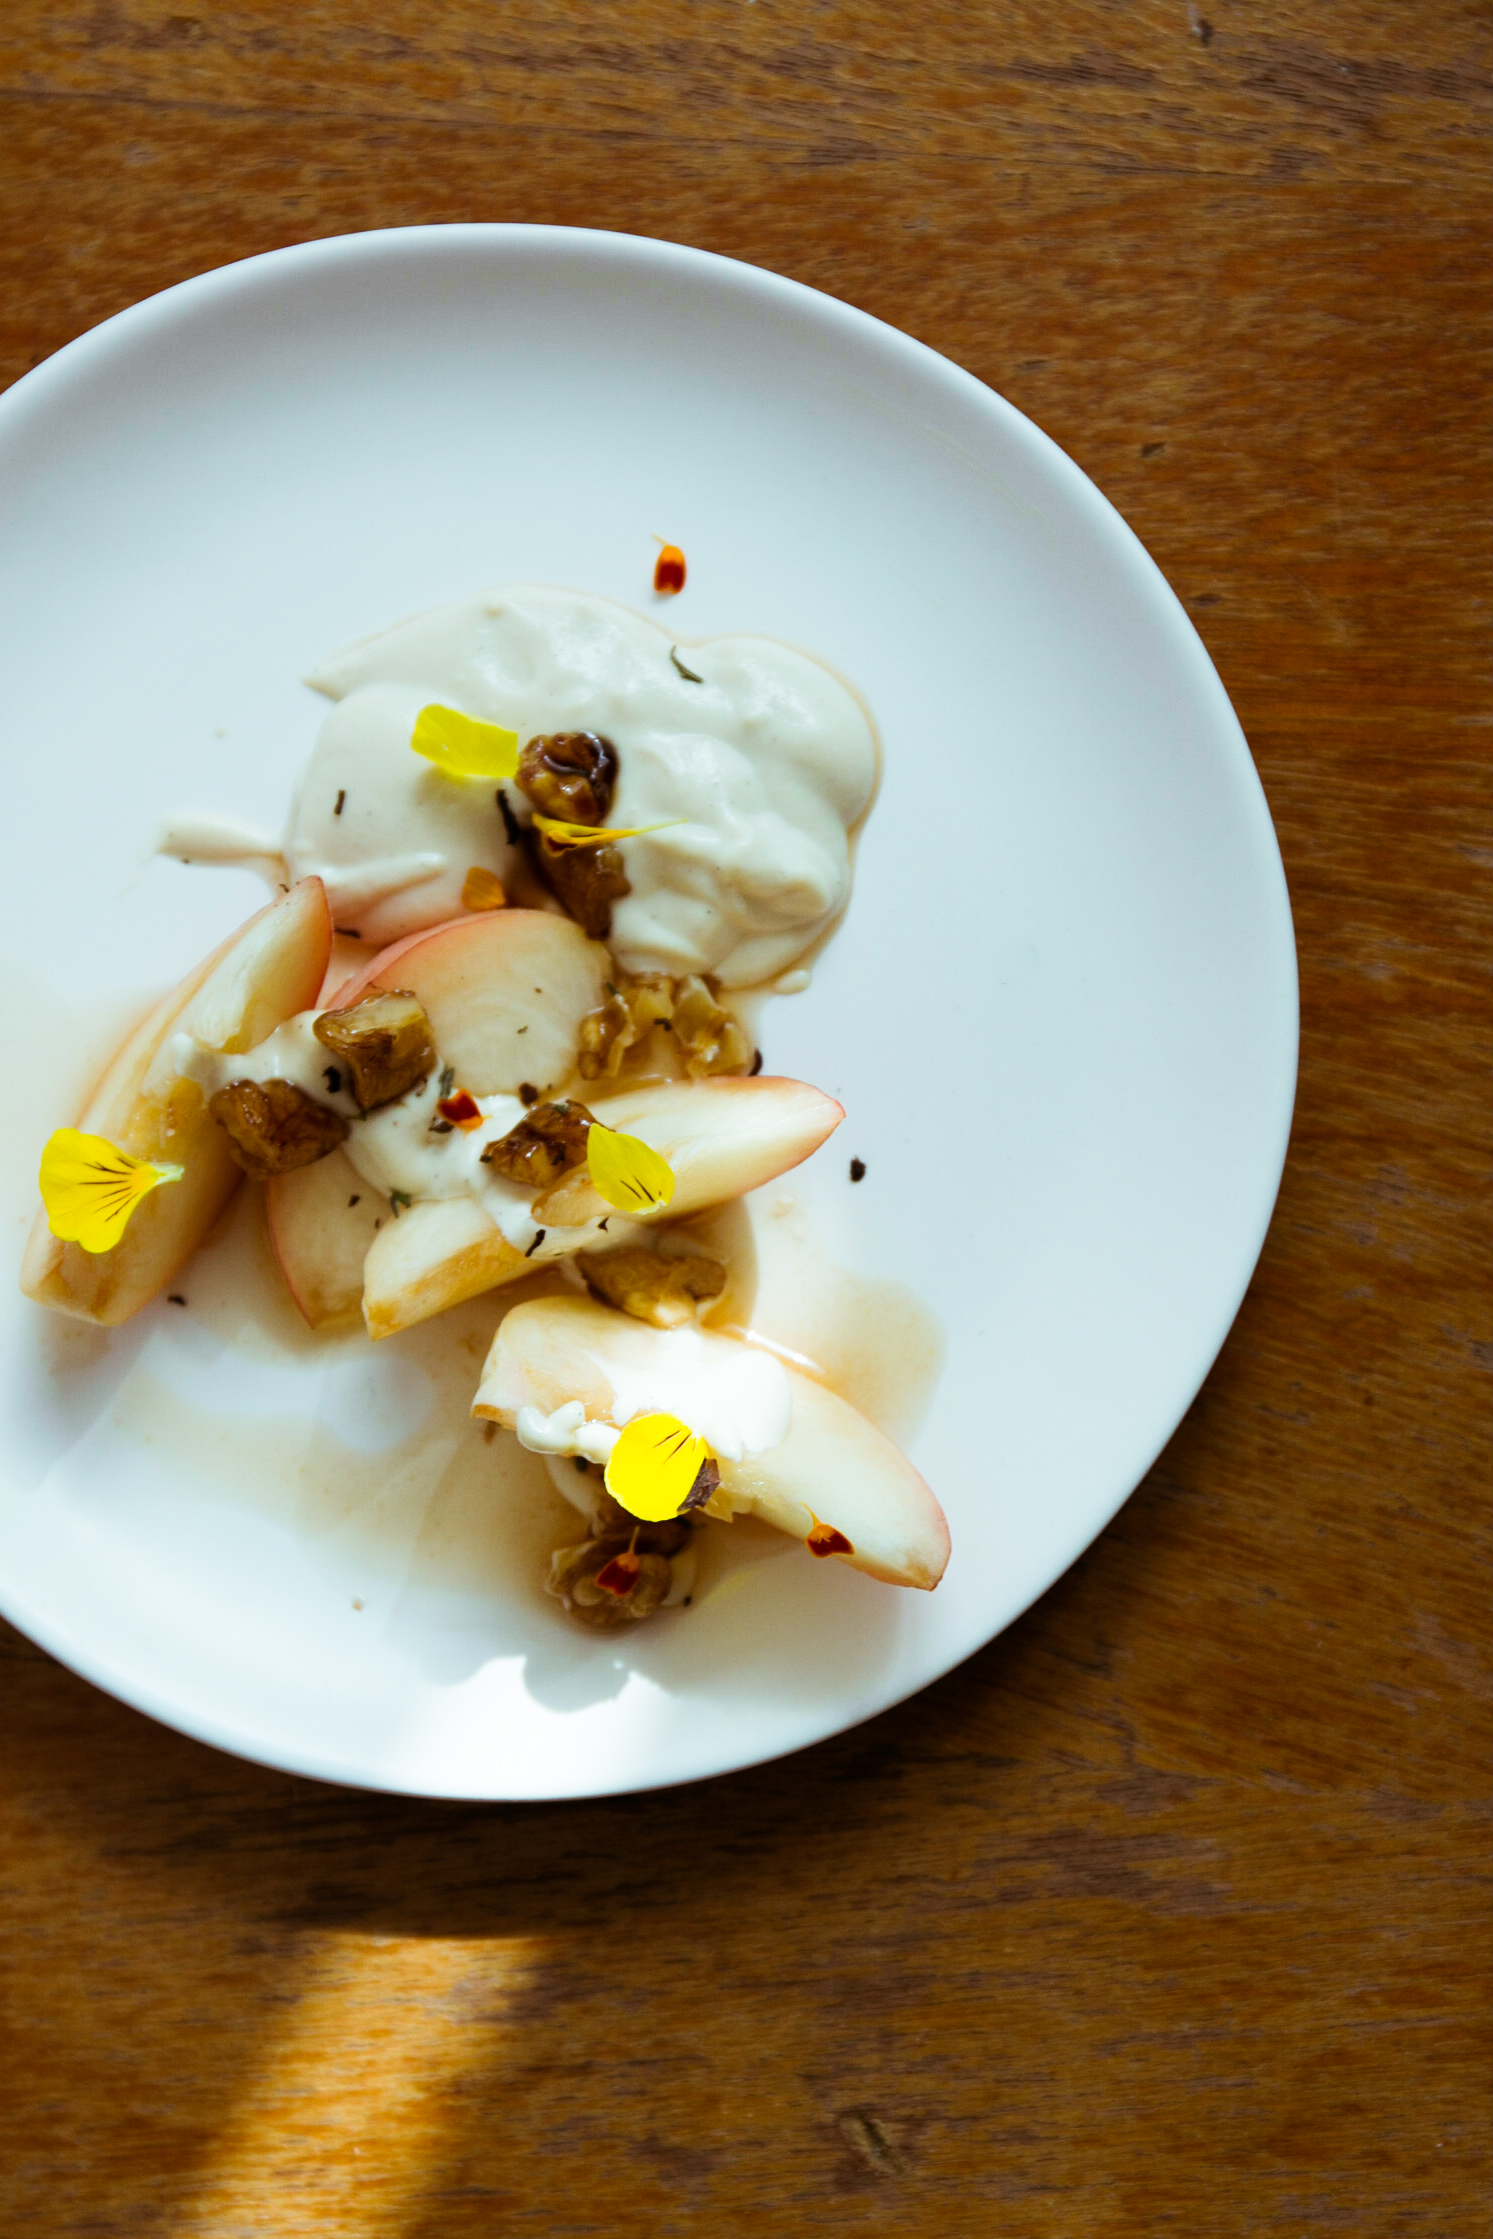
I've definitely heard of 'peaches and cream' before, but 'peaches and earl grey'? Hmm... this a bit of an experiment. The combination arose out of my "Flavour Bible" (by Andrew Dornenburg and Karen Page). A food bible, literally, with a dictionary of almost every ingredient you can think of, matched with their flavour/ingredient affinities. I use it a lot of the time, but especially when I have a beautiful ingredient I'd like to do something different with - or something unfamiliar to me at least. In any case… lets's see what you think. I have paired my earl grey peaches with a simple raw and vegan vanilla cream that has a base of soaked cashew nuts and coconut. Soaked cashew nuts are often used in raw food for creams, dressings, desserts (a lot of things!), for their neutral flavour. In the shot my cream is quite runny however you will find that by adding coconut oil (as I have done in the recipe), this will make it firmer.
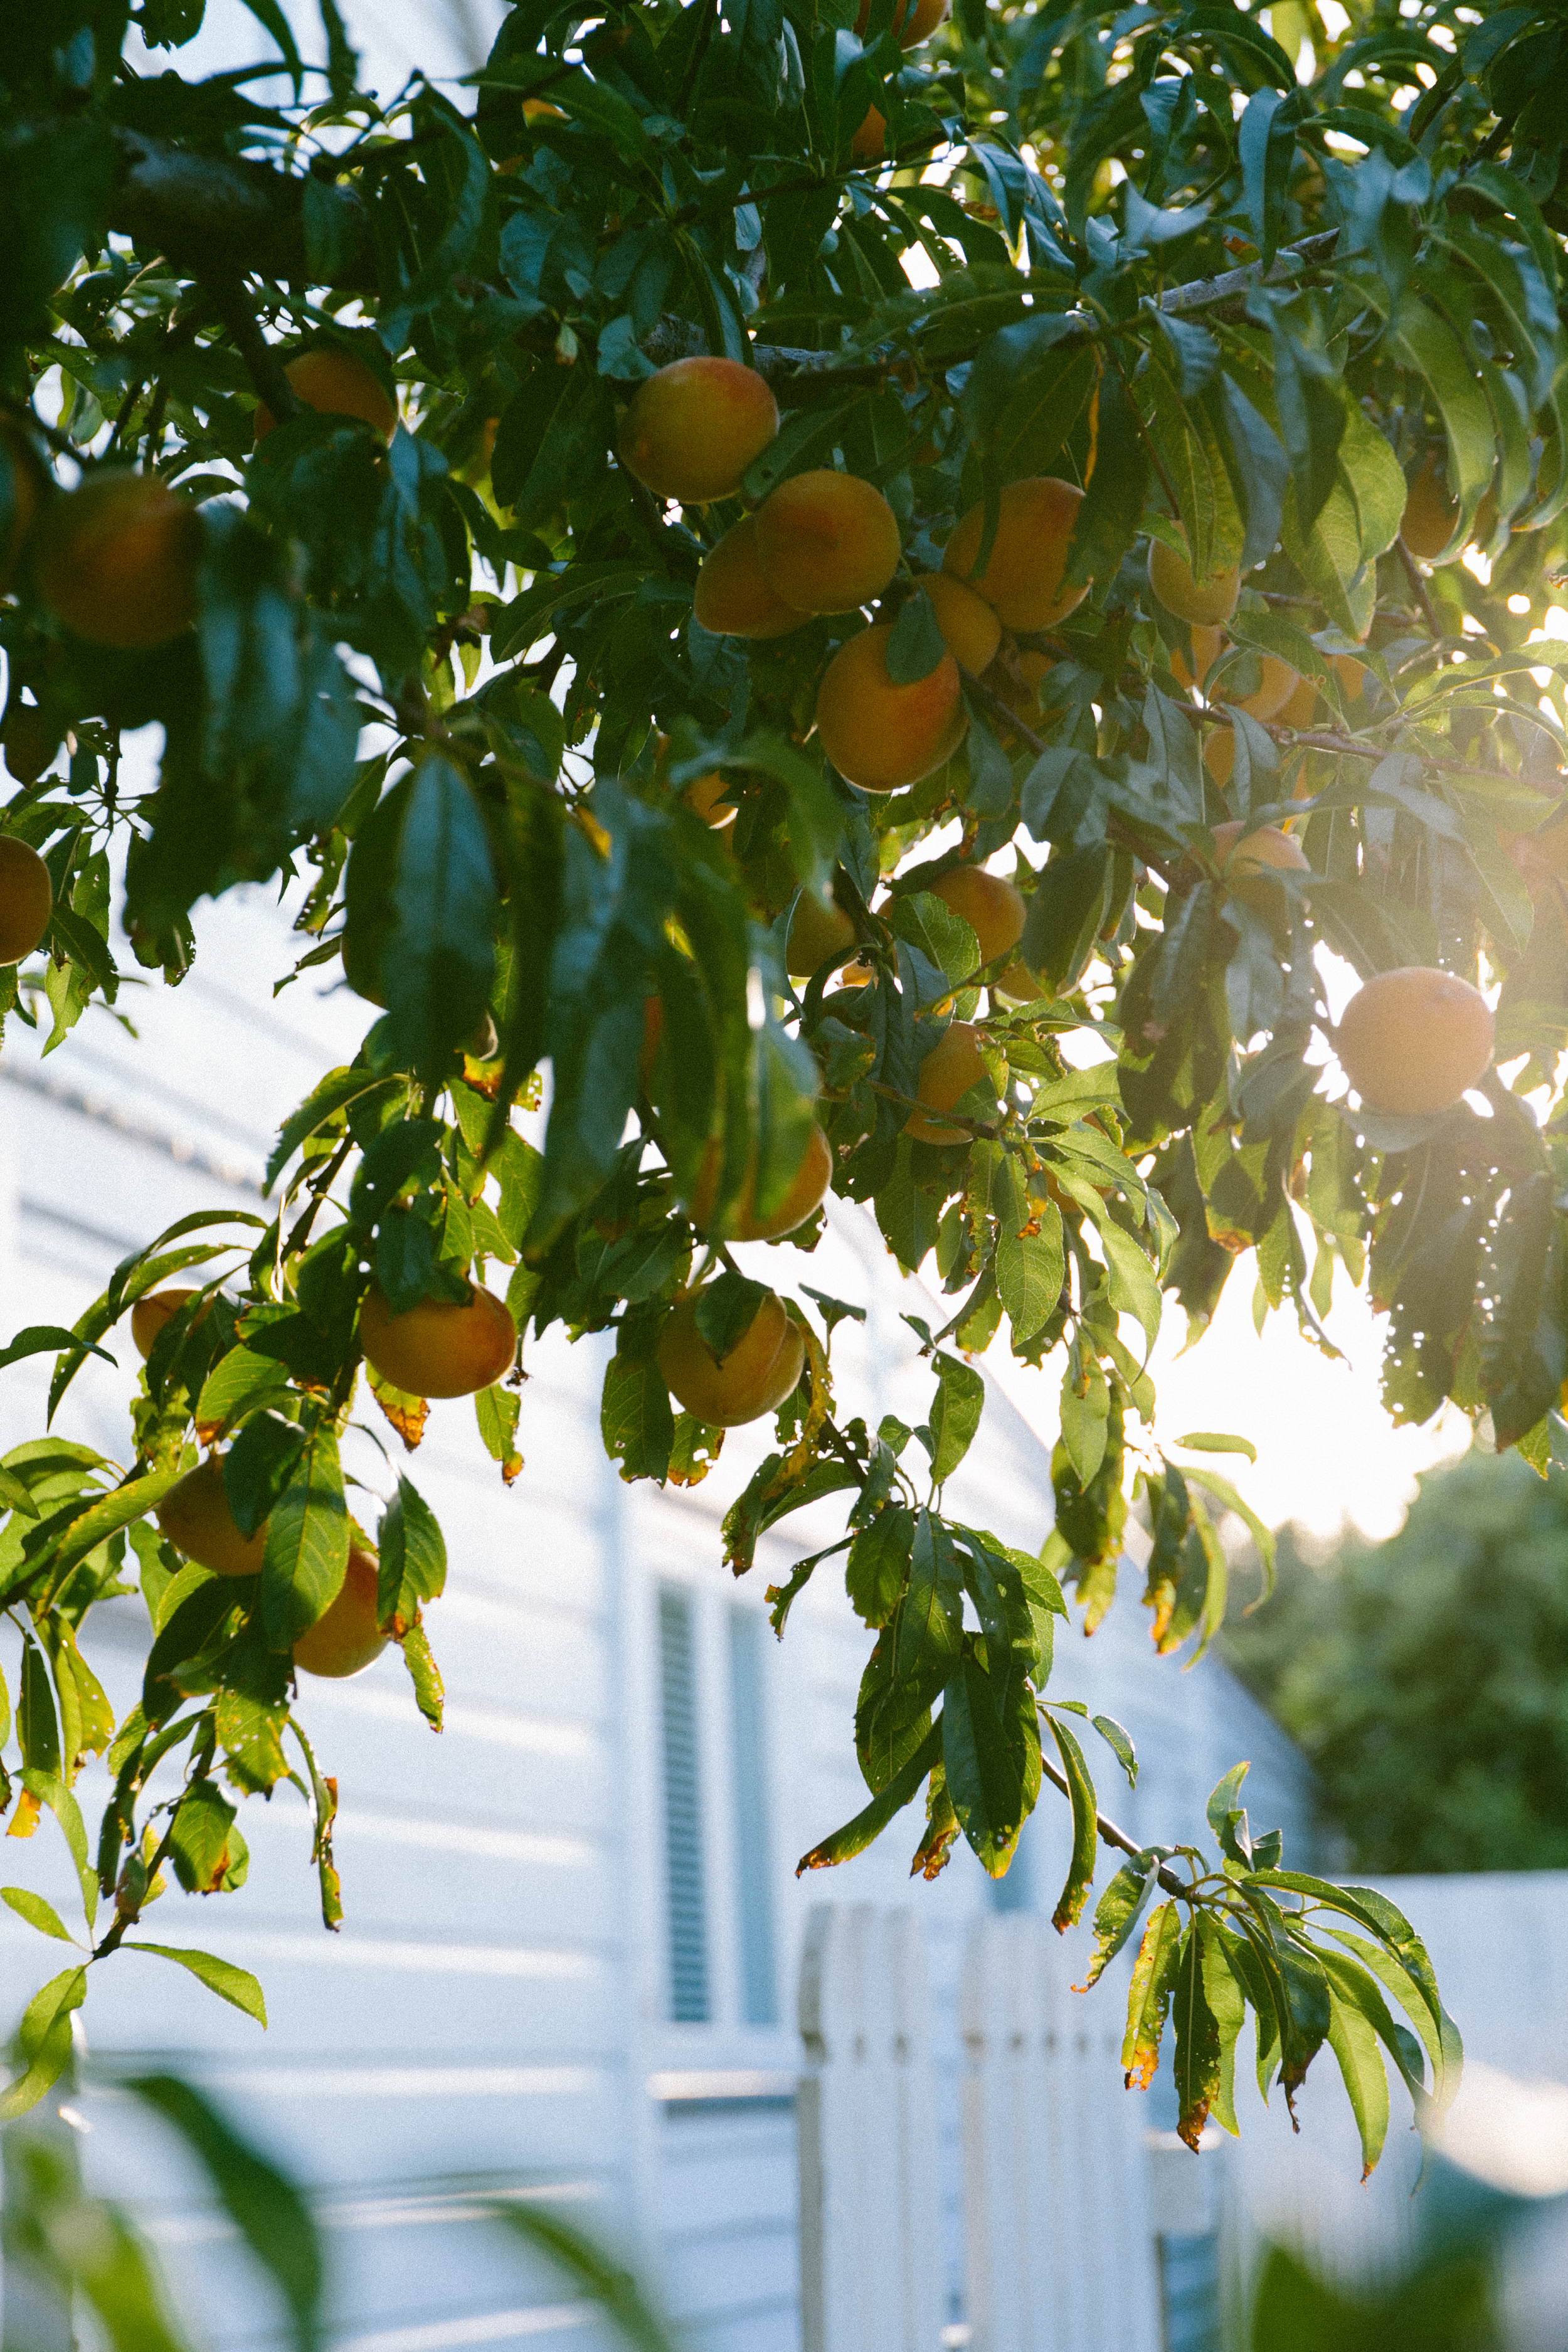
I'd just like to mention that this recipe (with the exception of the peach tree), I shot a few months back, whilst I was still at my parents house at Papamoa beach and before my photography course at Kingsize. It’s interesting revisiting these photos, given that I have a wee bit more knowledge of my camera now. Although that’s not to say that taking pictures is any easier! In any case it’s nice to reflect and recognise progression over these past few months =). I hope you like the pictures and the recipe and have a lovely week! xo


how to:
Prepare the following components of the recipe, and plate for e.g. as I have done above.
peaches in early grey tea
serves 4
- 2 peaches
- 1 cup of organic early grey black tea
Make 2 cups of earl grey tea, according to the given instructions. Leave to cool completely.
Slice peaches and place in shallow bowl. Pour tea over peaches so that they are just covered and leave to marinate for 10 -15 minutes.. Alternatively place peaches and tea mixture in dehydrator for 30 minutes at 42 degrees celsius (105 degrees fahrenheit).
raw & vegan vanilla cream
- 1 cup of cashew nuts soaked in filtered water for a minimum of 2 hours
- 1/2 cup of agave syrup
- 1/2 cup of fresh coconut meat
- 1/4 cup of coconut oil melted
- seeds scraped from 1/2 a vanilla bean
- 1 tsp vanilla extract
- 1 tsp lemon juice
- 3 Tbsp filtered water
- 1/4 tsp himalaya mountain salt or sea salt
Blend all ingredients except for the coconut oil, in a high speed blender until completely smooth. When smooth, slowly add coconut oil whilst the blender is still running on a low speed. (Note: you will have quite a lot of cream left over which can be used for different desserts such as a fruit salad topping).
activated walnuts
Soak half a cup of walnuts in filtered water for 8 hours or overnight. Rehydrate in a dehydrator or oven at 42 degrees celsius (105 degrees fahrenheit) until dry.
If you would like the walnuts to take on a caramel flavour, mix the nuts with 1 tsp of maple syrup and a pinch of sea salt before dehydrating.
If you are not fussed about raw food, you could alternativley roast walnuts for a few minutes in the oven.
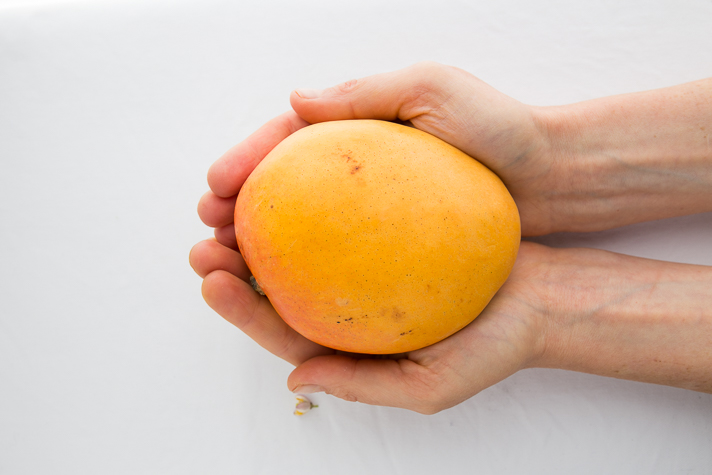
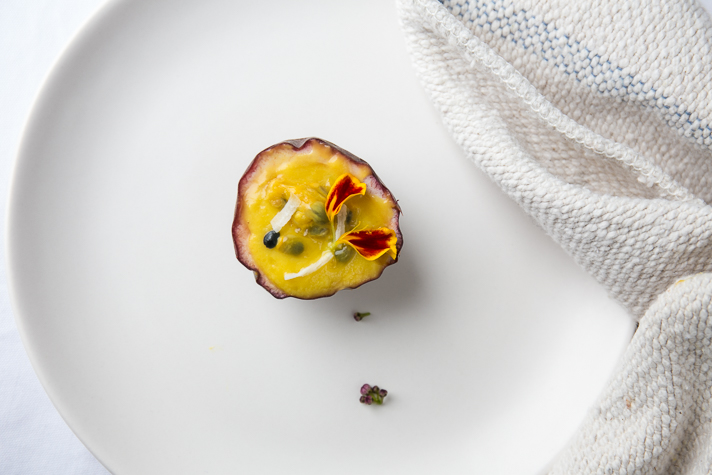
mango & kaffir lime mousse pops

From mango coulis on a chia pudding... to mango mousse in a cup... to mango mousse pops... to mango mousse in passion fruit cups… This recipe can be enjoyed all of the above ways and I have tested them all in getting to this post! My problem is that a simple mango mousse in a cup (the sensible and easiest option) seemed a bit ho hum to take pictures of (despite my Nanna’s beautiful crystal glass). I have a bit of a nervous twitch you see, in that I like to be a bit different… but still finding that balance between simple and beautiful vs too flowery and over the top. Anyway, the end result is mango mousse pops and I think they look quite beautiful. I hope you do too!

how to
Freezing the mousse pops in moulds is not all that tricky.The moulds I have (which came from 'The Warehouse' for those in New Zealand), come in two identical pieces (see below). To make mousse pops, divide the mousse mixture in two and fill corresponding sides of the moulds. The key here is that the mousse lies flush on top, and that you fill the correct moulds, (I learnt this by doing it wrong the first time!). Press the moulds together and place in freezer.

When ready to serve, take the moulds out of the freezer and insert sticks. Garnish and serve directly as mousse pops become melty like ice-cream!


presentation & styling variations

mango mousse pops
Makes approximately 4 mousse pops or serves 1 to 2 as a traditional mousse
- 1 large mango
- juice of 1 lime
- 1 Tbsp coconut butter (I used Artisana brand)
- 1 Tbsp maple syrup
- 1/2 kaffir lime leaf *
- pinch of himalaya mountain salt or sea salt
* Kaffir lime leaves come in two pieces as shown above. For this recipe I used only 1 of the two leaves. ** Optional - add 1/2 a frozen banana to the mixture before blending. My mousse pops are made without banana as I'm not much of a banana smoothie person =) Bananas and mango do however work as a classic flavour combination.
Mix all ingredients excluding the kaffir lime leaf, in a a blender. Once blended, add the kaffir lime leaf to give small bursts of green (in colour and in flavour!). For mousse pops, freeze mousse mixture in moulds (see above). Once frozen, remove top mould and insert sticks when preparing to serve.
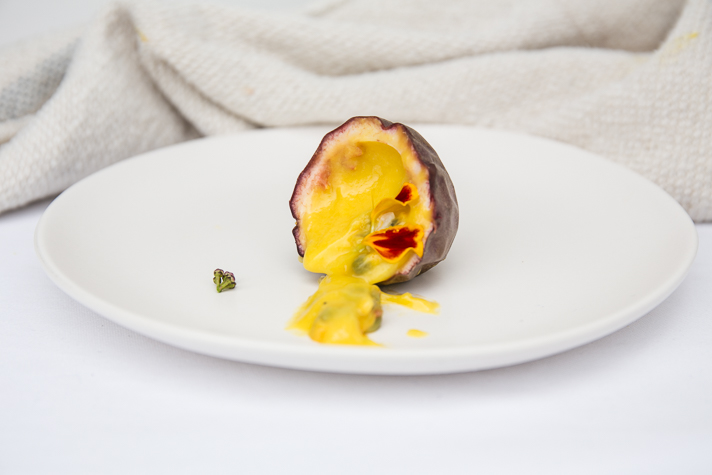
Garnish with passionfruit pulp drizzled on top and organic shredded coconut.
spiced ginger macadamia nuts
If you are going for a traditional mousse, I like to garnish with spiced ginger macadamia nuts. The crunch in these provides a nice off-setting texture to the soft mousse. Prepare by soaking 1/4 cup of macadamias overnight. Rinse in filtered water and then marinate in 1 tsp of maple syrup, 1/2 tsp ginger powder, a small squeeze of lemon or lime juice, and a pinch of salt. Dehydrate in a dehydrator for 24 hours or until the nuts become crunchy.
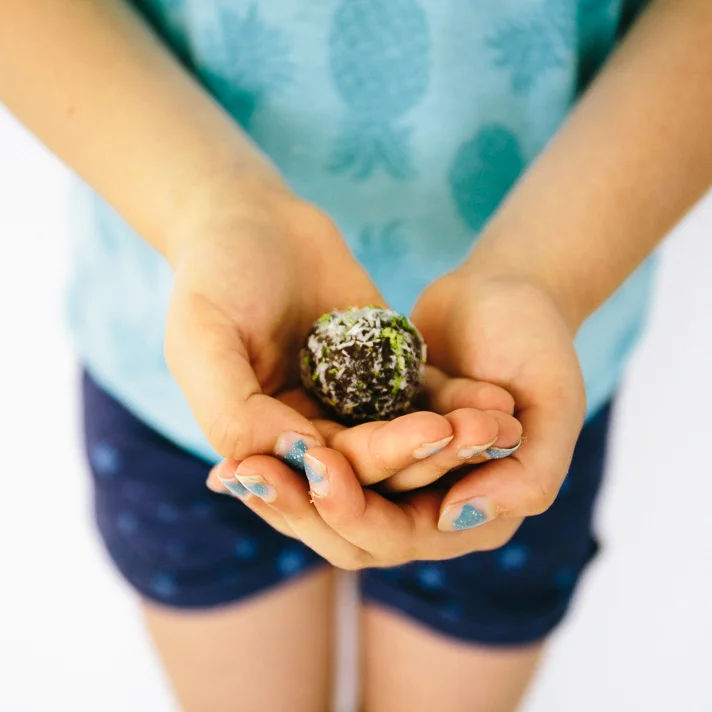
licorice, lime & chocolate

We met with a green juice and now it's time for something sweet...
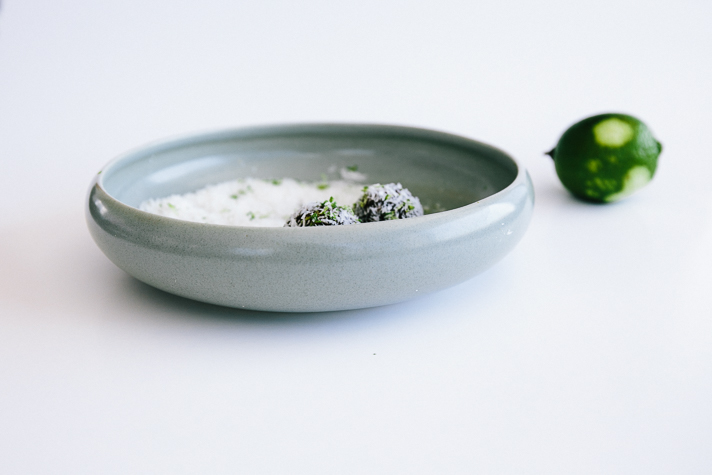
Bliss balls, O balls, raw balls or ‘råbollar’ as they’re known in Swedish. I’ve seen them disguised in different shapes and many sizes. They are everywhere! Sometimes I can wonder just why they are so popular? In any case, I’ll just call them ‘balls’ and this is my version – licorice, lime and chocolate. They are inspired by the beautiful Josefine Jäger.

You might also be thinking 'balls' are nothing new, however, I want to keep things simple to start with. I think there is an important lesson in doing so.
As I’ve mentioned life for me has taken a different direction. But even though I'm flying with my heart, there is still a lot that is strange and new. I'm finding it's easy to get overwhelmed. Easy to overthink and get stuck in the detail. Easy to stray from the track when things get difficult - when someone else isn't deciding what I think and do. So to keep things uncomplicated, a simple recipe is in order. Like training wheels I suppose, until my great adventure gets more familiar.

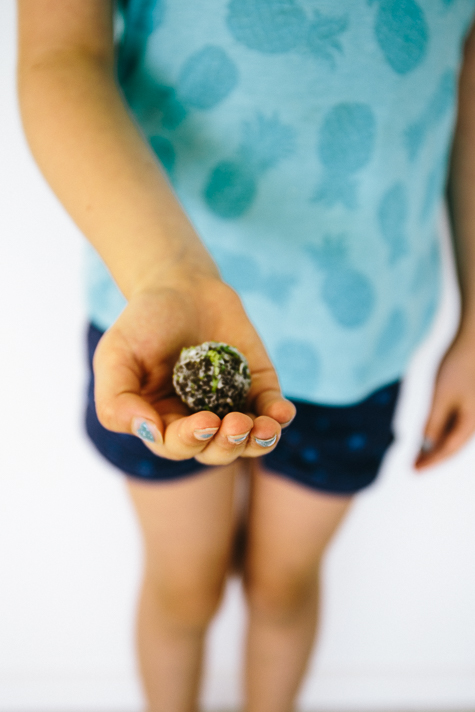
For some of you raw food may be something that is strange and new. If this is the case, then I think these simple balls are just right to start off. Perfect to introduce to your friends and family (especially your children who may be skeptical to anything that doesn’t come out of a packet or an icecream tub!), or to impress as morning tea at the office. I have done all the above (although I don’t yet have any children so do nieces and nephews count?).
Maybe it's just the flavours that are something different? Or for those of you already familiar perhaps, like me, they were your first experience of a raw dessert?
In any case, as a result of all my pondering of late, I think I know the reason why these balls are so popular (that is, apart from the fact that they taste so wonderfully good!). For me it is because they are simple in all respects. A lovely reminder not to over-complicate things. Not now, or anytime...
Aimee xo

licorice, lime & chocolate
Makes 15 -20 balls
- 1 cup cashew nuts
- 1/3 cup almonds
- 1/3 cup shredded coconut plus extra for rolling the topping
- 1 Tbsp hemp seeds
- 15 medjool dates (pits removed)
- 1/3 cup carob powder
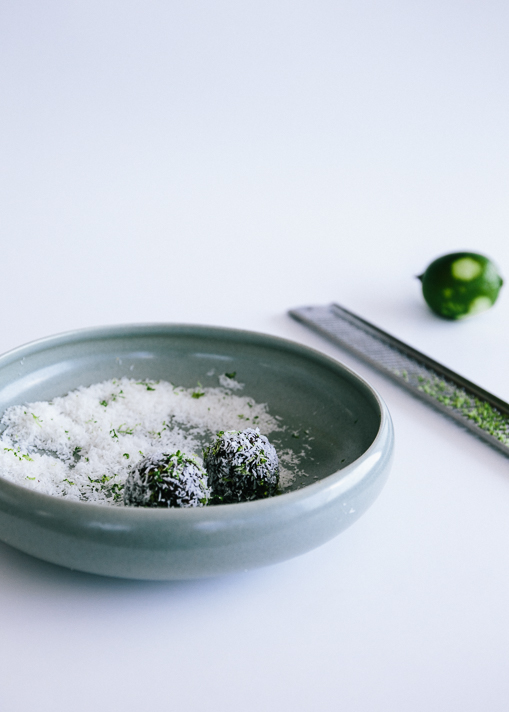
- Zest and juice of two limes (reserve some of the zest for rolling the balls in later)
- 1 tsp vanilla extract
- 1 Tbsp licorice powder
- 2 Tbsp melted coconut oil (I melt mine over a water bath)
- 2 Tbsp filtered water
- pinch of sea salt
- Mix cashews, almonds, hemp seeds and coconut into a flour like consistency in a food processor.
- Add remaining ingredients except coconut oil.
- Pour coconut oil into the food processor whilst running on low speed. The mixture should gradually start to stick together in a clump. If not then more water can be added.
- Put the mixture into the fridge to cool for 10 minutes, before rolling into balls.
- Roll in shredded coconut mixed with lime zest, or sifted carob.
Tips: For an antioxidant boost, try substituting carob for raw cacao powder!